The following is a quick step-by-step guide for installing and configuring Dispatcher Paragon Cloud in a high-availability cluster environment.
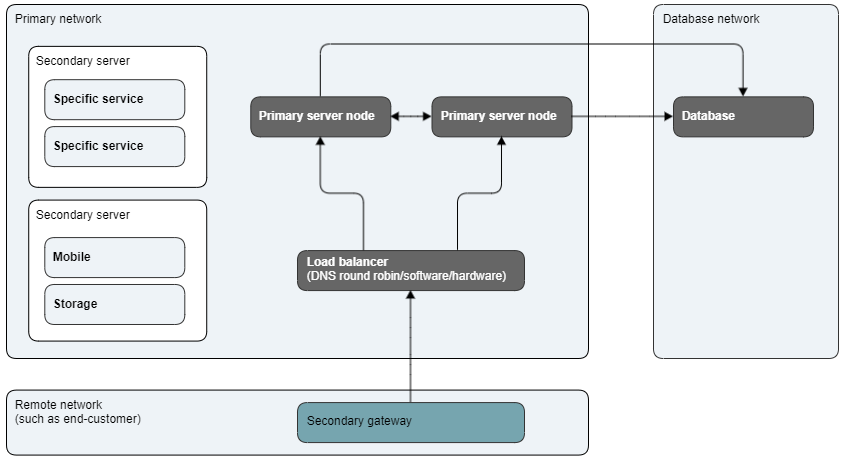
Designing solutions for high availability is a complex and often difficult task, as the cluster is only as strong as the weakest link, and it can be extremely hard to find the balance between uptime requirements, cost and complexity.
This guide will not cover design principles for high availability, configuration of load balancers or database clusters, but will assume those are in place already.
In this example we are using an Amazon RDS Postgresql for our database cluster and Amazon Network Load Balancer to distribute the load across 2 primary server cluster nodes. This is a simple example with just 2 nodes behind a single load balancer, but the entire setup could be expanded with redundancy everywhere and effectively zero point of failure, and any number of primary servers for scalability and availability.
Configure external database
The first step is to ensure a database is available to all primary cluster nodes.
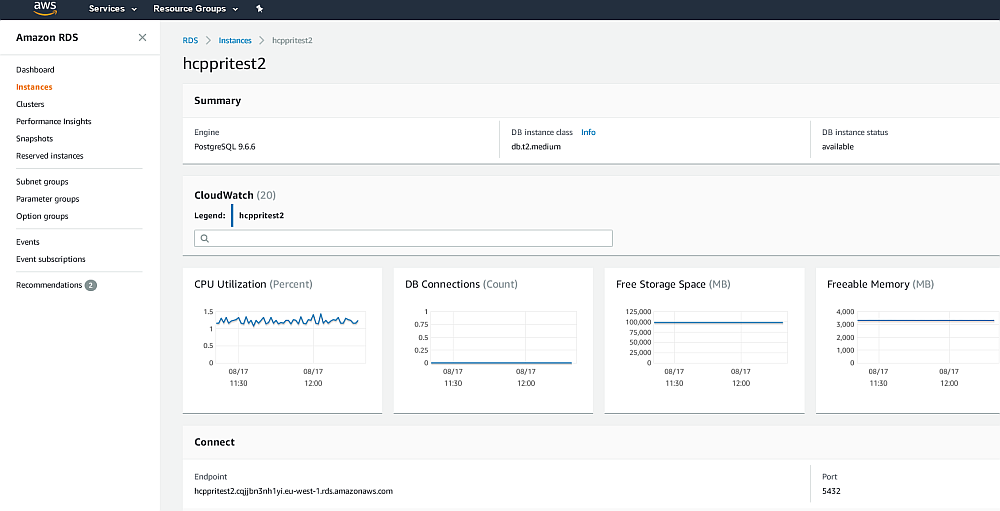
In this example we have configured a Postgresql database cluster in Amazon’s RDS service. Any database service, such as Microsoft’s Azure Database for PostgreSQL or a manually configured external database could be used.
Configure load balancing
Second step is to configure the load balancer which will receive requests and distribute load across the primary server nodes in the cluster.
There are numerous ways to load balance, the most simple and most cost effective being simply round-robin DNS. This is a method of load balancing, which does not require a dedicated software or hardware node. In this technique, multiple IP addresses are associated with a single domain name, and then clients are given an IP in round robin fashion, simply assigned to clients on a time based method, evenly distributing load. Some DNS services, such as Amazon Route53, are sophisticated and can check for the destination IP being healthy before giving the IP to the client.
Generally we would always recommend dedicated software or hardware load balancers for environments with high uptime requirements.
The only real important thing about load balancer, is to use a load balancer which supports persistent connections.
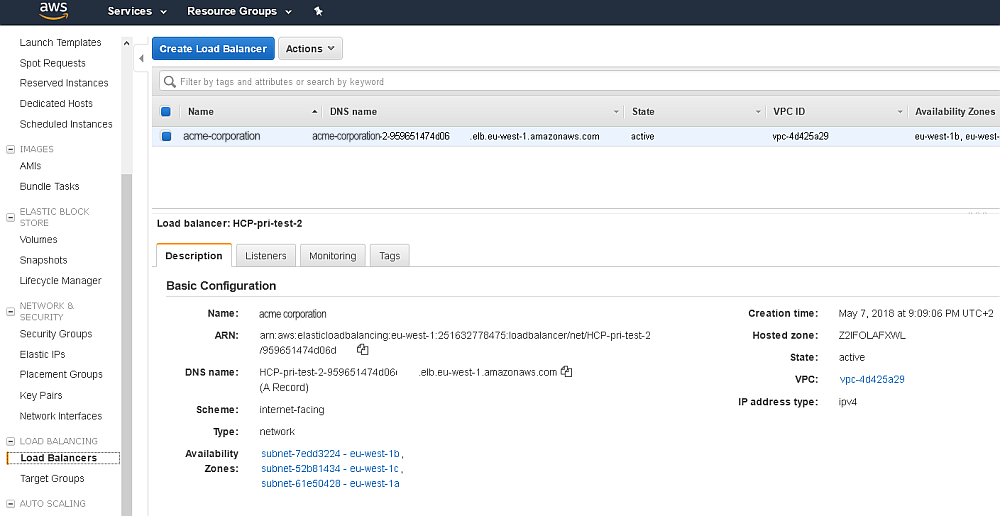
In this example we have configured an Amazon Network Load Balancer but similar services could be Azure Load Balancer.

We have further created a shorter and more pretty DNS CNAME record for our primary server cluster, so we don’t use the long load balancer URL provided by Amazon.
Install the first primary
On the first primary server, run the installer as normal and choose a “New primary..” type of role for the server. This can be either a new primary for vendor or reseller site, or a new primary for an offline customer, depending on the desired final installation type. See Server Installation in custom deployment scenario for more information.

In this example, we will host many customers in the multi-tenant configuration, so we’ll choose the New primary server on the vendor site.
Next adding the Vendor information, we choose as the account domain, to use the IP address of the first primary server.
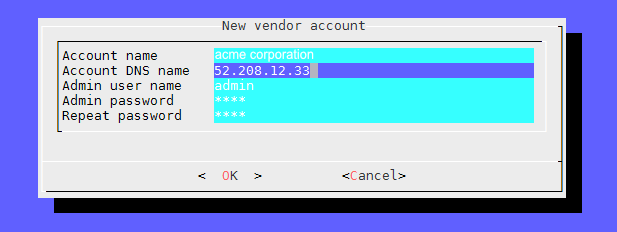
This way we don’t rely on the load balancer to function in order to be able to access the first primary server. This is not required, but just a helpful step, when first configuring the cluster. The IP address can always be removed later in the Web admin interface, from account domains under root account settings.
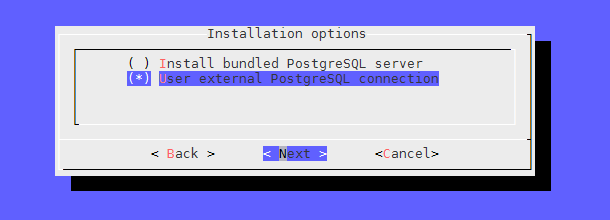
Next, choose to use an external database.
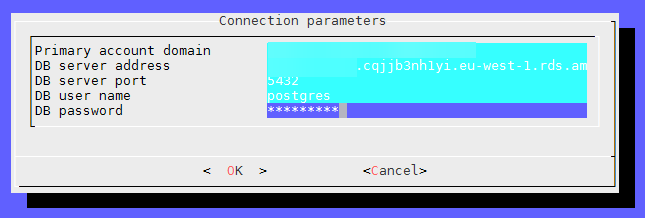
Enter the details of the externally hosted database cluster.
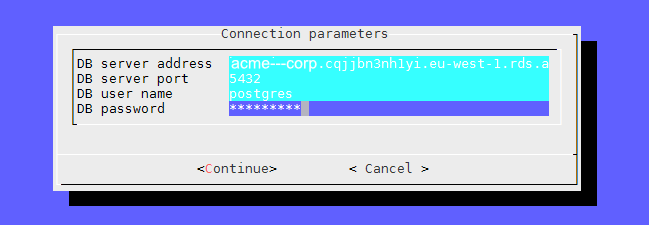
The installer will connect to the database and create any databases and database tables needed.
With Dispatcher Paragon Cloud installer finished, open up the Dispatcher Paragon Cloud Web interface on the entered IP address to confirm access.
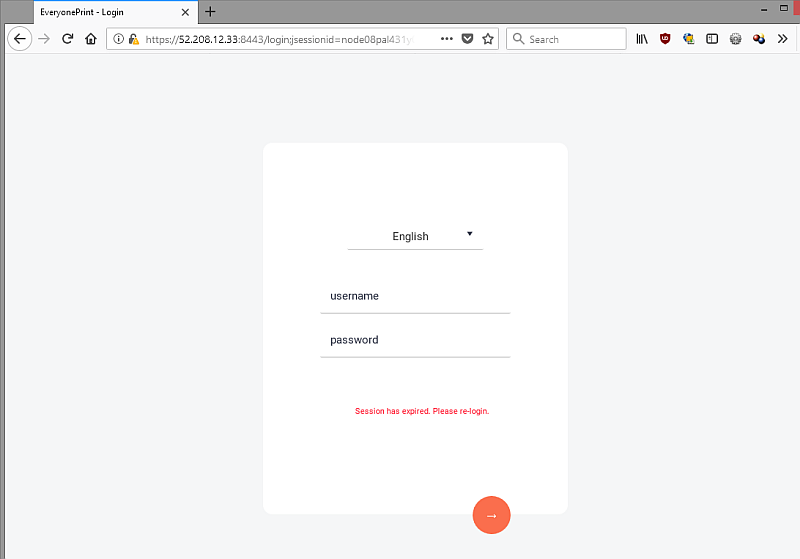
This means that we can access the primary server directly via its IP address.
Add the load balancer DNS to root account
Next we want to add the load balancer DNS to the root account's account domains, so we can also access the root account using the load balancer DNS record, and not just directly via IP.
Log on to the root account, go to Vendor information and add the load balancer DNS as the first domain record, above the IP address of the first primary.
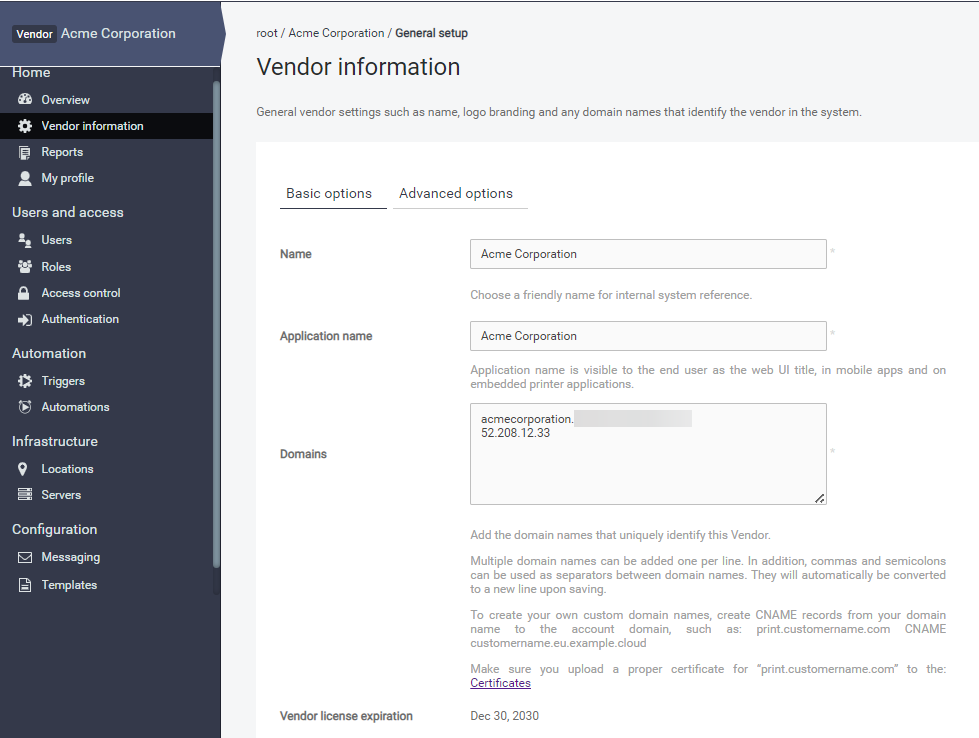
Now try the same through the load balancer.
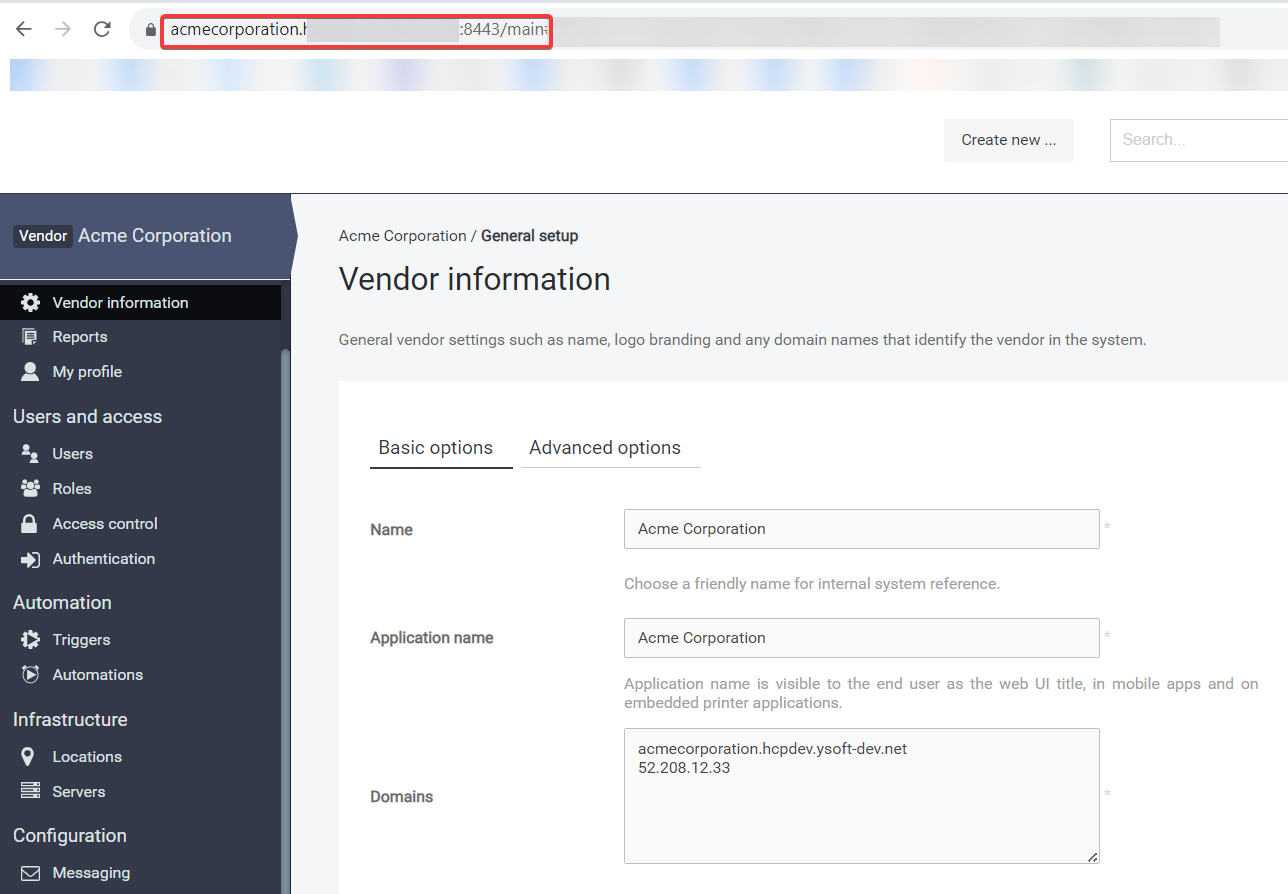
The Web UI loads when we access the primary server via the load balancer DNS, and we can log in, which confirms the load balancer successfully routed the traffic to our first primary and we added the load balancer DNS correctly to root account.
Confirm the primary servers internal address
All primary servers in a cluster communicate internally for heartbeats, to check if they’re alive, load levels and similar. This communication is done via the Hostname found under the servers Settings and TCP port 2552.
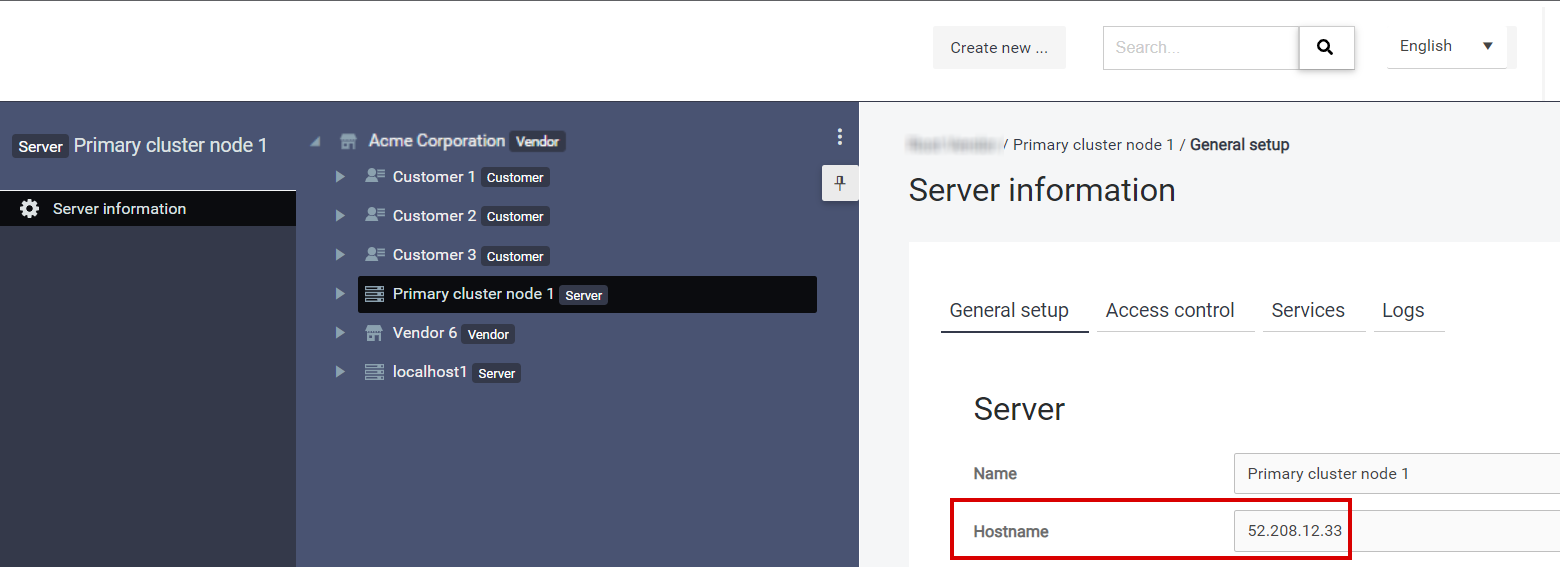
If the hostname is changed for a running Dispatcher Paragon Cloud server, the affected server must be restarted, so the cluster system can start up with the correct hostname settings.
Add additional primary server nodes to the cluster
To add additional server nodes to the primary cluster, run the Dispatcher Paragon Cloud installer on a new server, and choose the option Extra primary server node for primary cluster setup

If the primary root account is of type primary vendor then the hcp.license file must be present in the directory where installer is run.
Next enter the account domain name of the root primary account. In this example, we use the load balancer DNS that was previously added as the accounts first domain.
Confirm the Hostname of the primary server in settings
Go to the added primary cluster node settings, that the Hostname is a valid reachable address by all other primary cluster nodes.

Enable services to run on multiple nodes
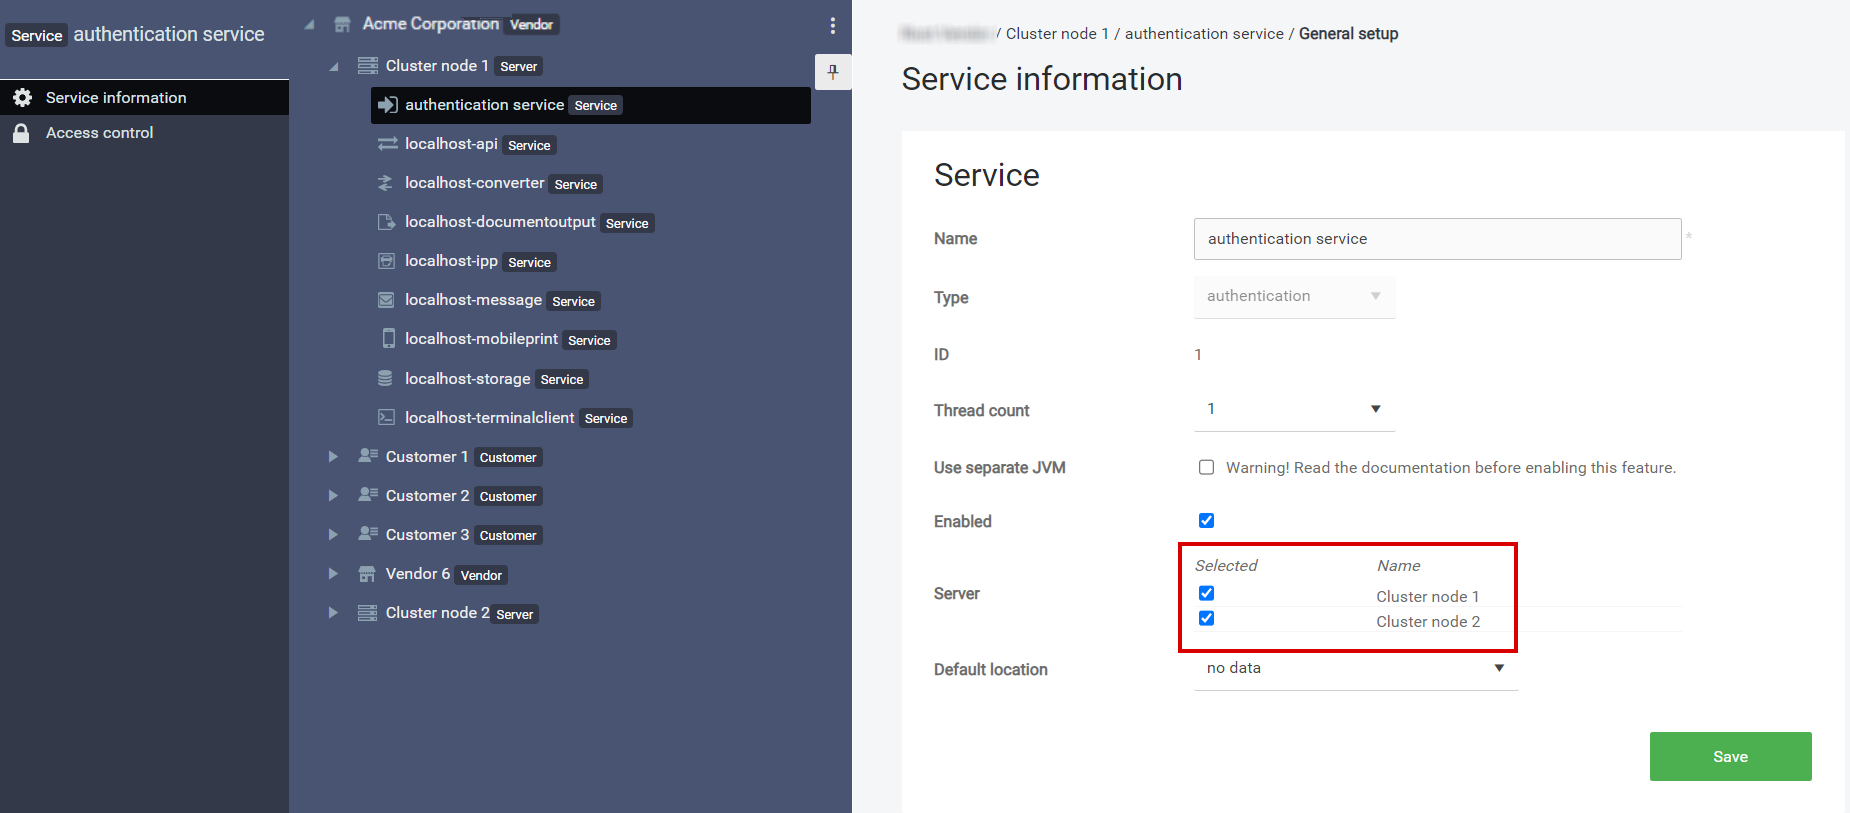
When going from a single primary server to multiple, it’s important to enable services to run on multiple servers. For example the Authentication Service used by an authentication provider, should be selected to run on all primary nodes, so if a primary node goes down, the authentication request is routed to an available server.
Common issues:
Server hostname
The most common issue in primary cluster configurations is an invalid server Hostname, as required for the inter communication between primary nodes.