-
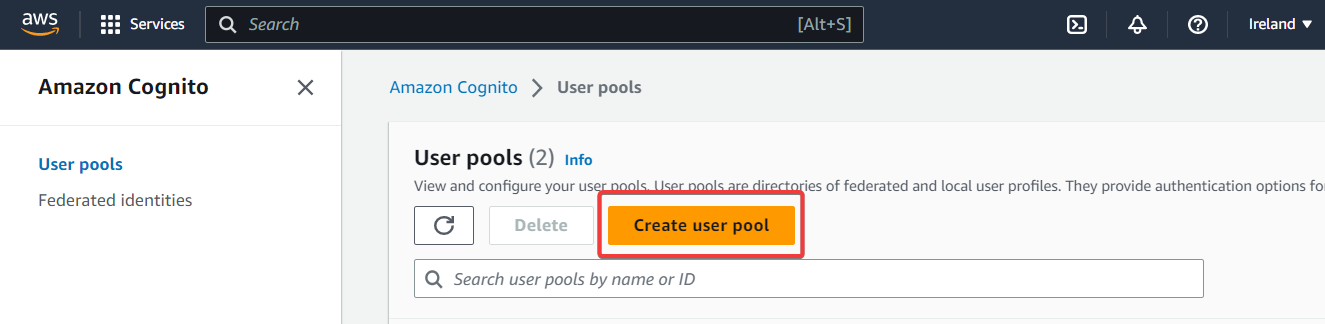
Log in to Amazon Cognito Console at https://console.aws.amazon.com/cognito/home.
-
On the User pools tab, click Create user pool.
-
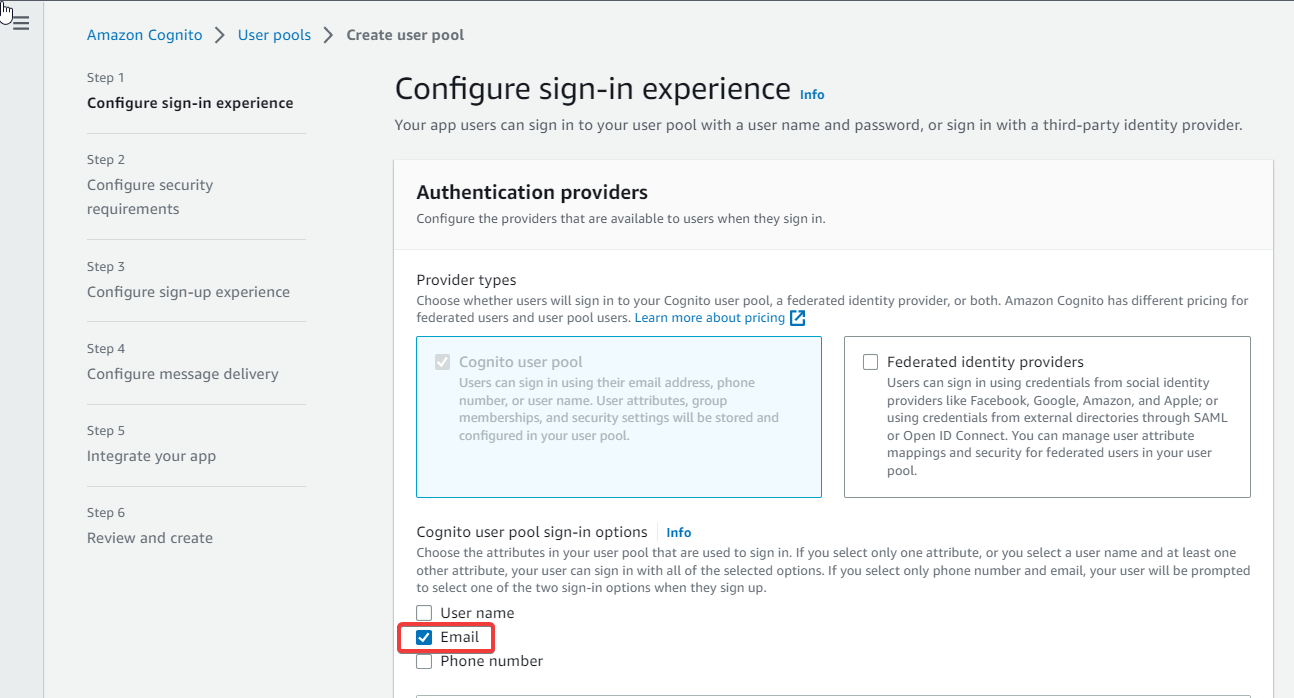
On the Configure sign-in experience tab, select Email and click Next.
-
On the Configure security requirements tab, leave the settings at default or configure them according to your needs.
-
On the Configure sign-up experience tab, leave the settings at default or configure them according to your needs.
-
On the Configure message delivery tab, select Send email with Cognito.
-
On the Integrate your app tab:
-
Enter the User pool name.
-
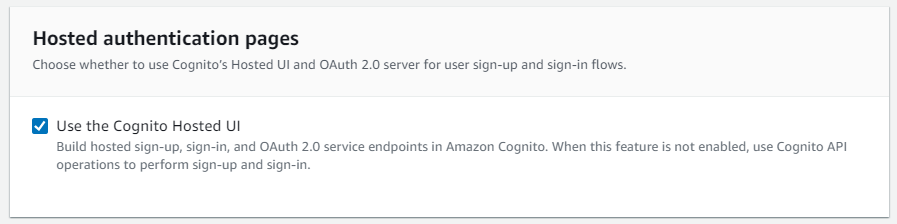
Select Use the Cognito Hosted UI.
-
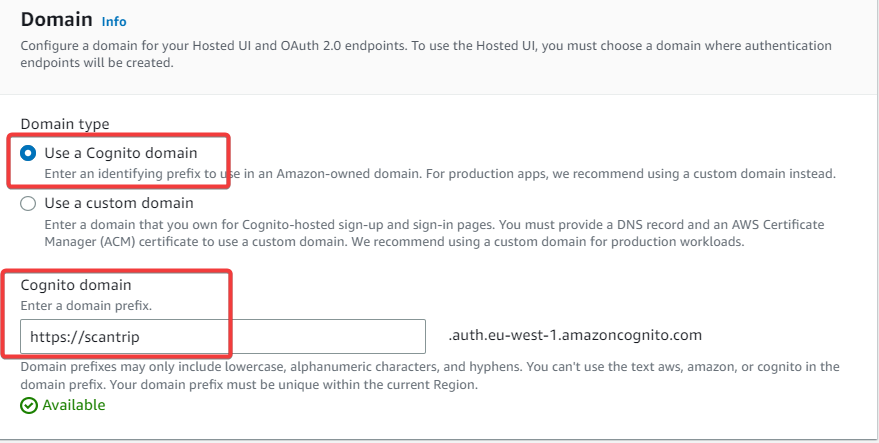
In Domain, select Use a Cognito Domain and enter the domain prefix.
-
In App type, select Confidential client.
-
Fill in the App client name.
-
In the Allowed callback URLs section, fill in the URL of your Dispatcher Paragon Cloud Web UI followed by
/oauth2/scantrip/callback.
Example: https://acme.dipa.cloud:8443/oauth2/scantrip/callback.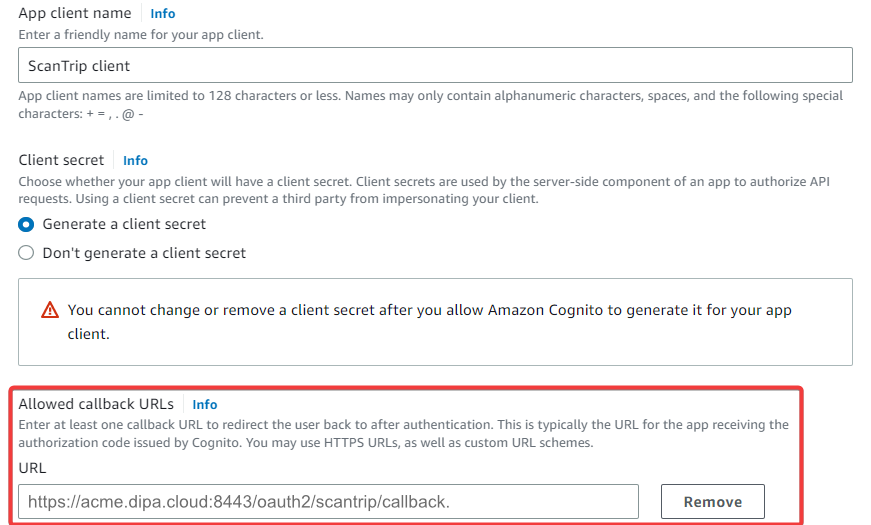
-
In the Identity providers section, make sure that Cognito user pool is selected.
-
In the OAuth 2.0 grant types section, make sure that Authorization code grant is selected.
-
In the OpenID Connect scopes section, select the scopes according to your needs.
-
-
Review and create the user pool.
