
Dispatcher Paragon Cloud server is delivered as a single executable installer for Linux platform. The installer should be copied to the target server (for example using ssh protocol or a tool like MobaXTerm) and the permissions of the file should be adjusted to allow file execution:
chmod +x Dispatcher Paragon Cloud-server-3.1.0-*.bin
Where Dispatcher Paragon Cloud-server-3.1.0-xxx.bin is the executable installer provided by Konica Minolta.
For successful installation, your firewall has to be properly configured. During installation, the installer automatically opens the following ports:
-
7300 7301 7303 8631 9631 8700 8703 8704 8705 8707 7400 8711 14082
Then the firewall is activated. This is done only for the following operation systems:
-
Red Hat Enterprise Linux, Red Hat Enterprise Linux Server 7, Red Hat Enterprise Linux Server 8, Red Hat Enterprise Linux 8
-
CentOS Linux 7, CentOS Linux 8
-
Rocky Linux 8
-
Amazon Linux 2
-
SUSE Linux Enterprise Server 12, SUSE Linux Enterprise Server 15
-
openSUSE Leap 15
-
Ubuntu 16.04, Ubuntu 18.04, Ubuntu 20.04, Ubuntu 22.04
If the Dispatcher Paragon Cloud installer is run on another Linux distribution or a different version of the distribution, the firewall has to be configured manually for the above mentioned ports.
Dispatcher Paragon Cloud installer is a text-mode console application so it is suitable to be used on the cloud headless servers without the GUI. Please note that the installer must be run under root account. It checks that upon startup and if the current user is not root error is printed on the terminal and the installer aborts.
Before starting the installer, set the TERM environment variable to xterm:
export TERM=xterm
To run the installer:
./Dispatcher Paragon Cloud-server-3.1.0-xxx.bin
Or with sudo command, if the current user is not root:
sudo ./Dispatcher Paragon Cloud-server-3.1.0-xxx.bin
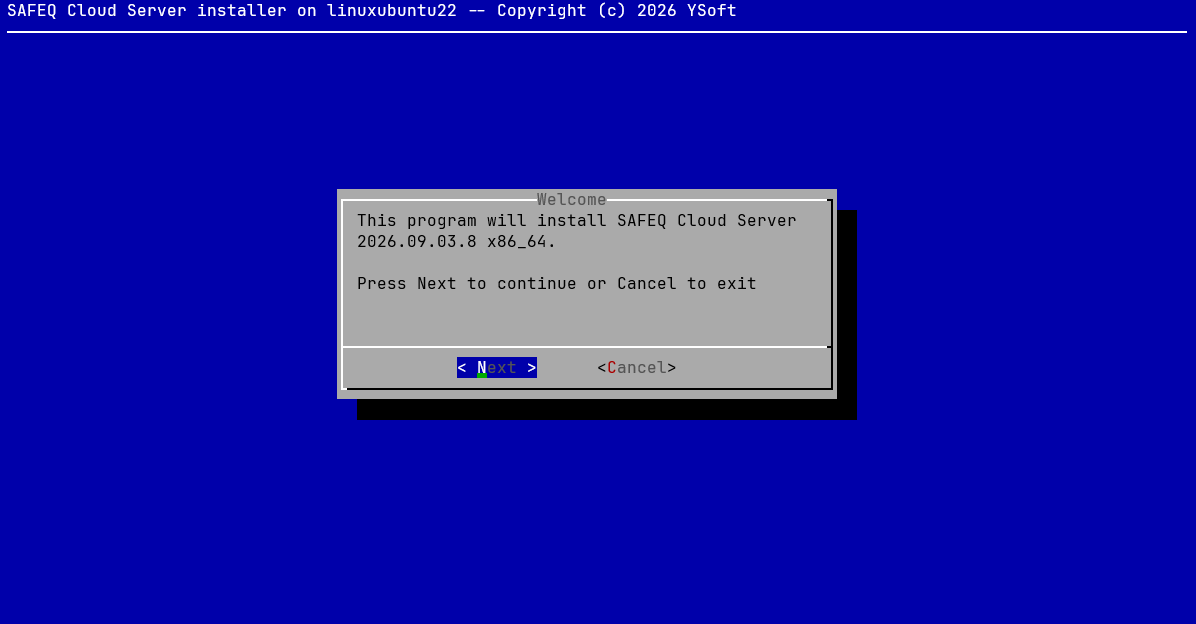
Installer operates in two basic modes:
-
New installation, when no previous version is found on the server
-
Upgrade mode, when previous version is found on the server
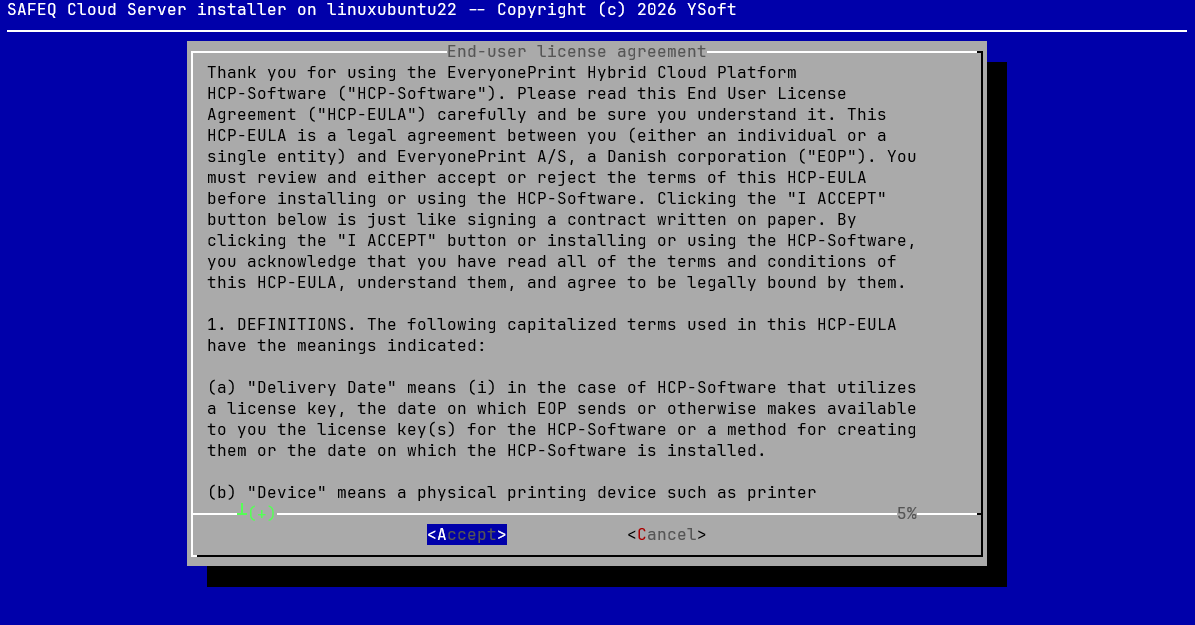
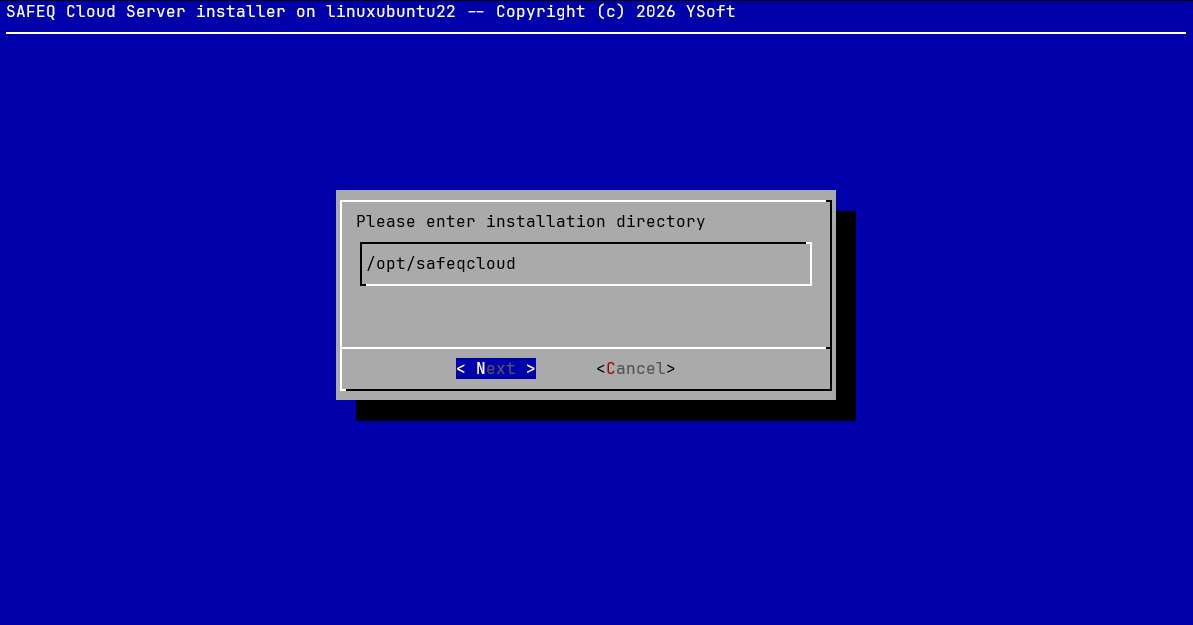
Upgrade mode just asks the user to perform server upgrade. No further configuration is needed. For new installations the installer will ask to accept the end-user license agreement, prompt for the installation folder and for the server role, as shown on the following screenshots:
-
By pressing Next button the installer will check for minimum disk space required, 1GB, prior to installation and will return an error if there is not enough disk space to complete the installation
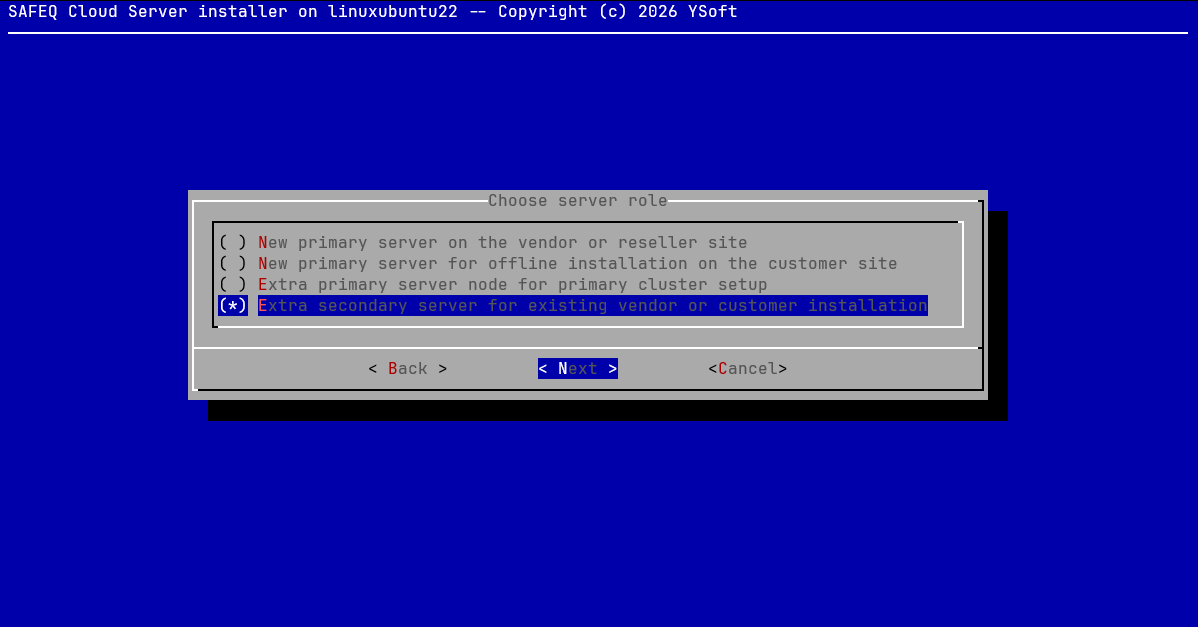
There are 4 possible server roles that can be specified during installation:
Installing a primary server on a customer hardware is no longer supported and existing deployments are supported only for customers with a valid support contract.
|
Server role |
Description |
|---|---|
|
Extra secondary server for existing vendor or customer installation |
This role adds an extra secondary gateway server. It requires a direct connection to the primary server. |
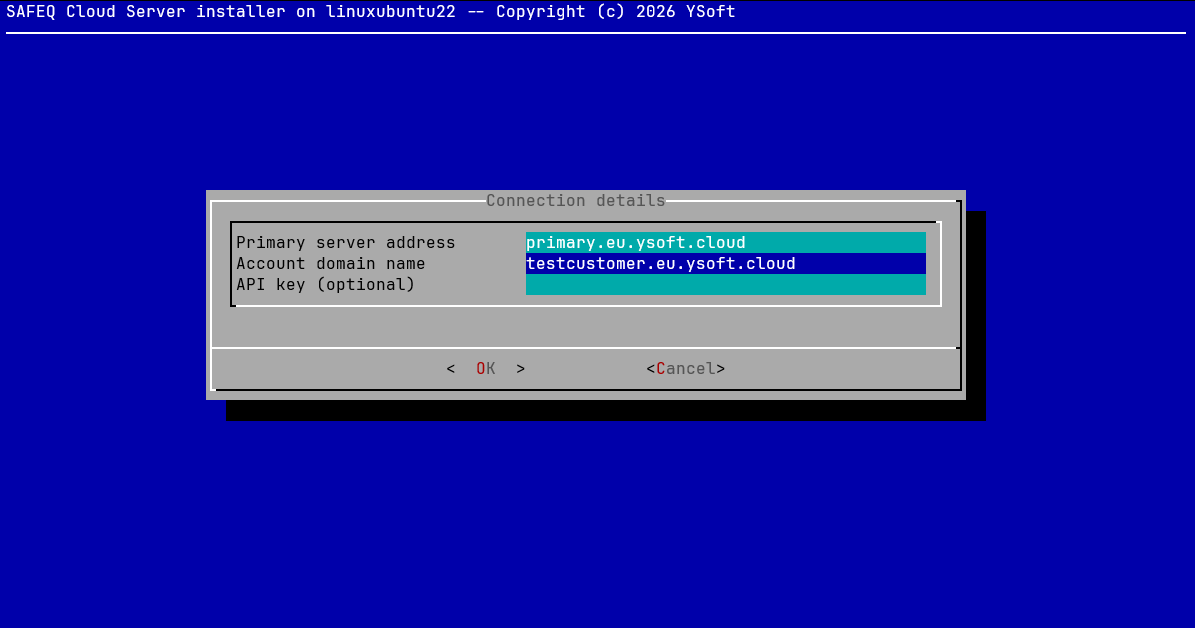
To install secondary server the following options should be provided:
-
Primary server address – this is the IP address or domain name of the primary server. It does not have to match any DNS names of the accounts.
-
Account domain name – this field should be filled with the DNS name of the account to which this server will be attached to.
-
API key – optional API key from the account settings, used for server registration. If left blank the default restricted API key will be used.
For more details, refer to Add a secondary gateway server.
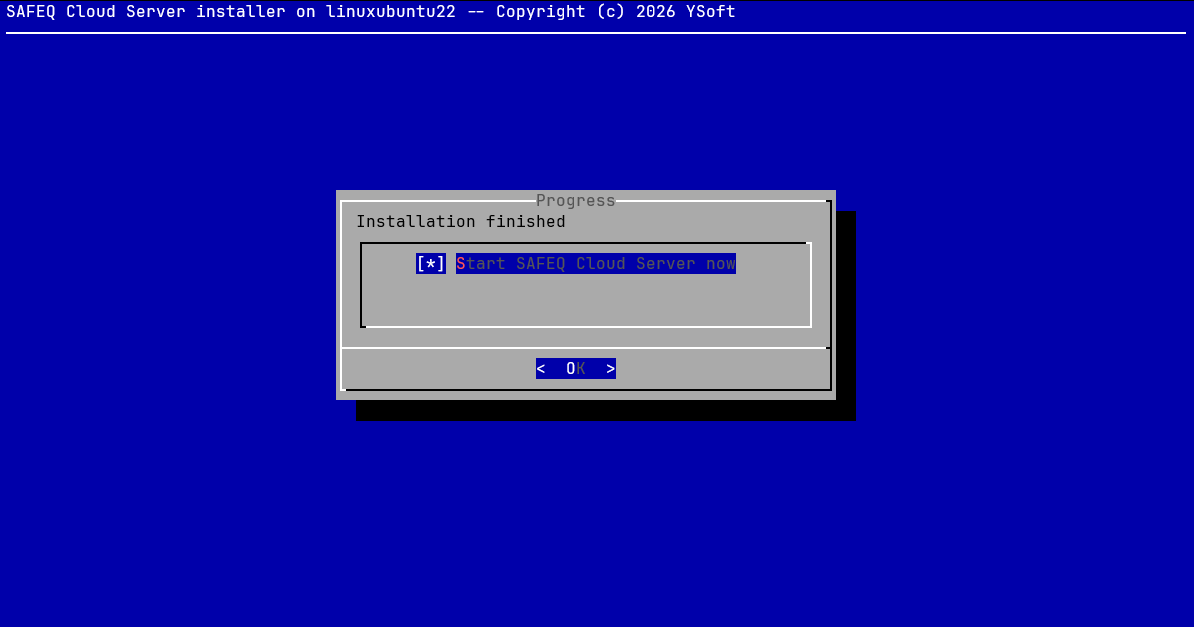
After the installation has completed, the secondary gateway service will be started and initiate connection to the Dispatcher Paragon Cloud primary server.