SAFEQ Cloud Chrome extension
READY FOR REVIEW
Overview
SAFEQ Cloud Chrome Extension is an extension that can be installed on Chromebook devices or in the Chrome browser.
It has the following features:
- Authentication using Chromebook user email address with the Dispatcher Paragon Cloud server.
- Sync with the Dispatcher Paragon Cloud printers
- Ability to send print jobs to Direct print queues and to Pull print queues
System requirements
- Chrome version 44 and higher.
- Users must be logged in Chrome Browser and have Sync ON.
- A valid certificate must be installed on the Dispatcher Paragon Cloud server.
Installation
From Chrome Web Store
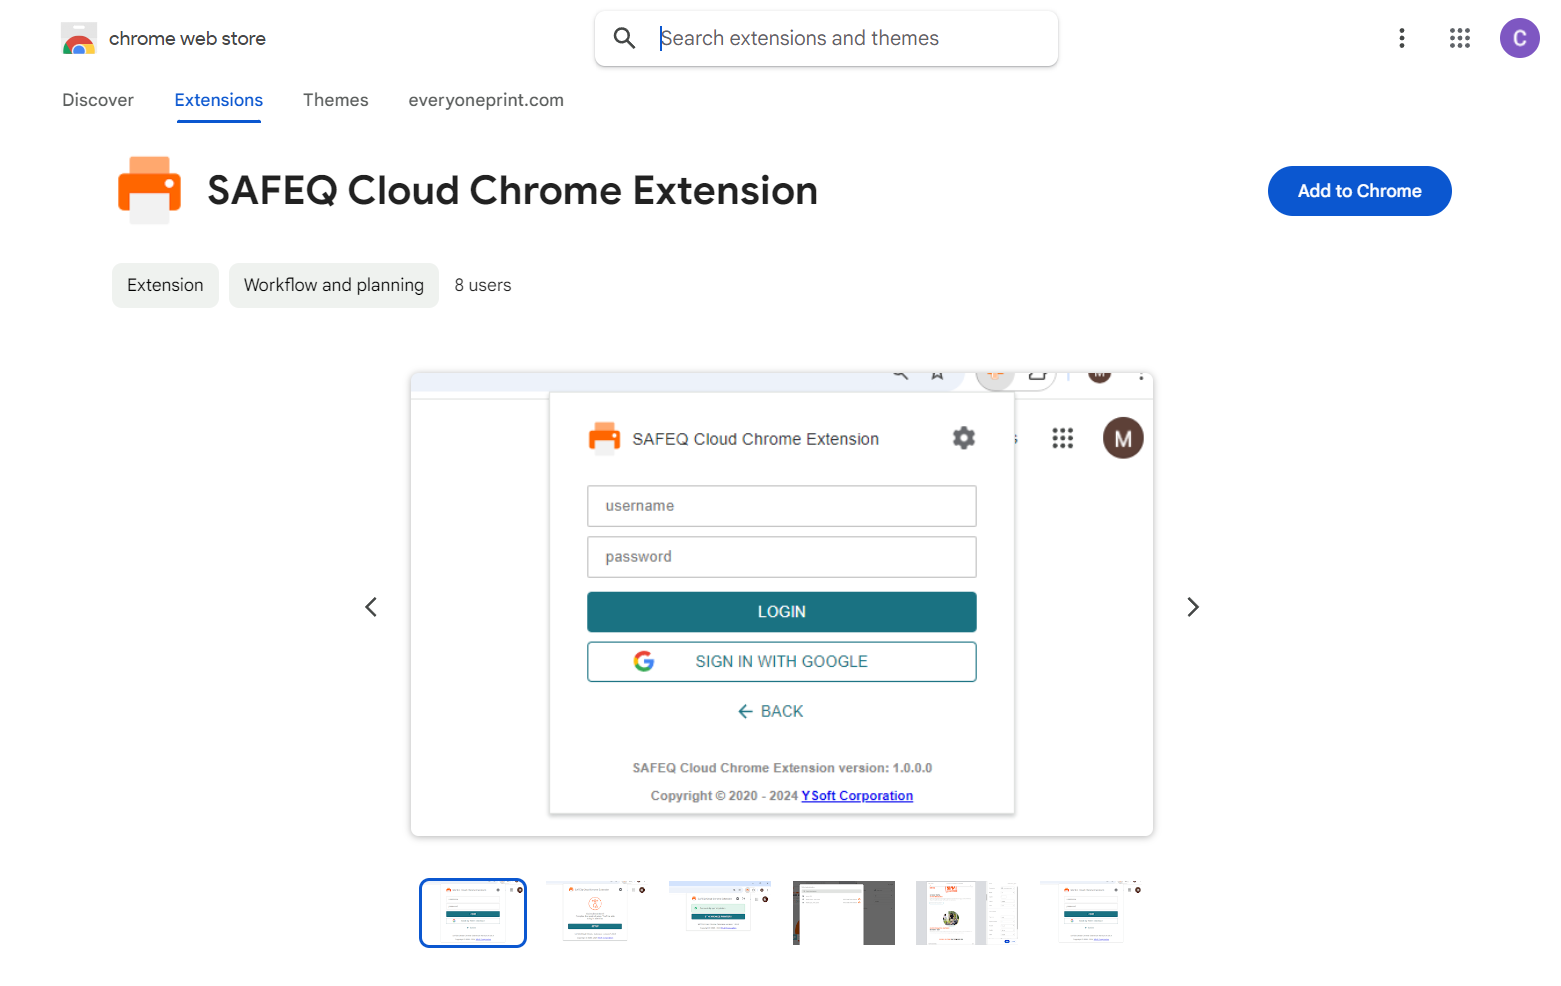
- Go to Chrome Web Store using this link.
- Search for SAFEQ Cloud Chrome Extension.
- Click Add to Chrome.
From Google Admin Console
Google Admin Console could be used for centralized distribution inside organization and preconfiguration of settings. See section Configuring the extension remotely in Google Admin Console of this guide.
Configuration
To use the extension, you must configure a signing certificate in Dispatcher Paragon Cloud Web UI. After that you, you can configure the extension individually in Chrome, or remotely in Google Admin Console in order to apply the settings to all users in your organization.
Configuring the signing certificate in Dispatcher Paragon Cloud Web UI
- Log in to Dispatcher Paragon Cloud Web UI.
- Go to Security > Security options, tab General and section PKI and encryption.
- In Signing certificate, select the token signing certificate. Note that it may take a few minutes before the change takes effect.

- Click Save.
Configuring the extension in Chrome
- Have your Dispatcher Paragon Cloud domain at hand. You can find the domain name in Settings > Customer account in the Dispatcher Paragon Cloud Web UI.
- If you haven't generated an API access key for the Chrome extension yet, follow the instructions in API access keys and choose the Chrome extension type of key when creating it.
- Left-click the extension button and then click the cogwheel icon to open the settings.
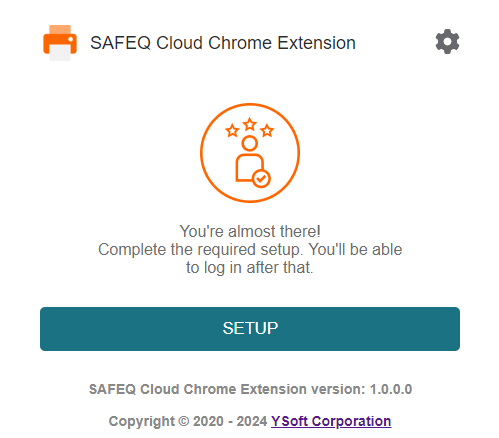
- On the following screen, enter your Dispatcher Paragon Cloud account domain name. Note that this URL must be accessible for you from the browser (you may need to accept the certificate for it).
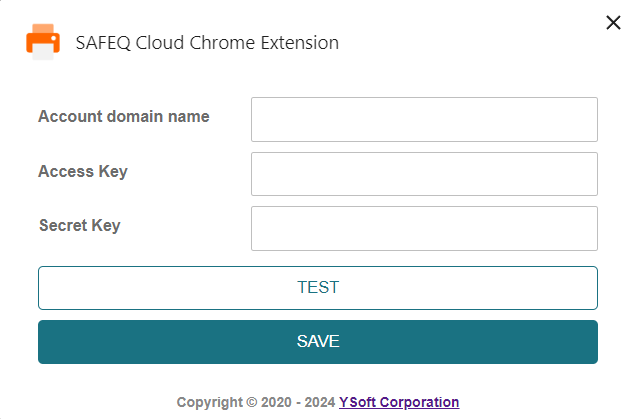
- In Access Key, fill in your API access key for the Chrome extension.
- If authentication is disabled, fill in the secret key from the G Suite OAuth2 identity provider (if set).
- Check the connection by clicking Test.
- If successful, click Save.
- If unsuccessful, check whether you have entered the correct domain and API key, then click Test again.
Logging in
See Using the SAFEQ Cloud extension for Chrome.
Details about the extension in Chrome
- To see info about the extension, go to chrome://extension and find the SAFEQ Cloud extension.
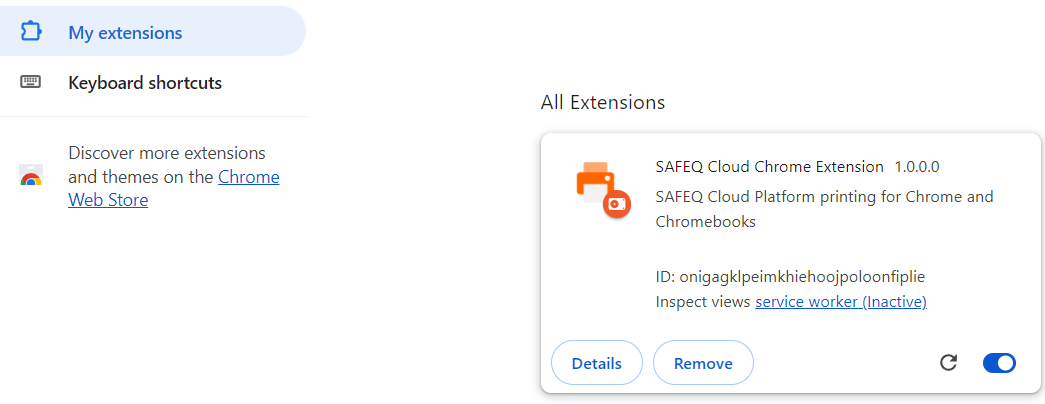
- Details - Opens a page with information about the extension.
- Remove - Removes the extension from Chrome browser.
- The toggle enables/disables the extension.
- The refresh icon updates the extension to a new version (if there is any).
- The Details page looks as follows:
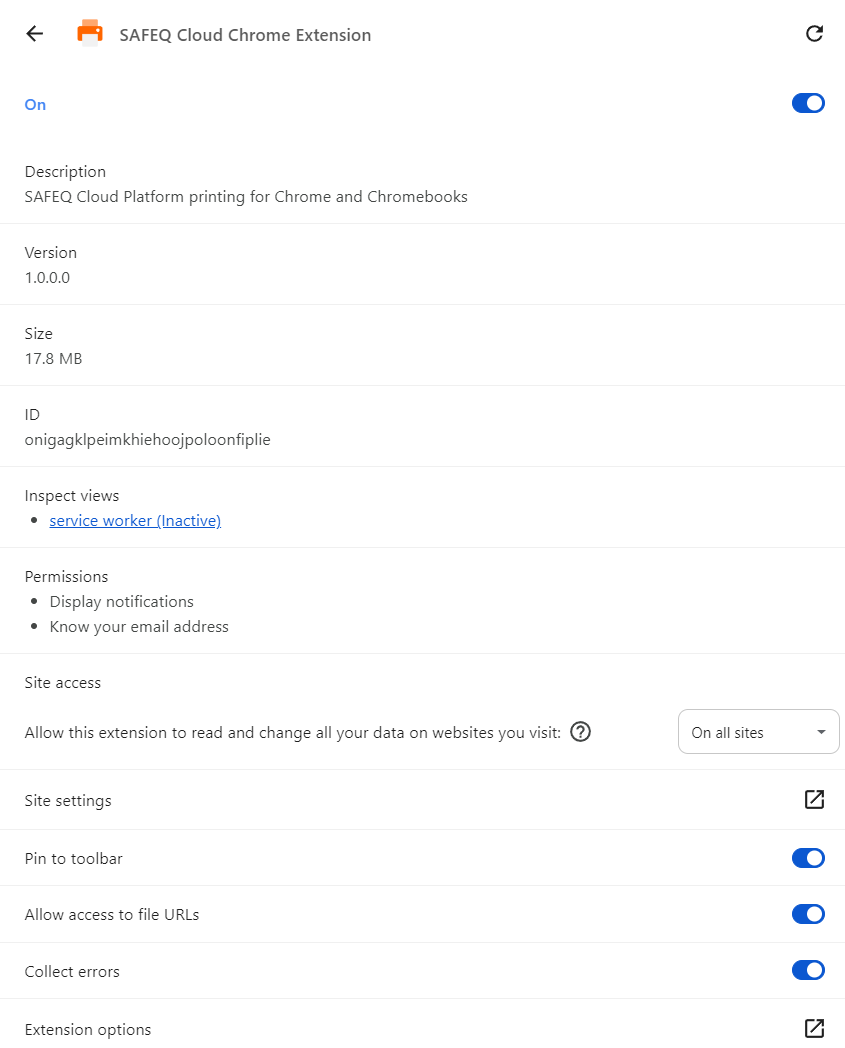
- Click Extension options to open the Extension options page. Note that this extension asks for permission to know the email address of the user logged in to Chromebook/Chrome browser.
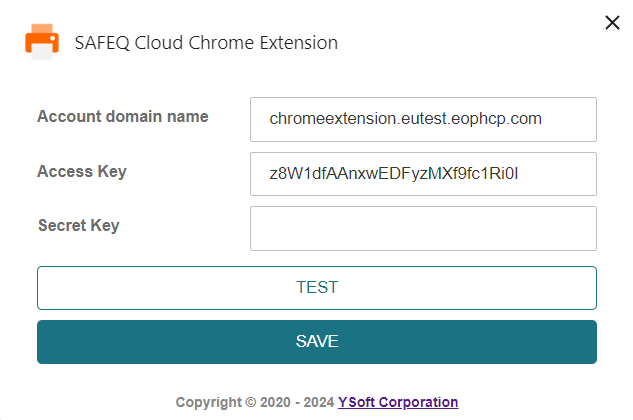
- Account domain name - The domain name of your Dispatcher Paragon Cloud account.
- Access Key - The API key used in the communication with the Dispatcher Paragon Cloud server.
- Test - Tests the connection to the Dispatcher Paragon Cloud server.
- Save - Saves the settings.
- For using the extension, see Using the SAFEQ Cloud Chrome Extension.
Configuring the extension remotely in Google Admin Console
If you wish to configure and distribute the extension across the devices in your organization remotely, perform the following steps:
- Log in to Google Admin Console.
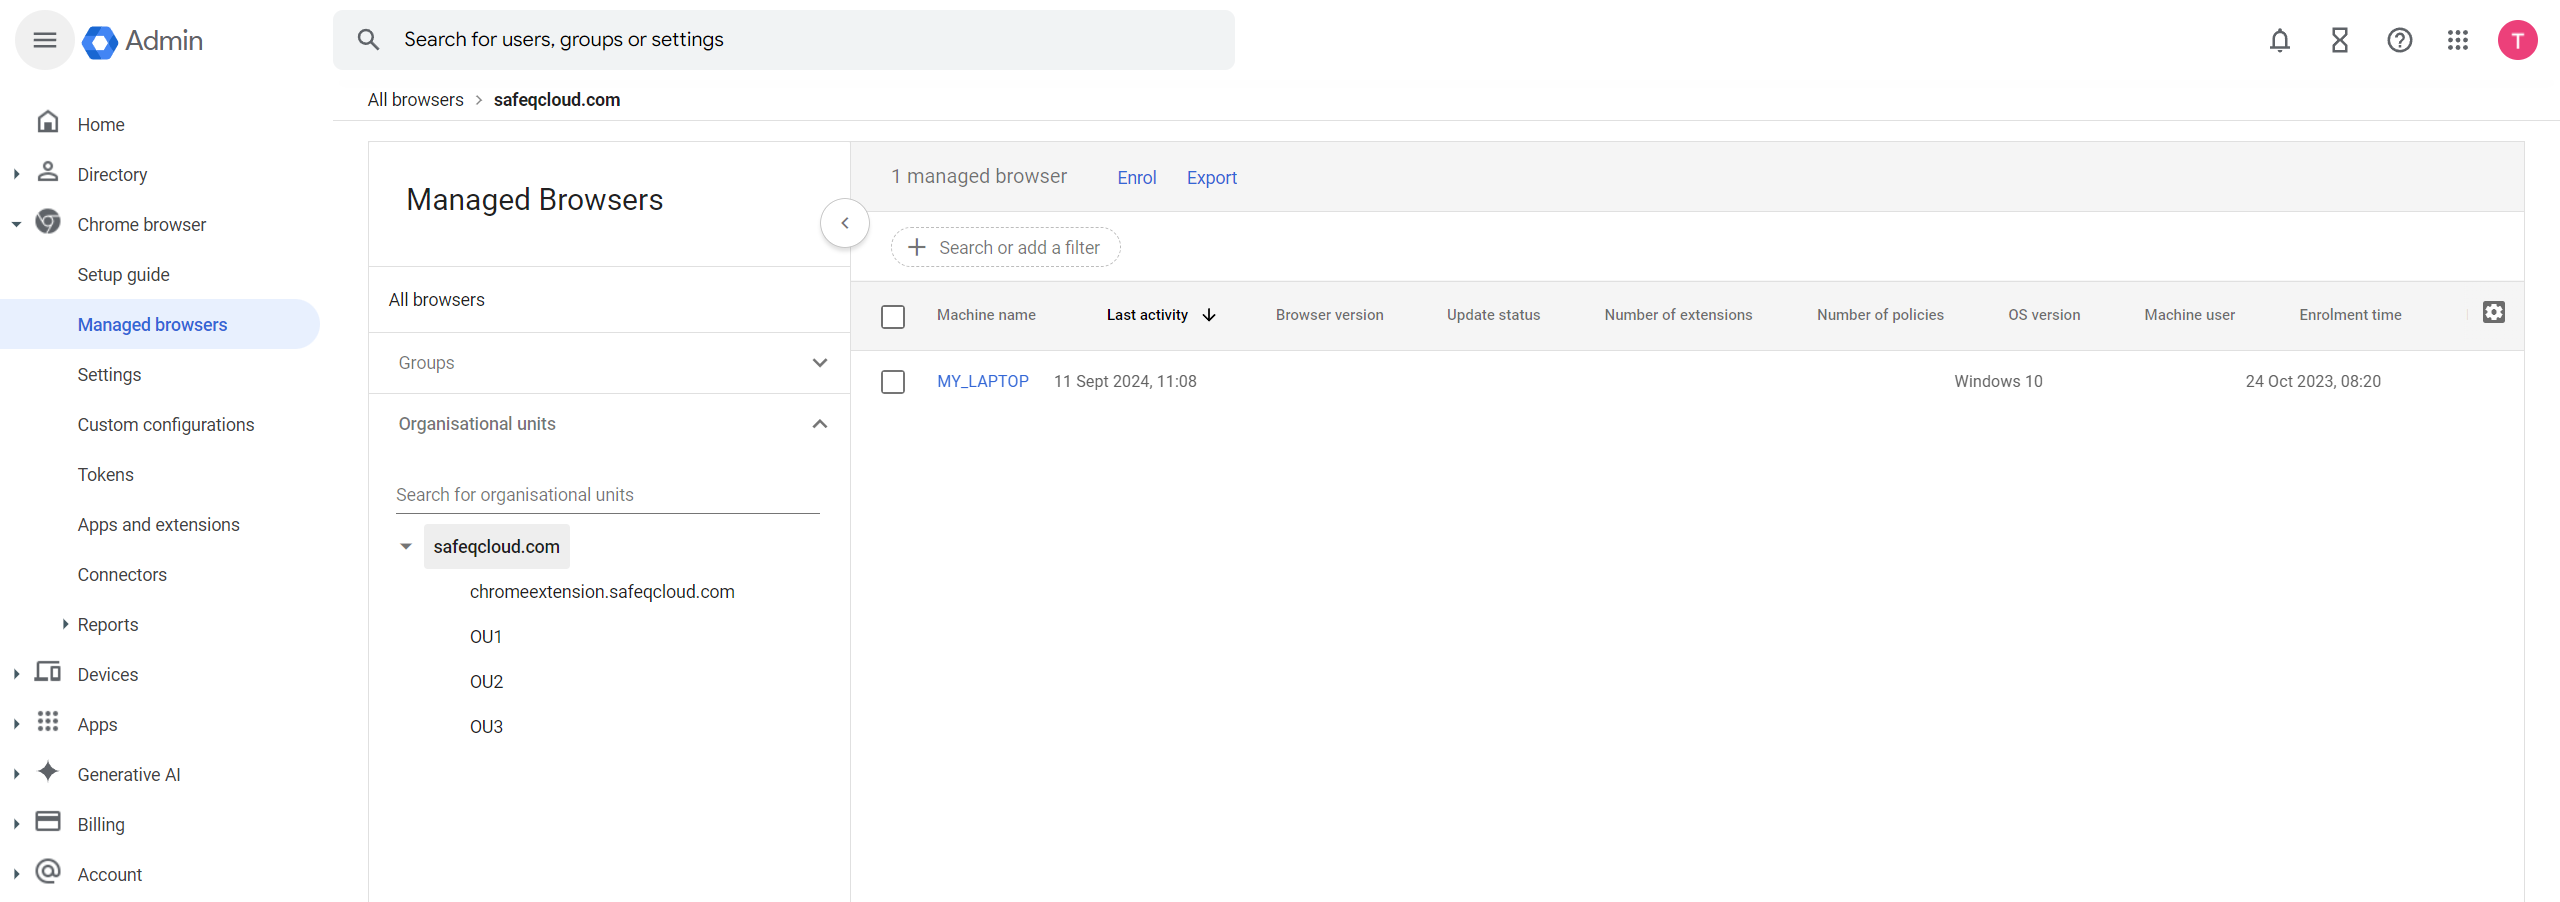
- Go to Managed browsers and check that all needed user browsers are enrolled and listed in the table. If not, enroll the required browsers in the corresponding Organizational Unit.
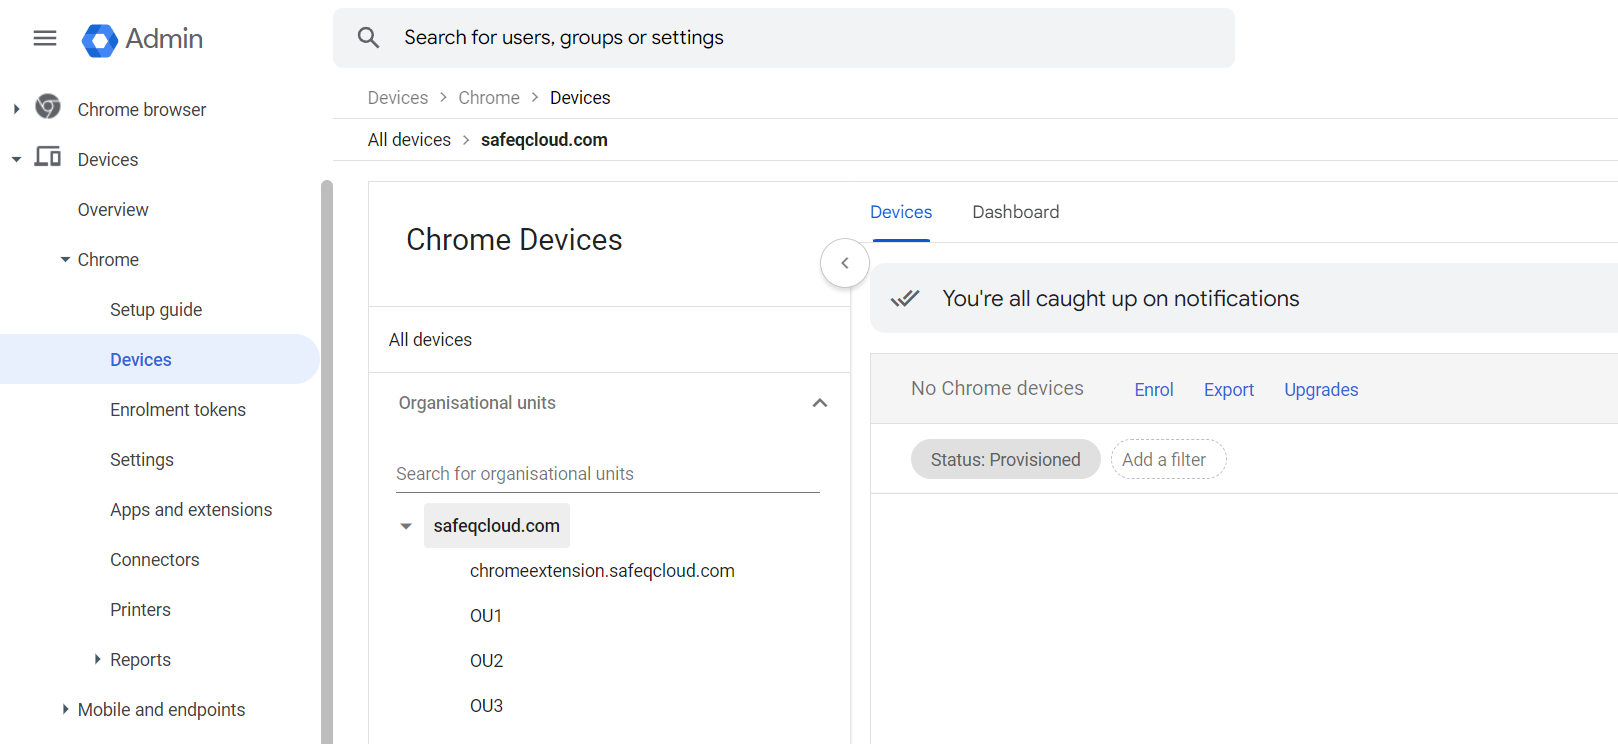
- Go to the Devices and check that all required Chromebook devices are enrolled and in Provisioned status.
- Go to Apps & extensions and click the Users and browsers tab.

- Click the yellow + button on the bottom right corner and select Add from Chrome Web Store.
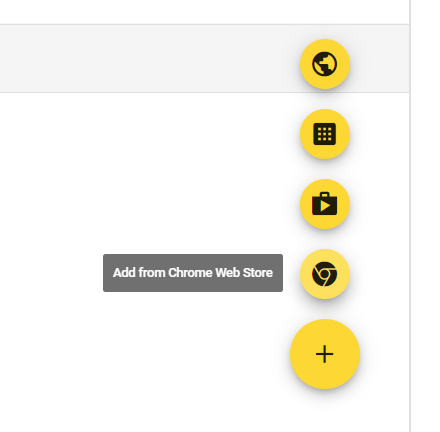
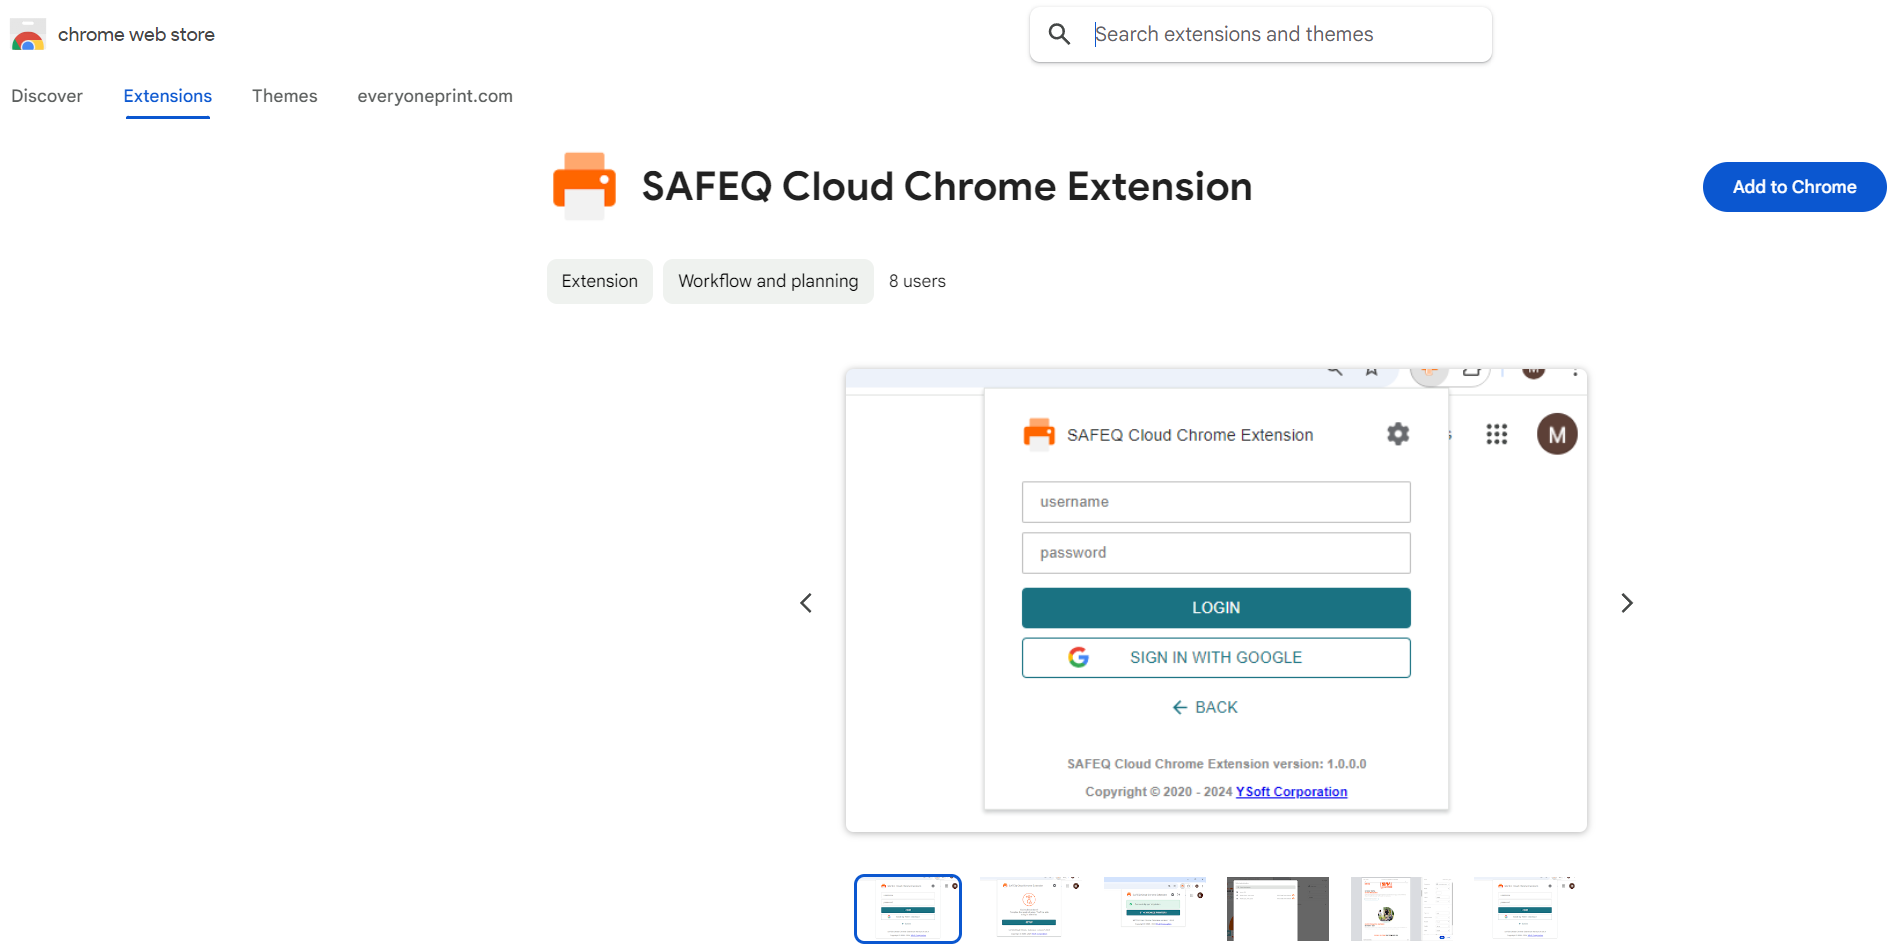
- Search for the SAFEQ Cloud Extension and click Add to Chrome.
- Click the extension in the list. This will open a new menu on the right side of the screen.
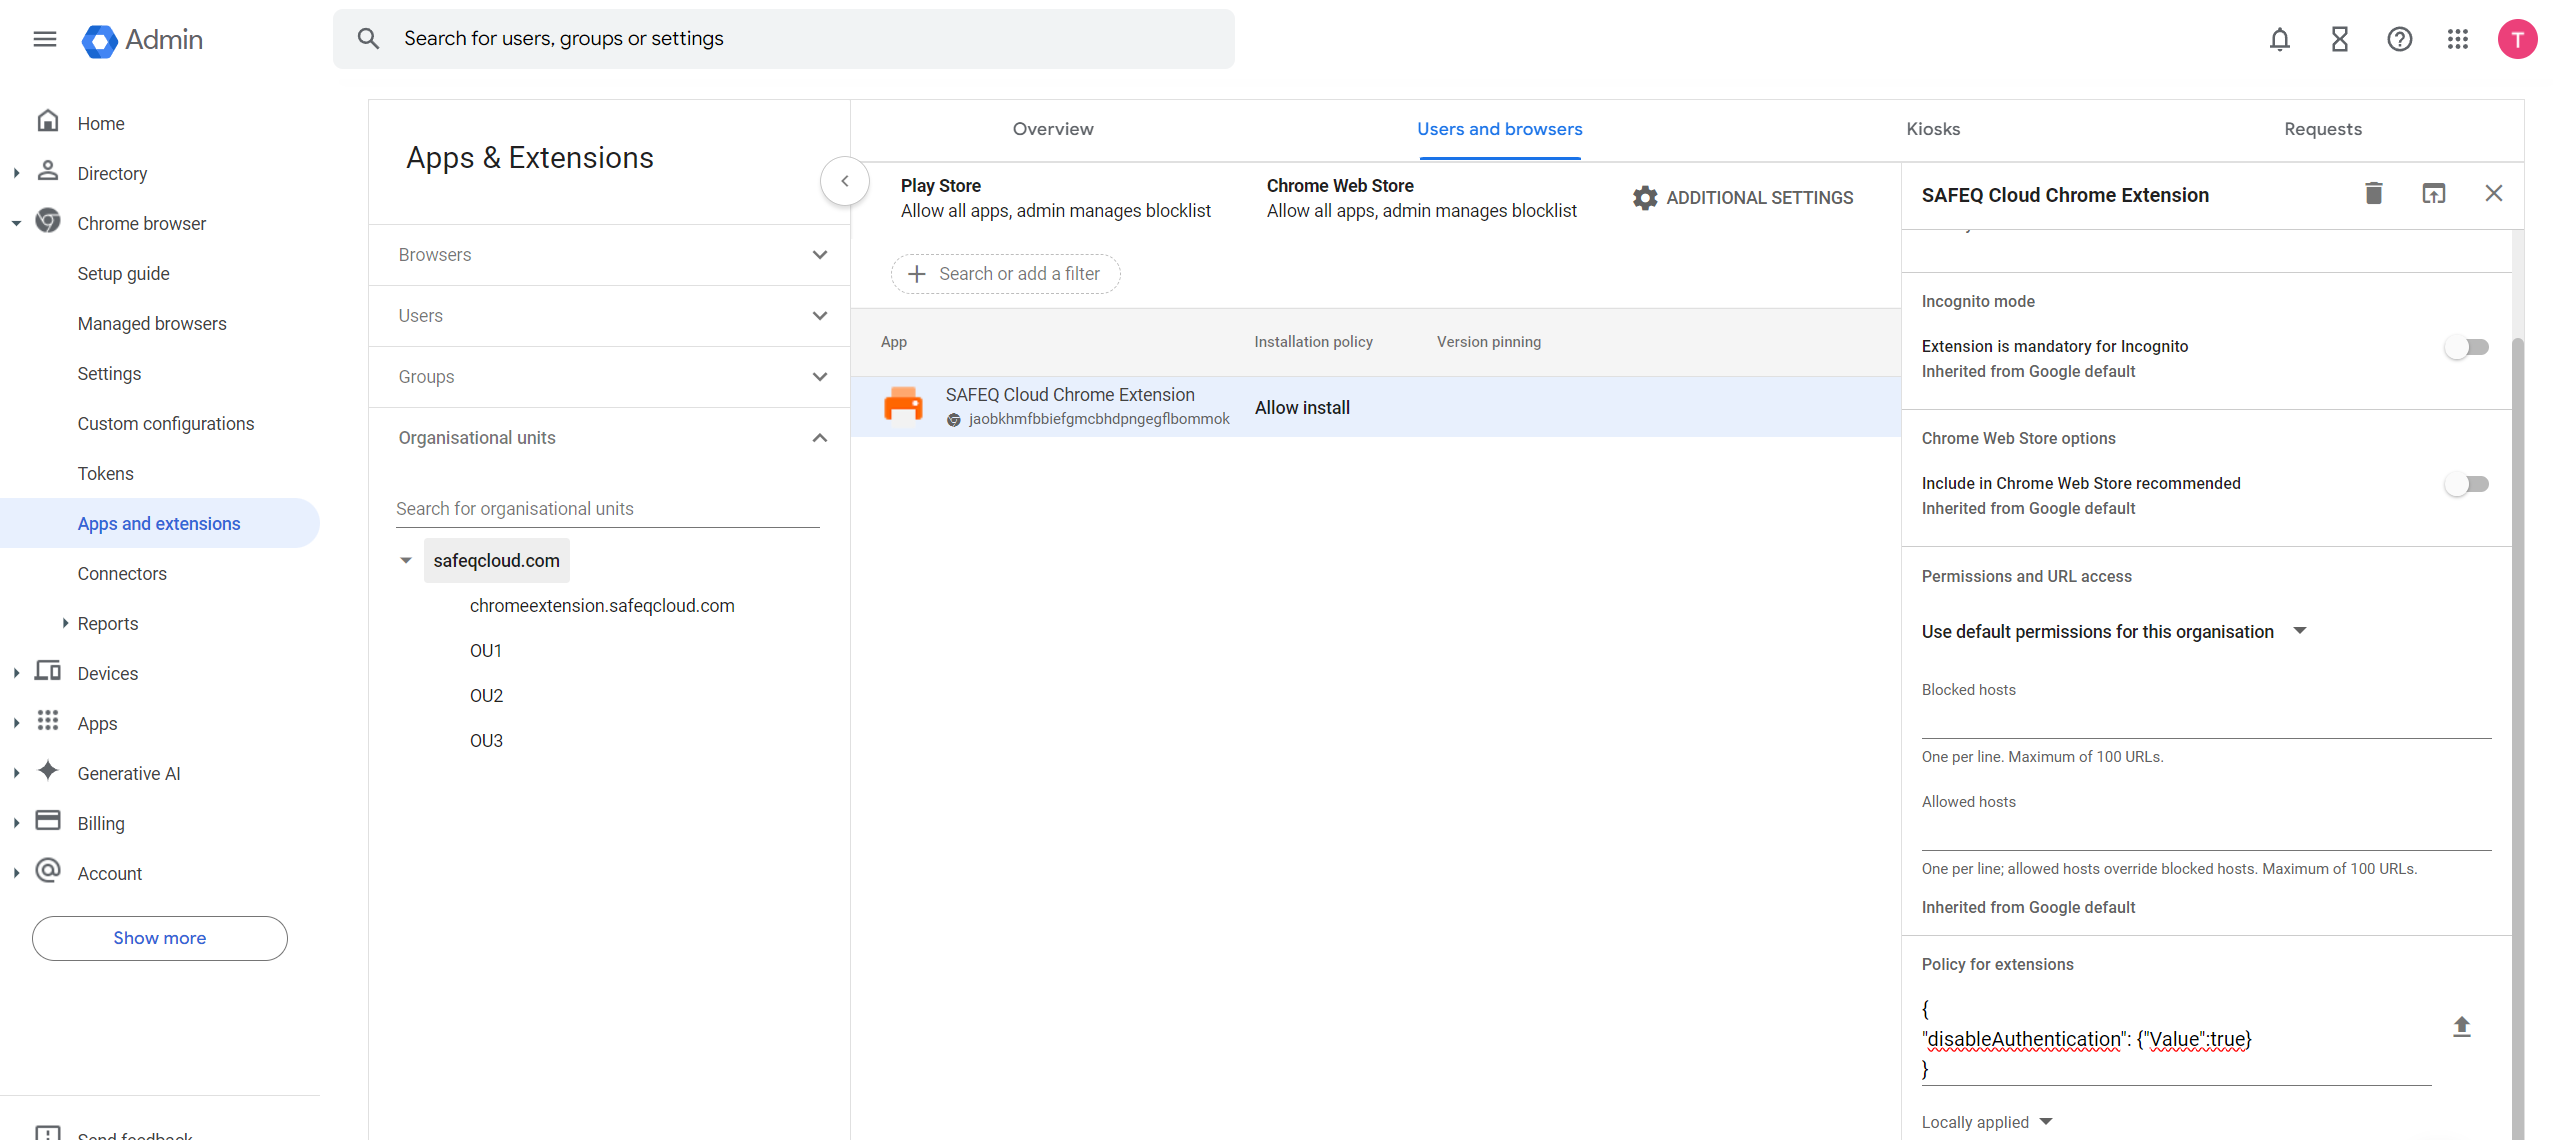
- Click Installation policy and select Force install.

- Scroll down and click Policy for extensions.
Enter configuration JSON with correct values in this form:
CODE{ "hostname": {"Value":"accountdomainname"}, "port": {"Value":"port"}, "apikey": {"Value":"apikeyvalue"}, "disableAuthentication": {"Value":false|true}, "secret": {"Value": "secretkeyvalue"} }hostname– Your Dispatcher Paragon Cloud account domain name.port– Not required. Note: If port value is null, enter "". Otherwise, enter the value without quotation marks.apikey– The API key value for the default Google Chrome API key in Dispatcher Paragon Cloud (Note: this can be set to a custom string if required). For EveryonePrint Mobile Print, this is not required.disableAuthentication– If set toFalse, the extension will require the user to log in. If set toTrue, the extension will be set to bypass the login and authenticate the user by email only.If “disableAuthentication” is set to true, the default Chrome Extension API key permissions must have “Allow untrusted endpoints” set. This means that the API key could be used to submit jobs on behalf of other users. If so, we also recommend setting the "secret" to enhance security. Only set this flag to true if this risk is acceptable.
secret– G Suite OAuth2 identity provider secret key (if set).
