
Prerequisites
-
The MFD must have OSA 5.5 or higher.
-
Make sure that you have Cloud Terminal Integration enabled. For information on how to do this, see Enable Cloud terminal integration.
Limitations
Cloud print
-
If a finishing option is not available in print API, it will be omitted.
-
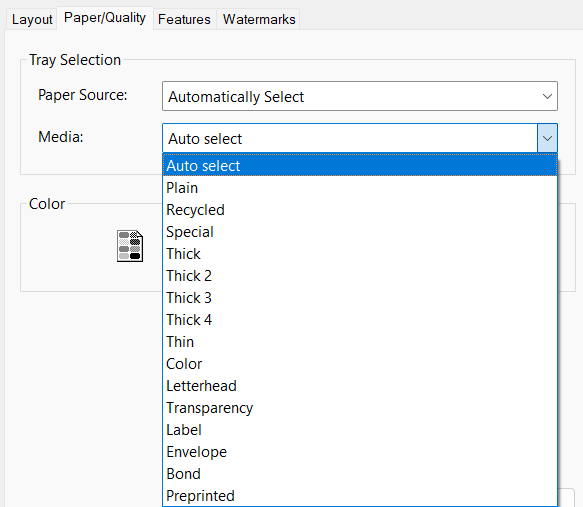
Media type selection is not supported.
-
Toner saving (economy printing) is not supported.
-
Specific paper size is supported only for the following formats: A3, A4, A5, A6, B4, B5, Executive, Legal, Letter, Ledger, Tabloid
-
Tray 6 input type is not supported.
-
The stapling and punching functionality can vary based on the type of finisher, paper size, and paper orientation, which may result in outcomes that differ from expectations.
-
The UpperRight stapling option is not supported.
Authentication
-
Users cannot log out via their cards
-
Authentication can fail at printers that do not support TLSv1.3. For how to configure these printers properly, see the Troubleshooting section of this page.
Scan
-
When scanning from the glass, a prompt to place a new original appears every time, regardless of whether the Merging Originals function is used.
Uninstallation
-
When uninstalling the terminal using Terminal Deployment Tool during an ongoing user session at the MFD, the action will fail and uninstallation needs to be performed manually afterwards.
Installing the cloud terminal
Manual installation
The terminal can be installed manually, using installation packages and the MFD's web interface.
Follow the procedure described in section Manual installation.
Installing using Terminal Deployment Tool
The terminal can be installed using the Terminal Deployment Tool.
-
Start with adding your Sharp MFD and creating the embedded configuration in Dispatcher Paragon Cloud Web UI. See section Adding the Sharp printer and Embedded configuration in Dispatcher Paragon Cloud Web UI of this guide.
-
Go to Printers > Embedded templates and open the newly created embedded configuration.
-
Click Manual operations.
-
Follow the instructions in the dialogue window.
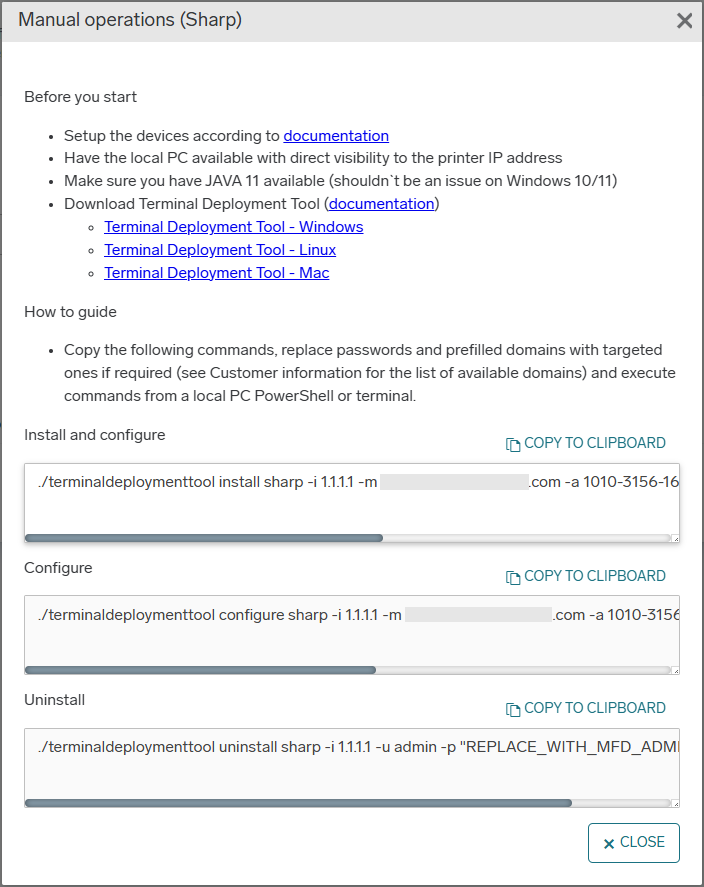
Examples:
Install
.\terminaldeploymenttool.bat install sharp -m <DOMAIN> -a <API_KEY> -i <MFD_IP> -u <MFD_ADMIN_USER> -p <MFD_ADMIN_PASS>

Configure
.\terminaldeploymenttool.bat configure sharp -m <DOMAIN> -a <API_KEY> -i <MFD_IP> -u <MFD_ADMIN_USER> -p <MFD_ADMIN_PASS>

Uninstall
.\terminaldeploymenttool.bat uninstall sharp -i <MFD_IP> -u <MFD_ADMIN_USER> -p <MFD_ADMIN_PASS>
The example commands are generated regardless of the operating system.
For Windows, the full file name should be used in the command so that each command starts with ./terminaldeploymenttool.bat
Registering the cloud terminal in Dispatcher Paragon Cloud Web UI
-
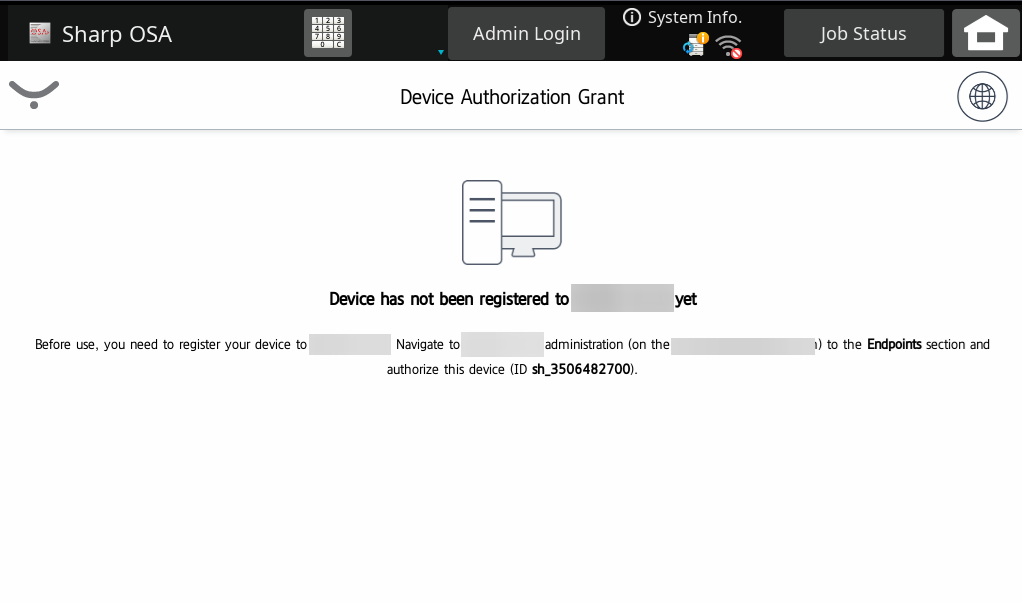
Upon installing the terminal, you will see a screen with the Serial Number of the device (prefixed with sh_). Note down the ID number.
-
In Dispatcher Paragon Cloud web UI, go to Security > Endpoints and find the entry with ID number that you noted in the previous step. Select the entry and click Authorize selected.

-
Back at the MFD, you will see the following screen:
Adding the Sharp printer and Embedded configuration in Dispatcher Paragon Cloud Web UI
These steps are optional and if not performed, the Sharp printer will be added automatically after the endpoint is authorised, see Registering the cloud terminal in the Dispatcher Paragon Cloud Web UI section of this page.
If you want to connect the MFD that is already connected and registered to a different Dispatcher Paragon Cloud account, you must remove the Embedded applications in the Sharp OSA settings and add them again (see the Installing the cloud terminal section of this guide).
-
In the Dispatcher Paragon Cloud Web UI, go to Printers > Embedded templates.
-
If not done already, create an embedded configuration for your Sharp MFD(s) by clicking Add.
-
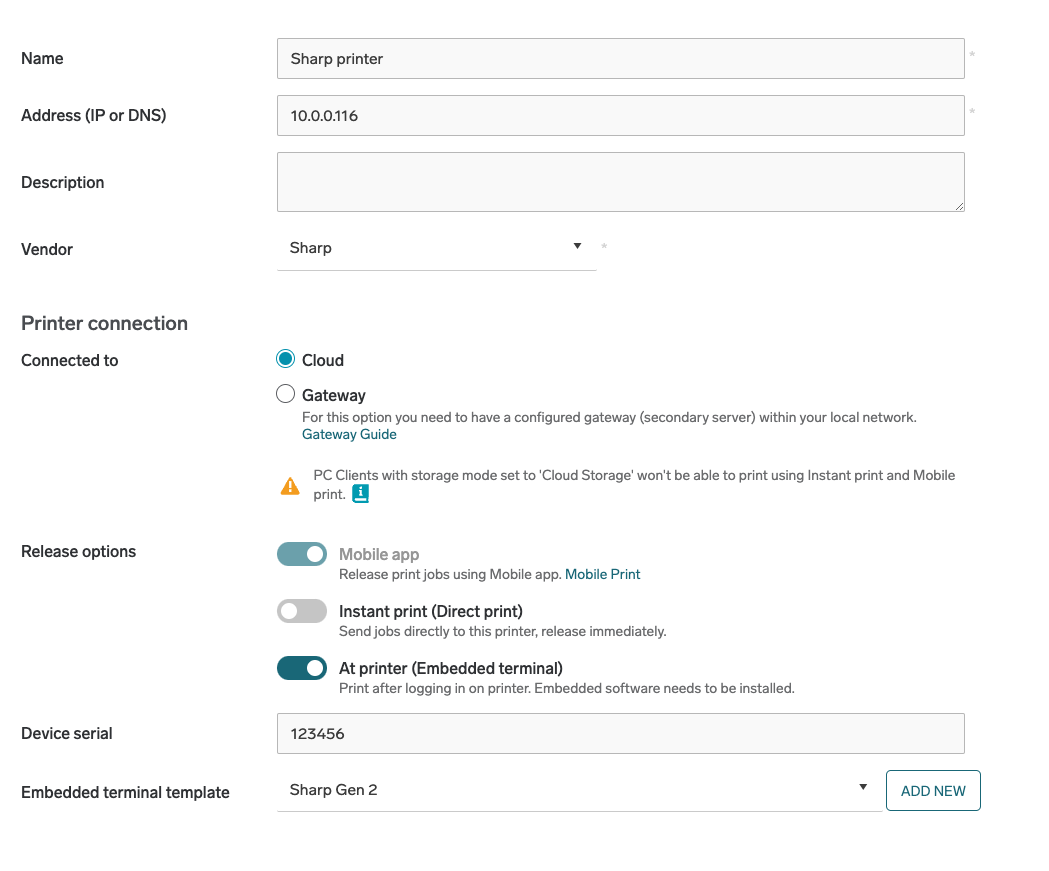
In Vendor, select Sharp.
-
In Application type, select Sharp Gen 2.
-
Fill in the rest of the configuration according to your needs and click Save. For more information on embedded configuration, see Embedded Terminals' configuration.
-
Go to Printers.
-
Click Add.
-
In Vendor, select Sharp.
-
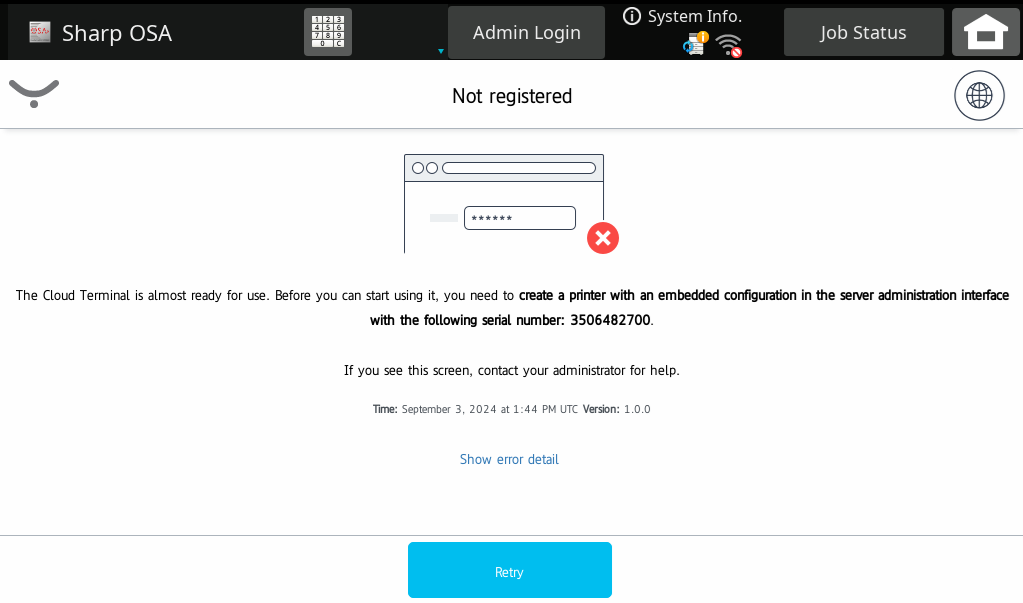
In Serial number, enter the serial number that the MFD displayed on the screen in the previous steps.
-
Fill in all the other required information.
-
In Embedded configuration, select your Sharp embedded configuration from the list.
-
Click Save.
Accessing terminal application settings
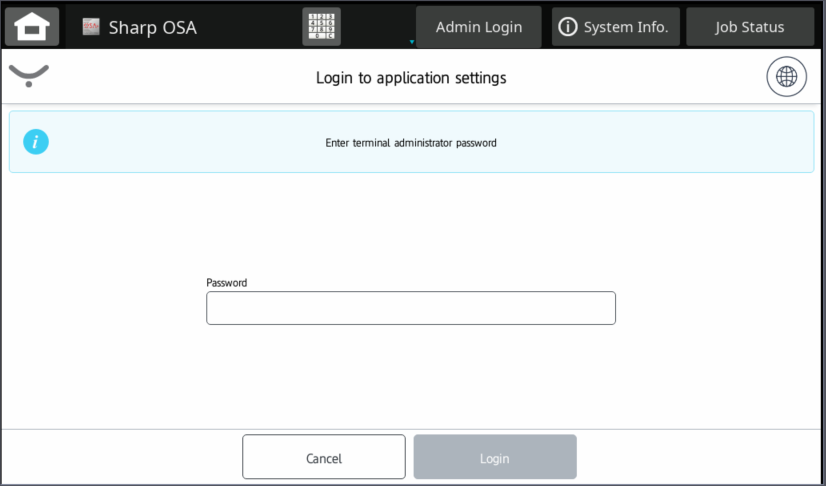
On certain screens (Authentication screen, Device Authorization Grant screen), while there is no explicit button to access settings, the administrator can access the terminal application settings by holding the terminal logo pressed for 5 seconds.
-
Admin login screen appears. Terminal admin default password is 'Sharp123'.
Accessing terminal application logs
Application logs can be found under the following URL:
https://<MFD_IP>:10443/apps/O2L000021/SafeqCloudAuth/Log.ejs
To access this URL, please use the following credentials: user name 'admin' and the specified 'Terminal admin password' (if set, otherwise use the default password 'Sharp123').
By default, this retrieves log file for the current day - if all stored logs should be retrieved from MFD, append the following query parameter to the URL: "?allFiles=true".
In case logs are larger due to extensive usage of MFP, debug log level, or retrieving all log files, because of MFP server limits, it may not be possible to retrieve the whole content at once. If downloaded log file is incomplete, use the following query parameter to retrieve the log by individual 1MB pages: "?page=1" (up to a page number where no content is downloaded). The page parameter can also be used in combination with allFiles parameter.
For more detailed logging, the admin can select different log levels (e.g., Debug, Info) in the terminal application settings.

Security recommendations
Following can be done to improve MFD security on local network:
-
For customers that do not require installation via Terminal Deployment Tool and do not need terminal log access, it is possible to disable the Sharp OSA ports (10080, 10443) in MFD settings to prevent local access to application endpoints.
-
Because Sharp Cloud Terminal cannot use device admin password to authenticate settings screen access, customers should change the default terminal admin password value to a custom one, to decrease risk of configuration tampering (local access to MFD only).
-
Make sure package signature verification is enabled so device will not allow you install unsigned packages. Terminal deployment tool enables checking by default.
Troubleshooting
Error message "Cannot communicate with authentication server. Call administrator"
Problem description: When trying to use the MFD, you get an error message:
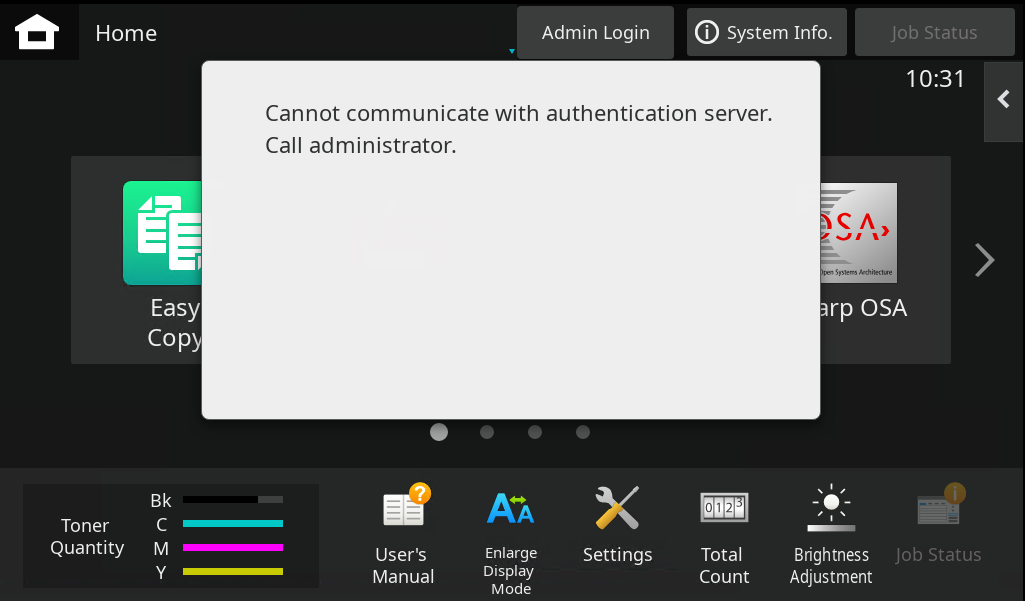
Solution: A possible cause of this is that Sharp OSA is configured for authentication; however, Offline authentication is enabled (possibly from the previous state of the MFD). You must disable it. See the Device setup section of this guide.
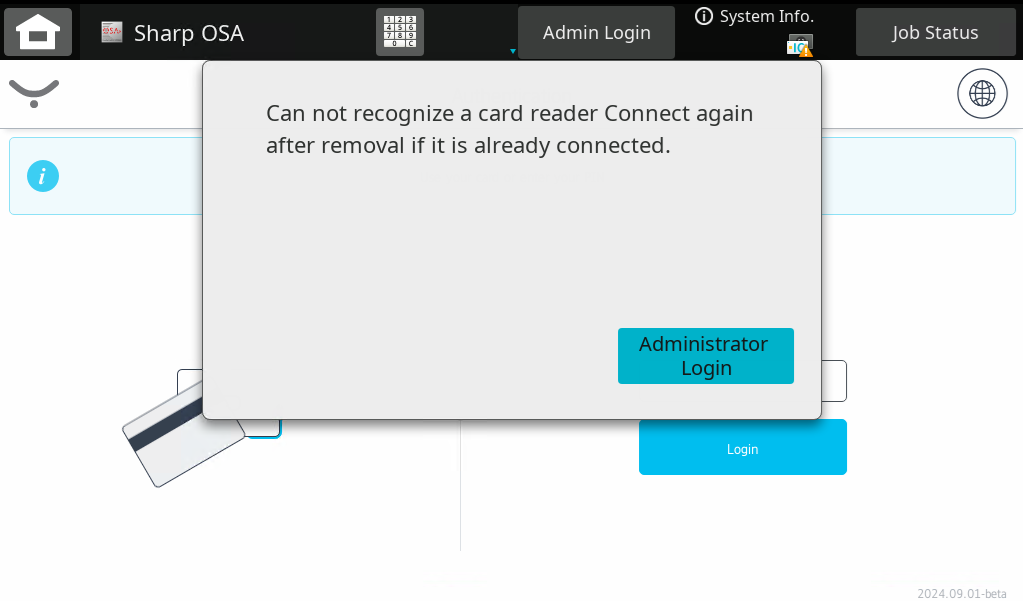
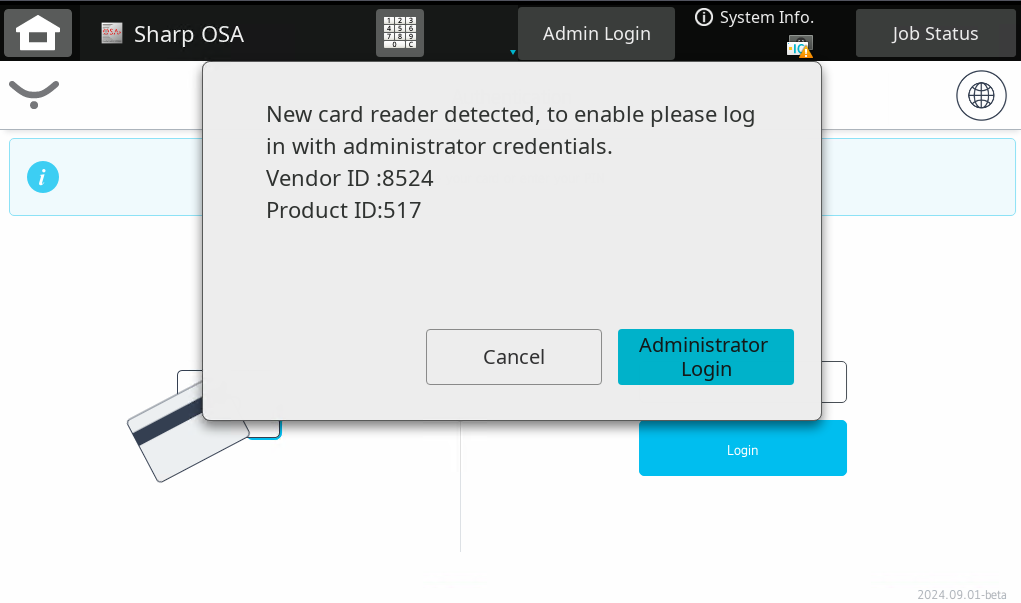
The card reader is not working
Problem: The card reader is not recognized.
Solution:
-
A possible cause is that the reader is not enabled after it was plugged in.
-
Connect the card reader to the MFD. A prompt to enable it will appear. Tap Administrator Login and log in as machine administrator.
-
Enable the card reader. You will see a message "Detected the device."
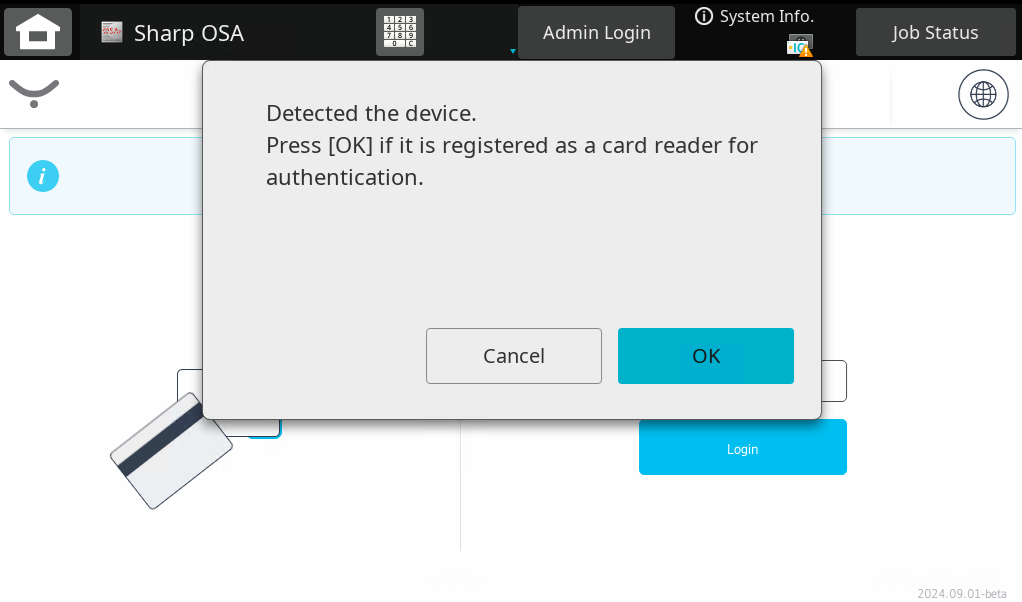
-
Note that if you disconnect and then reconnect the reader, you might be required to enable it again.