
Device setup
-
If you plan to use a card reader, connect it to the MFD.
-
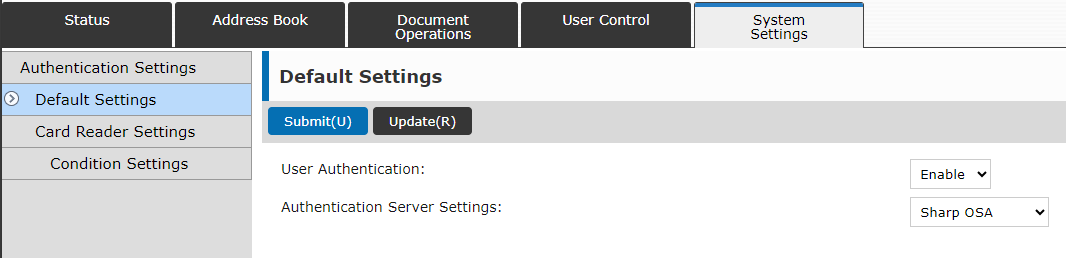
Log in to the MFD UI and go to System Settings > Authentication settings.
-
Enable User Authentication.
-
In the Authentication Server Settings, select Sharp OSA.
-
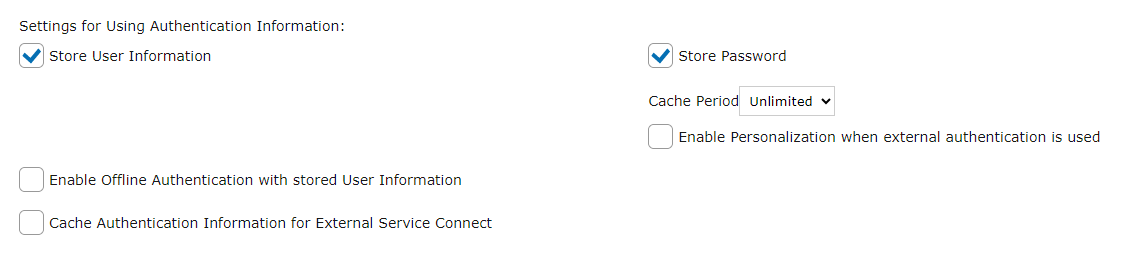
Make sure that Offline Authentication is disabled.
-
Select Store User Information
-
Deselect Enable Offline Authentication with stored User Information.
-
Deselect Store User information again.
-
-
Select Use IC Card for Authentication.

Installing the cloud terminal
The terminal can only be installed manually via installation packages. Installation packages are available in the Dispatcher Paragon Cloud Web UI in the Installation files section.
To install the terminal, perform the following steps:
-
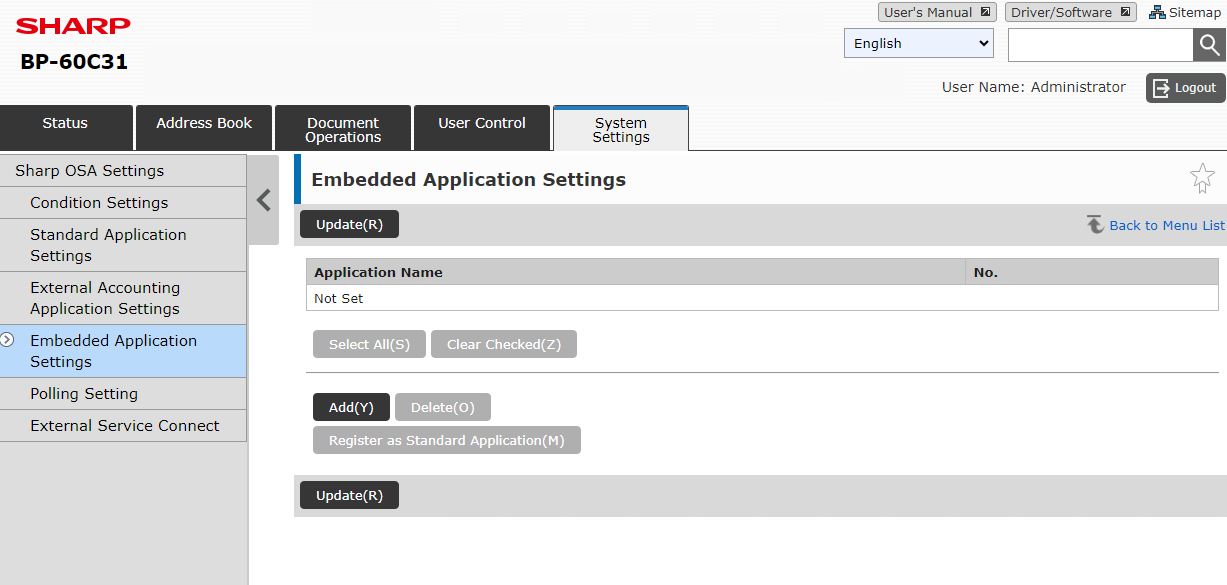
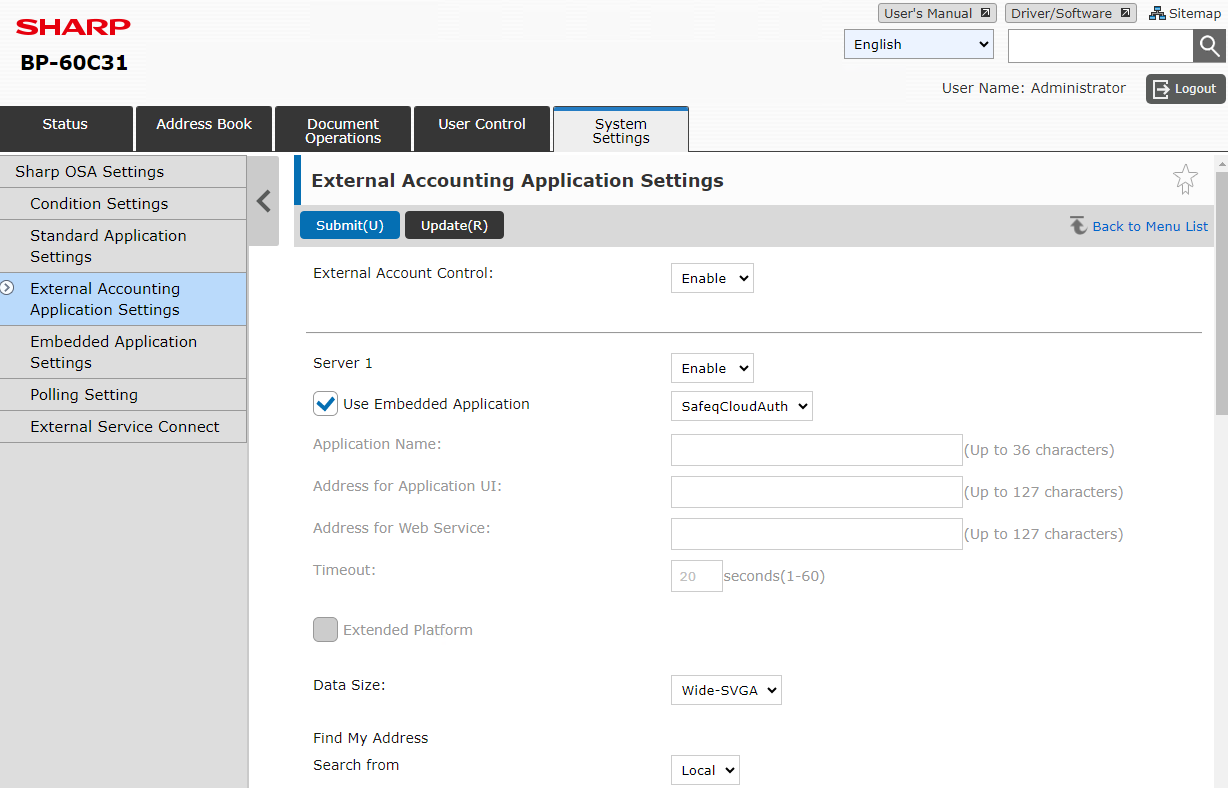
Log into the MFD UI and go to System Settings > Sharp OSA Settings.
-
In Embedded Application Settings, tap Add.
-
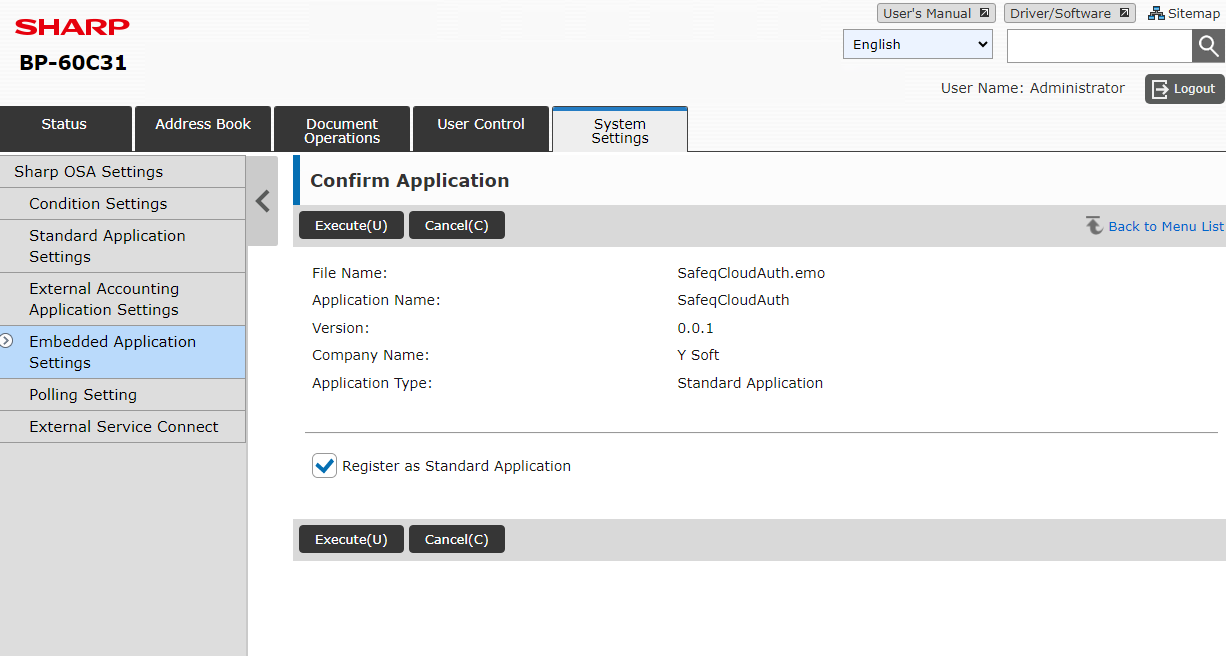
Tap Browse and select the SafeqCloudAuth.emo package and SafeqCloudTerminal.emo.
-
Tap Execute.
-
In External Accounting Application Settings, select Enable and assign the SafeqCloudAuth embedded application as Server 1. Disable servers 2-4.
-
Tap Submit.
-
Reboot the MFD.
Configuring the Terminal settings
-
Have your Dispatcher Paragon Cloud domain at hand. You can find it in Dispatcher Paragon Cloud Web UI in the Customer information section.
-
If you haven't done so already, create an API key of the Embedded type. See API access keys.
-
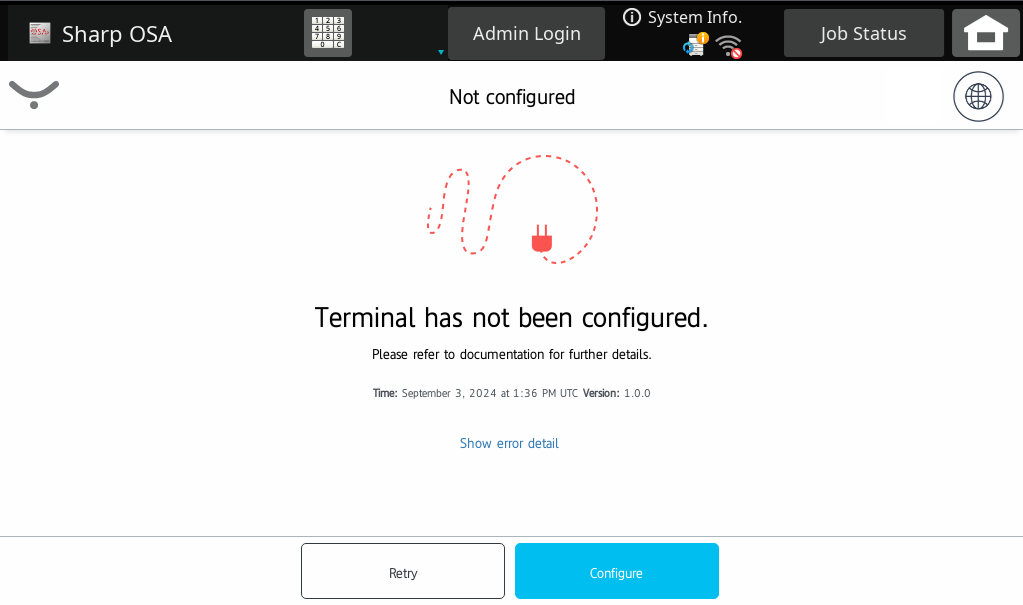
After rebooting the MFD, you will be presented with the Not configured screen. Tap Configure.
-
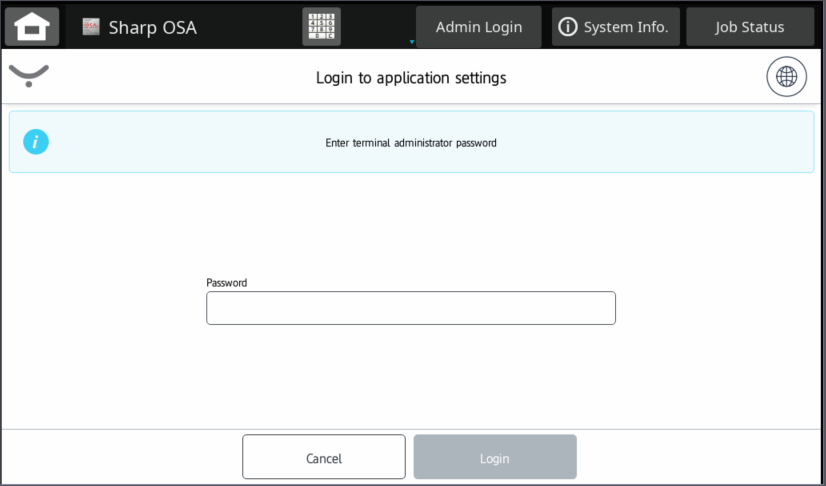
Admin login screen appears. Terminal admin default password is 'Sharp123'.
-
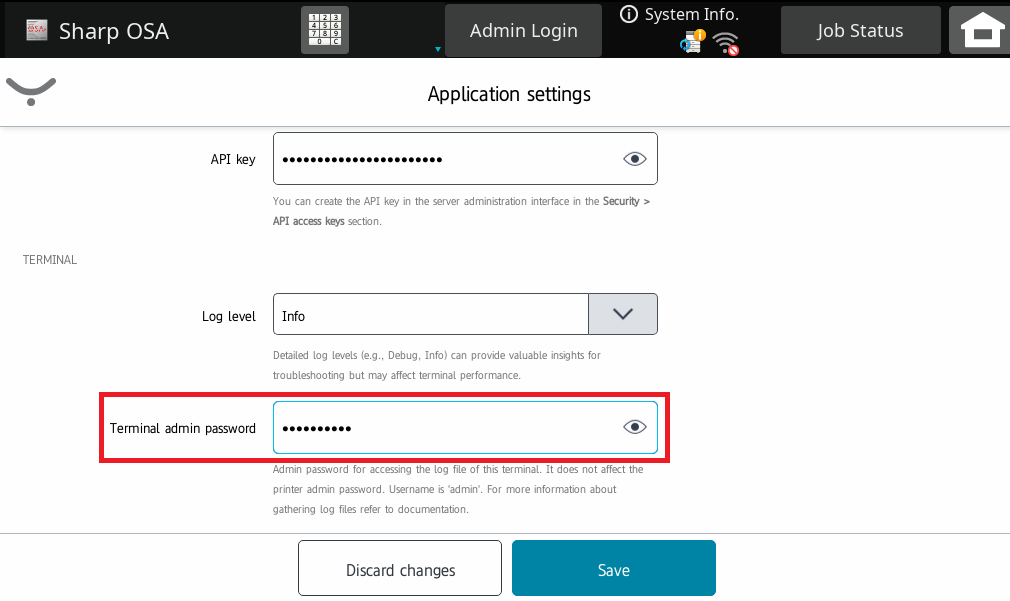
Enter your Dispatcher Paragon Cloud domain and API key. You can verify the domain by tapping Test connection.
-
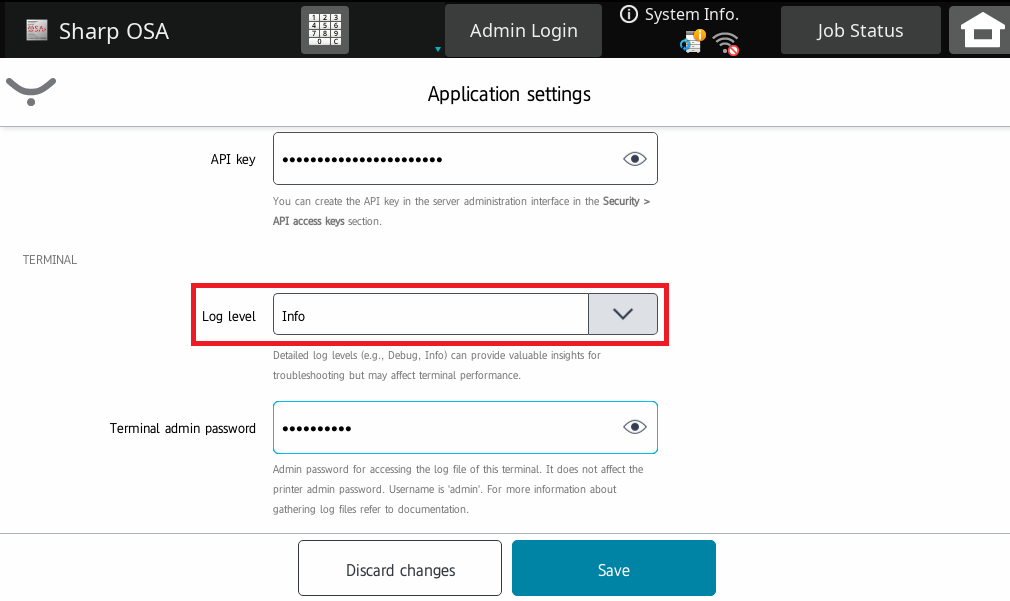
In Log level, you can choose four levels of log details (Debug, Info, Warning, Error). We recommend the default level - Info. The Debug level will give Konica Minolta more information for troubleshooting but may slow down the terminal.
-
In the Terminal admin password field, you can set the password that will be used when accessing device logs and the application settings . If left empty, the default password "Sharp123" will be used instead. For security reasons, we recommend filling in the field.
-
Tap Save.
Registering the cloud terminal in Dispatcher Paragon Cloud Web UI
-
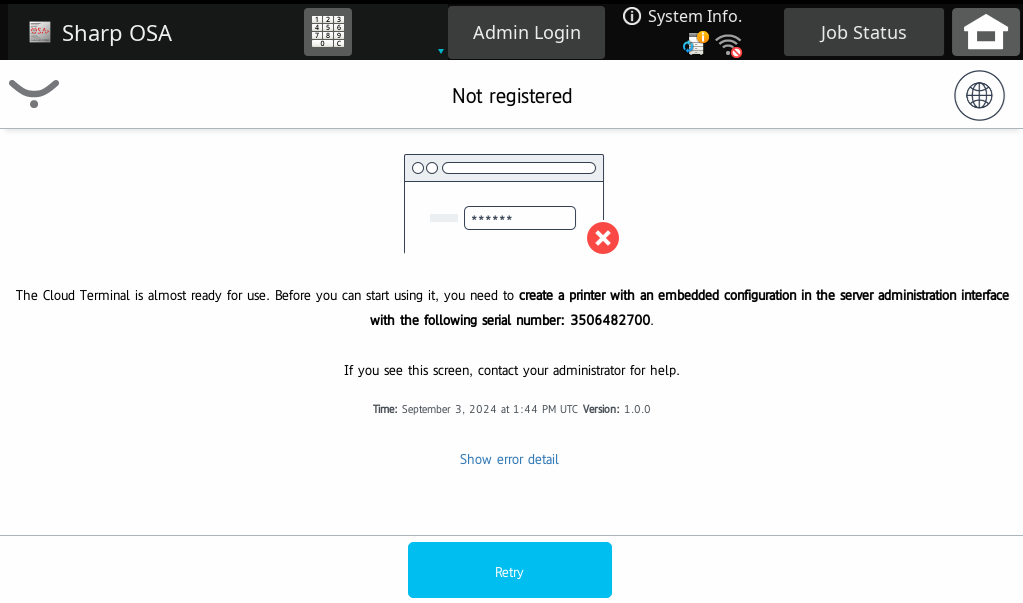
Upon installing the terminal, you will see a screen with the Serial Number of the device (prefixed with sh_). Note down the ID number.
-
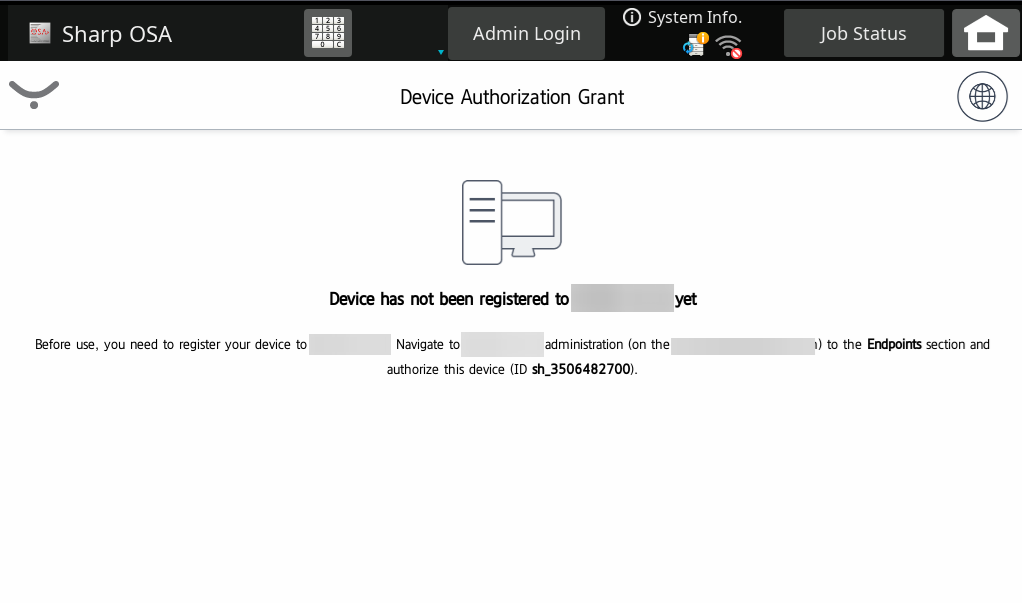
In Dispatcher Paragon Cloud web UI, go to Security > Endpoints and find the entry with ID number that you noted in the previous step. Select the entry and click Authorize selected.

-
Back at the MFD, you will see the following screen:
Adding the Sharp printer and Embedded configuration in Dispatcher Paragon Cloud Web UI
These steps are optional and if not performed, the Sharp printer will be added automatically after the endpoint is authorised, see Registering the cloud terminal in the Dispatcher Paragon Cloud Web UI section of this page.
If you want to connect the MFD that is already connected and registered to a different Dispatcher Paragon Cloud account, you must remove the Embedded applications in the Sharp OSA settings and add them again (see the Installing the cloud terminal section of this guide).
-
In the Dispatcher Paragon Cloud Web UI, go to Printers > Embedded templates.
-
If not done already, create an embedded configuration for your Sharp MFD(s) by clicking Add.
-
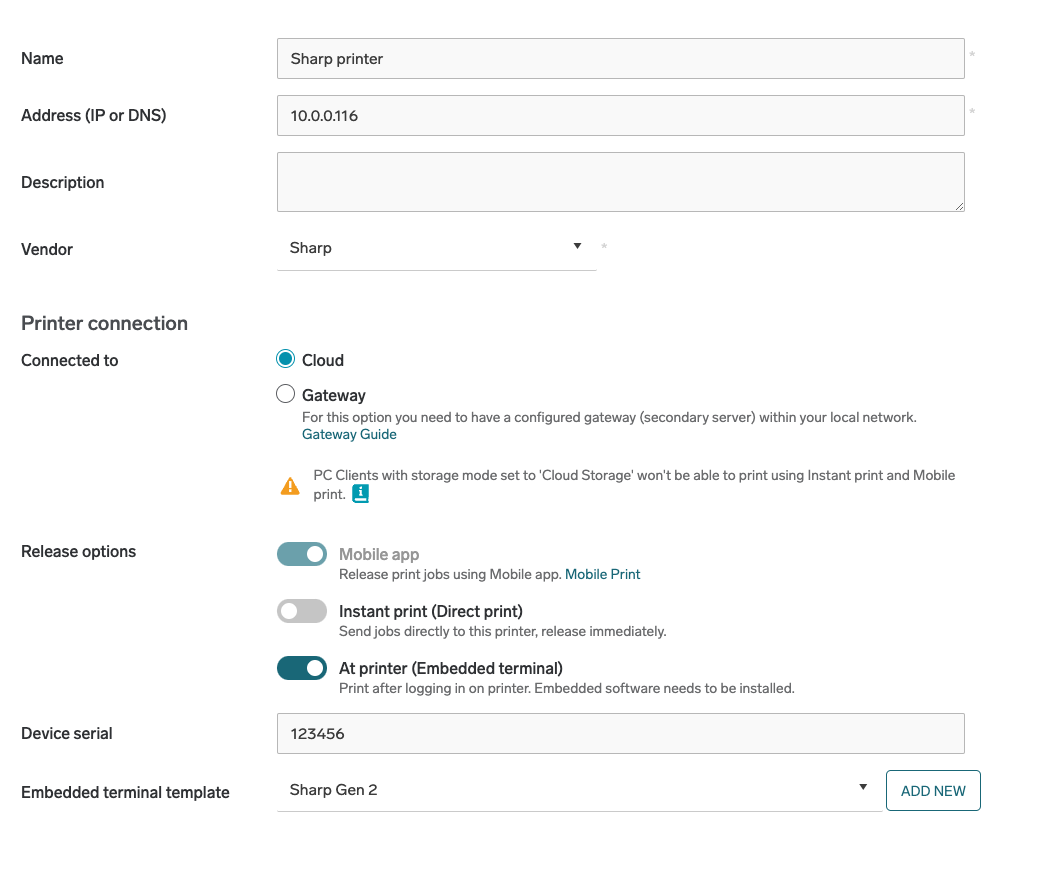
In Vendor, select Sharp.
-
In Application type, select Sharp Gen 2.
-
Fill in the rest of the configuration according to your needs and click Save. For more information on embedded configuration, see Embedded Terminals' configuration.
-
Go to Printers.
-
Click Add.
-
In Vendor, select Sharp.
-
In Serial number, enter the serial number that the MFD displayed on the screen in the previous steps.
-
Fill in all the other required information.
-
In Embedded configuration, select your Sharp embedded configuration from the list.
-
Click Save.
-
Return to MFD, if you see the screen from the end of the previous section tap Reload. The MFD will now display a login screen with your chosen authentication type.