This page describes the steps to create an authentication client application in the Auth0 identity platform.
Creating a Native application
-
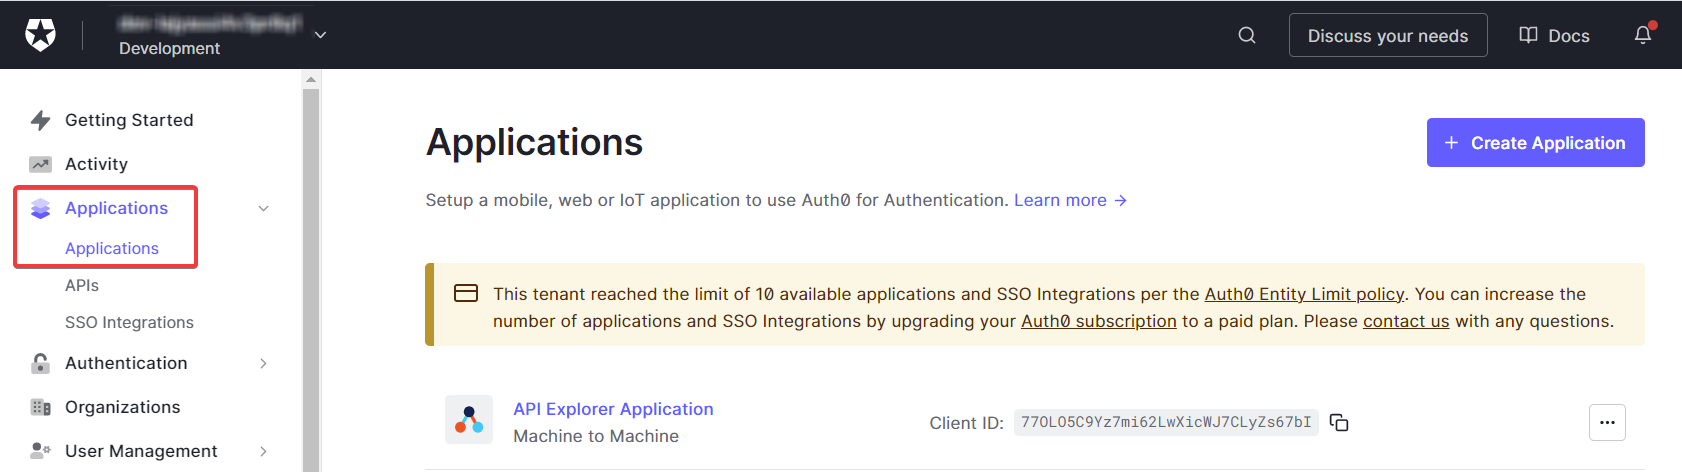
Log in to Auth0 identity platform and navigate to Applications > Applications .
-
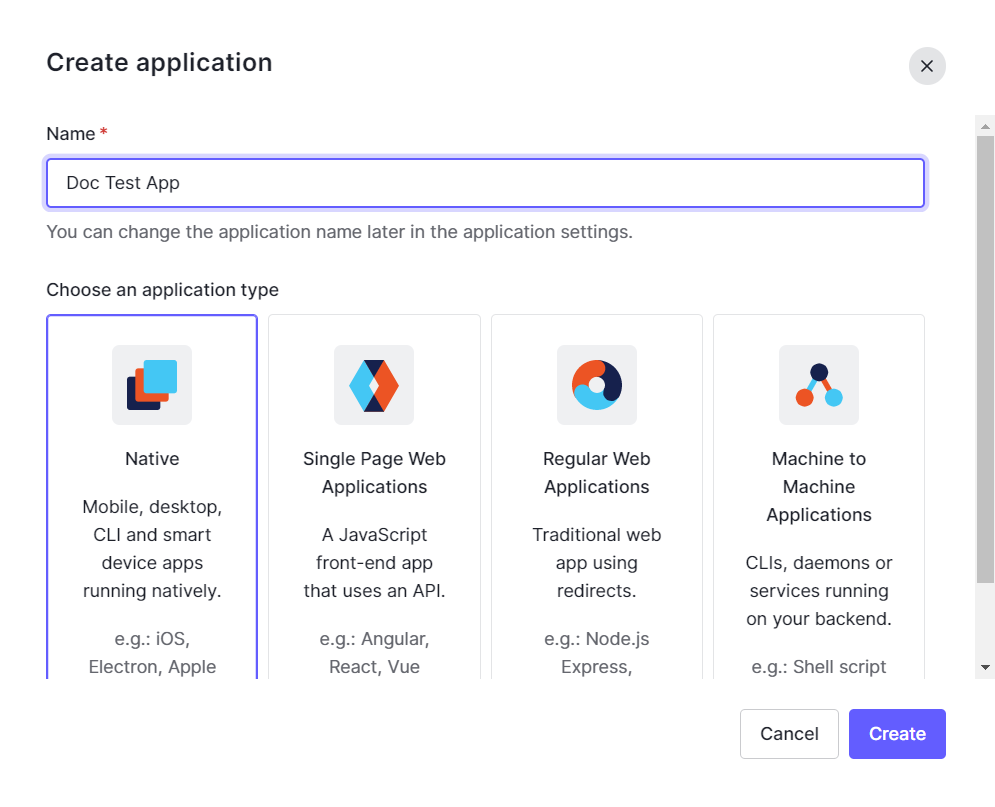
Click Create application. In Choose application type, click Native .
-
In Name, enter the application name.
-
Click Create and go to the Settings tab.
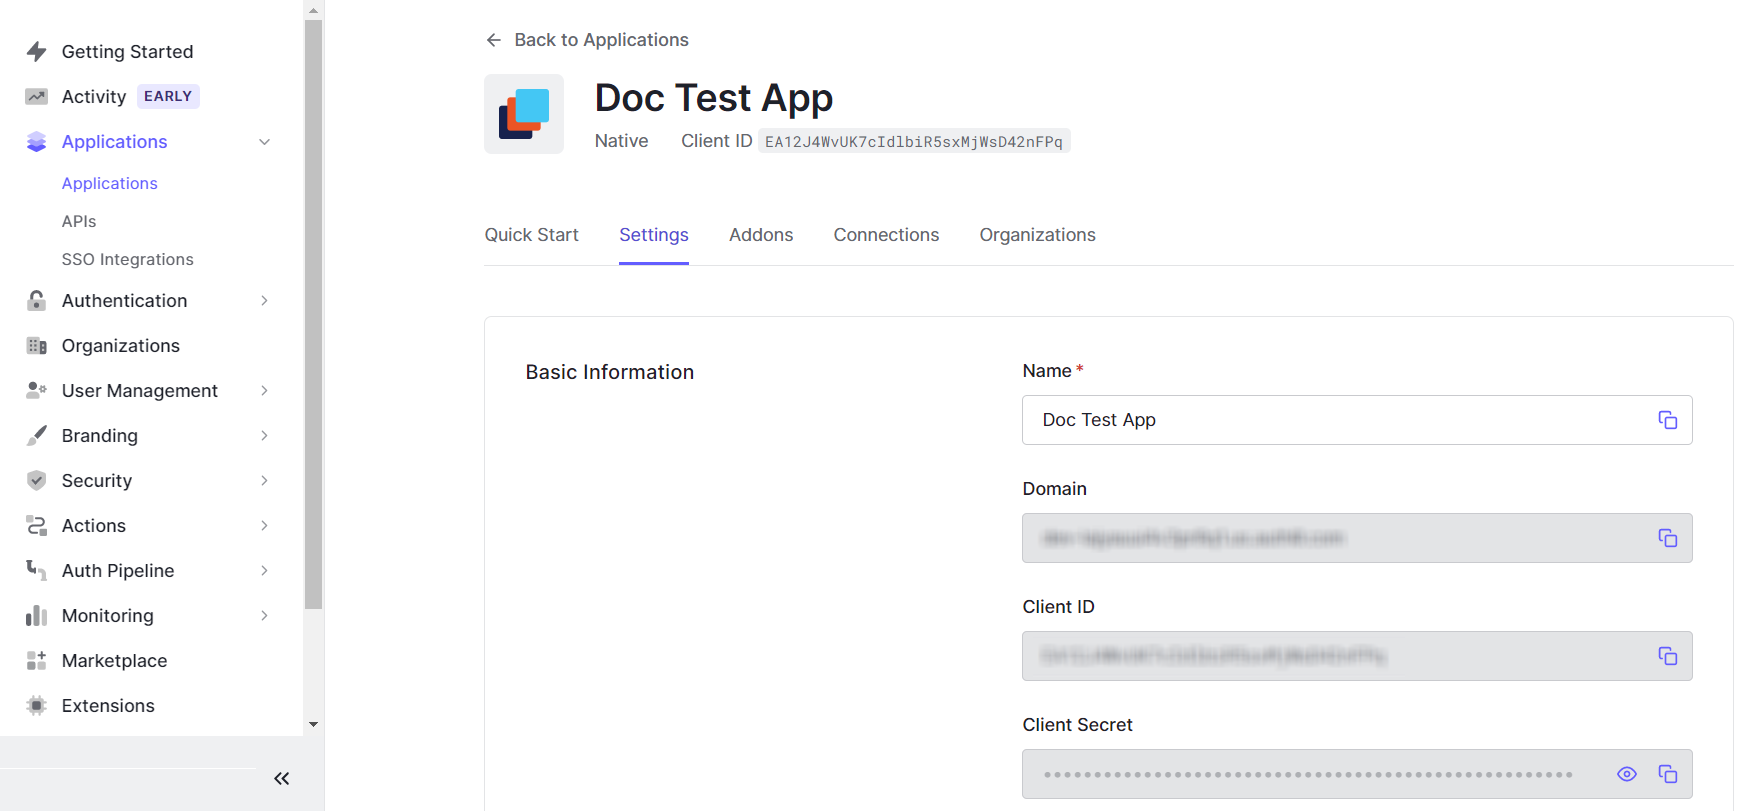
Domain – The domain used for authentication. You will need this value to create the Client Authentication provider in the Dispatcher Paragon Cloud web UI.
Client ID – The ID of the application. You will need this value to create the Client Authentication provider in the Dispatcher Paragon Cloud web UI.
-
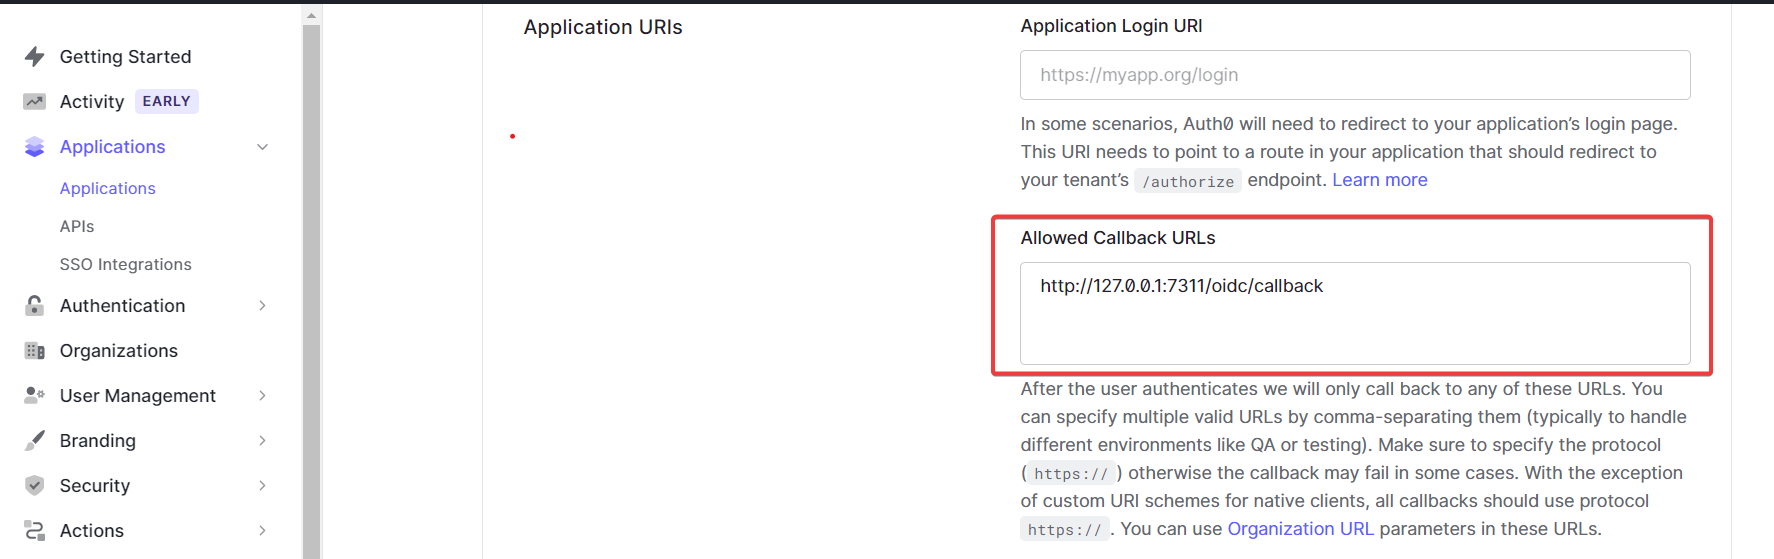
In Application URIs, enter the following URL in the Allowed Callback URLs field: http://127.0.0.1:7311/oidc/callback. This is necessary for end users to use the Dispatcher Paragon Cloud Client with client-based authentication.
Creating Client Authentication provider in Dispatcher Paragon Cloud web UI
-
In the Dispatcher Paragon Cloud Web UI, navigate to Users page and to Authentication providers tab.
-
Click Add to add a new Authentication provider.
Fill in the following fields:-
Domains – Enter the domains of all users (with emails user@domain) who will authenticate to Dispatcher Paragon Cloud.
-
Custom application id – Mandatory field. Enter the Client ID value of the Native application you created in the Auth0 platform.
-
Auth0 Domain – Enter the Domain of your application in Auth0 platform.
-
Client ID – Client ID of the application.
-
Sync Groups - Client ID - Client ID of the Regular Web Application. This field requires you to have a synchronization app in the Auth0 identity management. See Add group synchronization app in the Auth0 identity management.
-
Sync Groups - Client Secret - Client Secret of Regular Web application. This field requires you to have a synchronization app in the Auth0 identity management. See Add group synchronization app in the Auth0 identity management.
-
Custom token claim names - in this section, you can define claim names in the token. Their values will be stored in the user attributes after login.
-
-
Click Save.
-
(Optional) If you wish to synchronize groups from Auth0:
-
Click the edit icon next to your newly created Authentication provider.
-
Click Sync Groups to start synchronization of groups from your Auth0 account. For prerequisites, see Add group synchronization app in the Auth0 identity management.
-
-
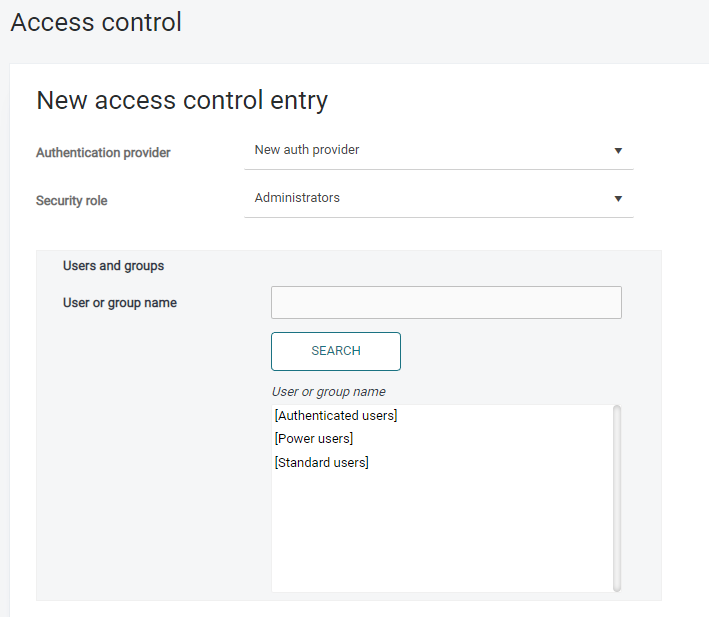
Go to the Users page and to Access control tab.
-
Click Add.
-
In Authentication provider, select your newly created Authentication provider and click Search.
-
The default group Authenticated Users will become visible. You can use this groups and individual users in access controls to enable permissions for authenticated users
-
If the group synchronization is set up, Auth0 Groups will be visible too. For more information about Auth0 Groups see https://auth0.com/docs/manage-users/access-control/configure-core-rbac/roles/create-roles.


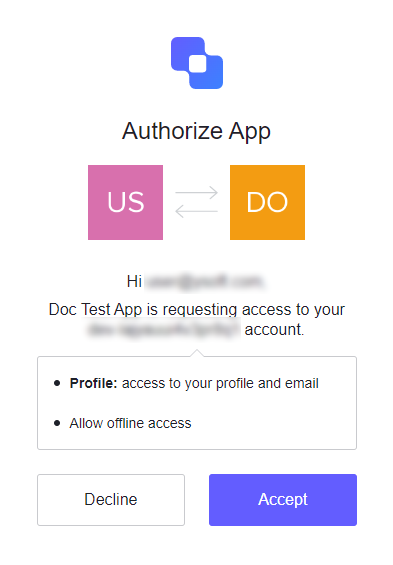
Logging in as a user
-
When an end user logs in for the first time, they must authorize the app.