
Install or update Canon Gen 2 Cloud Terminal
Update procedure is the same like installation.
-
There are 4 ways of installation supported
-
Automatic - Printer discovery using PC client
-
For now needs device serial number (requirement will be removed in the future)
-
-
Automatic - Terminal Deployment Tool
-
Manual - using Canon LAN and distribution server
-
Manual - using terminal packages + licence files per fleet (for offline installation)
-
Install or update Canon Gen 2 Cloud Terminal - automatically using Distribution Server
Use Printer discovery for the installation if possible.
Alternatively, you can use Terminal Deployment Tool.
./terminaldeploymenttool install canon -i <IP_ADDRESS> -m <CUSTOMER_DOMAIN> -a <API_KEY> -u <MACHINE_ADMIN_USERNAME> -p <MACHINE_ADMIN_PASSWORD>
License Access Numbers (LANs) for manual installations or updates
Region specific LANs are required for manual installation.
Note that distribution is not available for Japan and China.
-
Cloud Print And Scan application version 2026.06.04
-
Europe: 3VF2-7L6P-GVJ2-SR6Q
-
America: 6JHV-HEVX-HV8X-NS5E
-
Asia: JY9G-J63J-N4LU-P5PH
-
Australia: WUVZ-QMRM-YM96-KU5N
-
South Korea: KEG6-P9VP-42PC-6AZ9
-
-
Cloud Login application version 2026.05.20
-
Europe: NW6S-7WSM-KQQQ-S63J
-
America: QB33-ECMW-BQV7-PB53
-
Asia: 2KX5-5XLA-KDW8-W8C5
-
Australia: 7L6M-D3GZ-WFJZ-EQYL
-
South Korea: 7HSF-SG2S-QLMF-MYS7
-
Install or update Canon Gen 2 Cloud Terminal - manually using Distribution Server
This installation method requires manual application configuration or configuring by Terminal Deployment Tool
-
Login to printer web interface
-
Go to Service Management Service
-
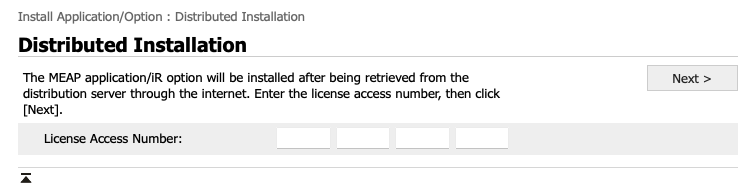
Click on To Register/Update Software link
-
Fill in Print And Scan application region specific LAN mentioned above and perform the installation.
-
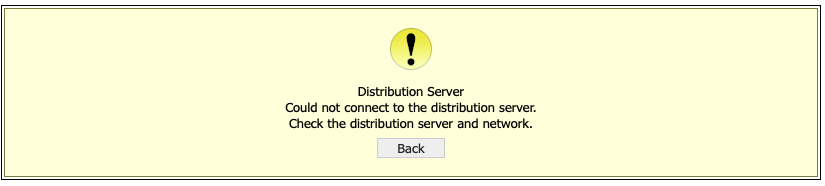
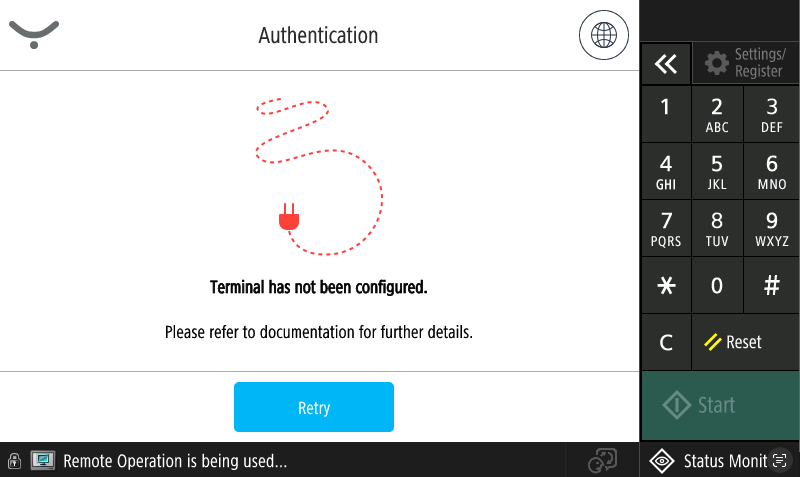
In case you encounter following error, proceed with the non-preferred manual way of installation mentioned below
-
-
Fill in the Login application region specific LAN mentioned above, perform the installation and restart the MFD.
After reboot Canon web UI cannot be used with the native credentials.
Instead, use https://<IP> and login with default credentials:
-
admin
-
changeme
Install or update Canon Gen 2 Cloud Terminal - manually for offline installation
This installation method requires manual application configuration or configuring by Terminal Deployment Tool.
Get package and license file
(10 minutes)
Get your device SN
Device web → login as administrator → Status monitor/cancel → Device information→ Serial number
Common problem Canon Web UI cache → we recommend using anonymous mode for the Canon Web UI
Get your Print And Scan application
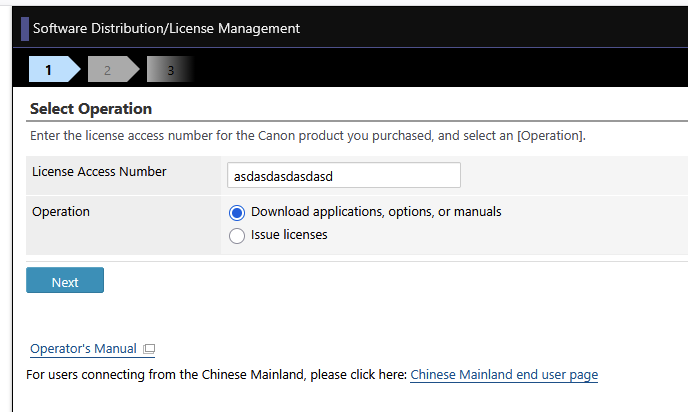
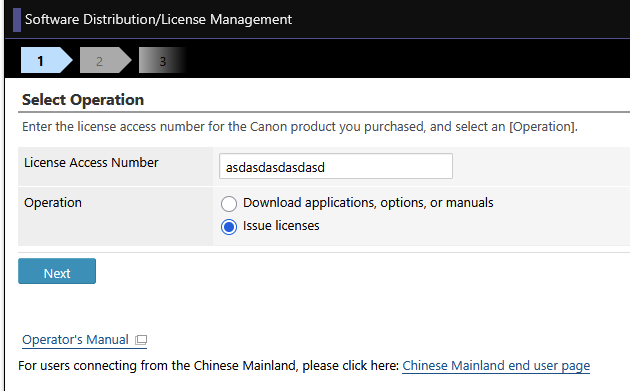
Go to http://www.canon.com/lms/license and enter LAN for Print And Scan application
-
Download the application file
-
Issue and download a license file
We recommend to name the license file in a way to be distinguishable to which application it belongs
Get your Cloud Login application
-
Repeat the previous steps with the second LAN
Done
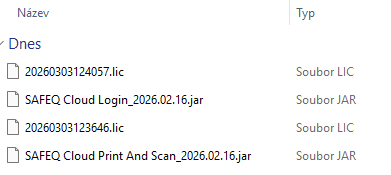
Now you have 4 files downloaded:
Install the applications
(10 minutes)
You need to have 4 files for the installation from the previous step
-
Login application,
-
Login license file created with printer serial number it will be installed on
-
Print And Scan application
-
Print And Scan application license file created with printer serial number it will be installed on
Print and Scan application
-
Login to printer web interface
-
Navigate to Service Management Service > Install MEAP Application
-
Choose files for Secure Print & Scan application and its license
-
Click on Install and confirm the installation.
Login application
-
Login to printer web interface
-
Navigate to Service Management Service > Enhanced System Application Management.
-
Under the section Install Enhanced System Application/License choose files for Cloud Login application and its license.
-
Click on Install and confirm the installation.
Reboot
-
Login to printer web interface
-
Navigate to Settings/Registration
-
Click on Restart Device > Perform Restart > Confirm
The Canon web UI now cannot be used with the native credentials.
Instead, use https://<IP> and login with default credentials:
-
admin
-
changeme
Manual applications configuration
Manual application configuration using MFD web
Note that installed and started Login application is needed before performing this step.
-
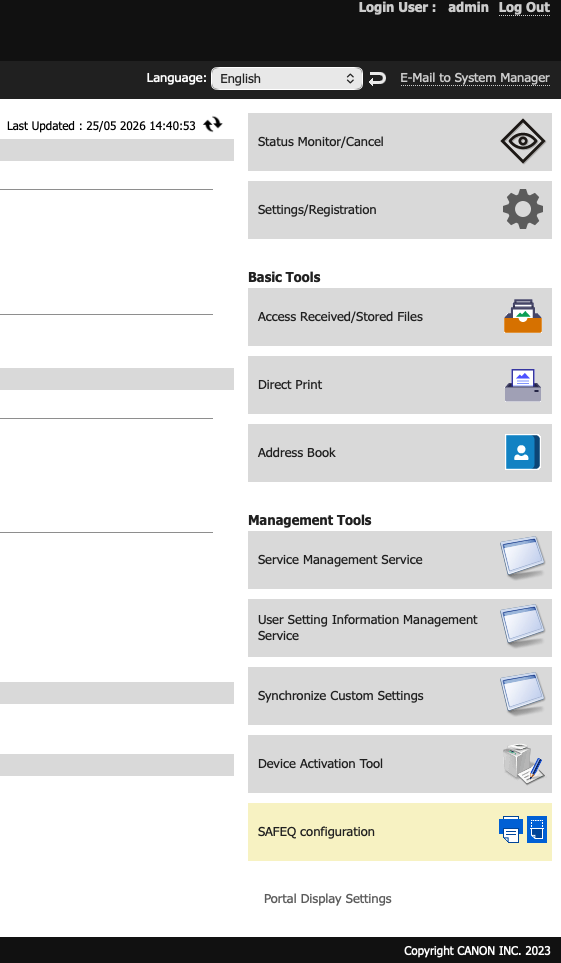
Login to the MFD web interface
-
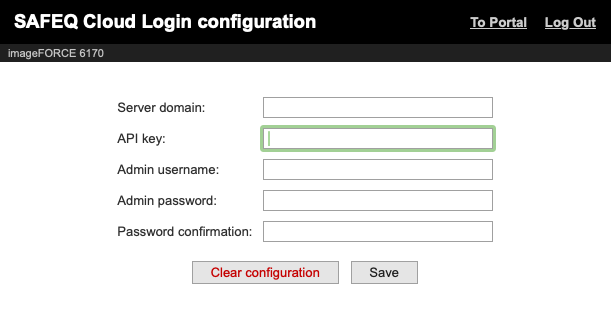
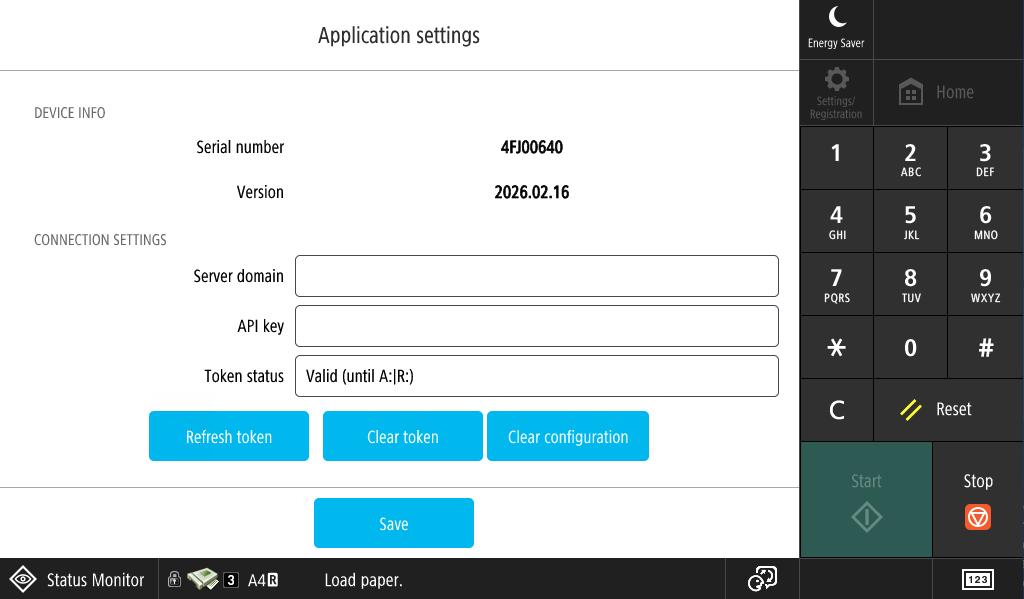
Click on SAFEQ Configuration
-
Fill in the Server domain and API key and save the configuration. Here you can also change machine administrator credentials for the time when the Login application is an active Enhanced System Application.
Manual application configuration at the MFD
Note that this step is not necessary when installing the applications using Printer discovery or Terminal Deployment Tool.
After Login application installation and activation, the application needs to be configured.
-
Hold the logo in left upper corner for 5 seconds, this should take you into a secret configuration screen (note that this will be secured by machine administrator login in the future).
-
Fill in
-
domain
-
API key
-
save the configuration.
-
-
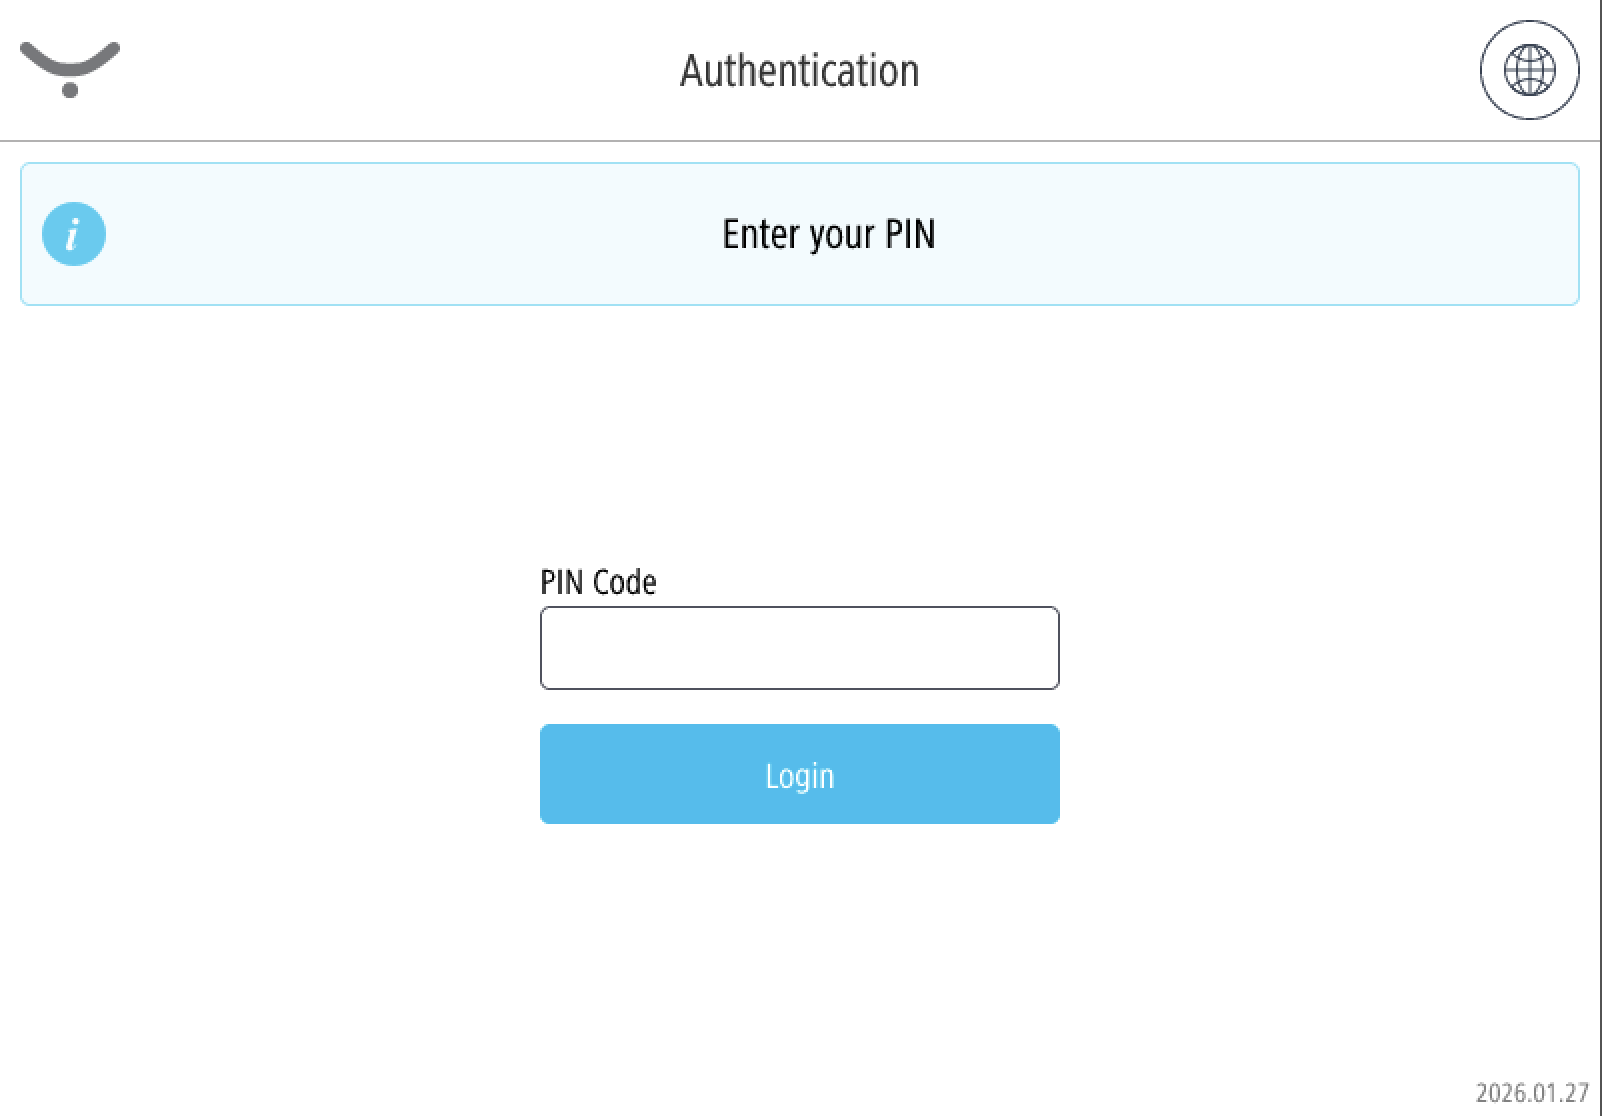
After the installation is finished successfully, either following screen should be displayed, or the printer is created in Web UI automatically. Skip following steps if the printer is created automatically and you see a login screen.
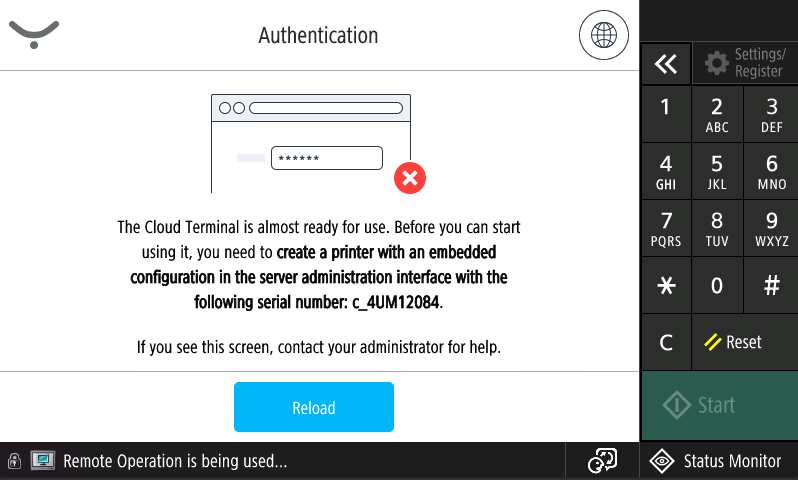
Enable Endpoint
This step may be avoided if automatic endpoint trust is turned on under the used API key. Change it in Security > API keys if needed
-
Go to Dispatcher Paragon Cloud Web UI
-
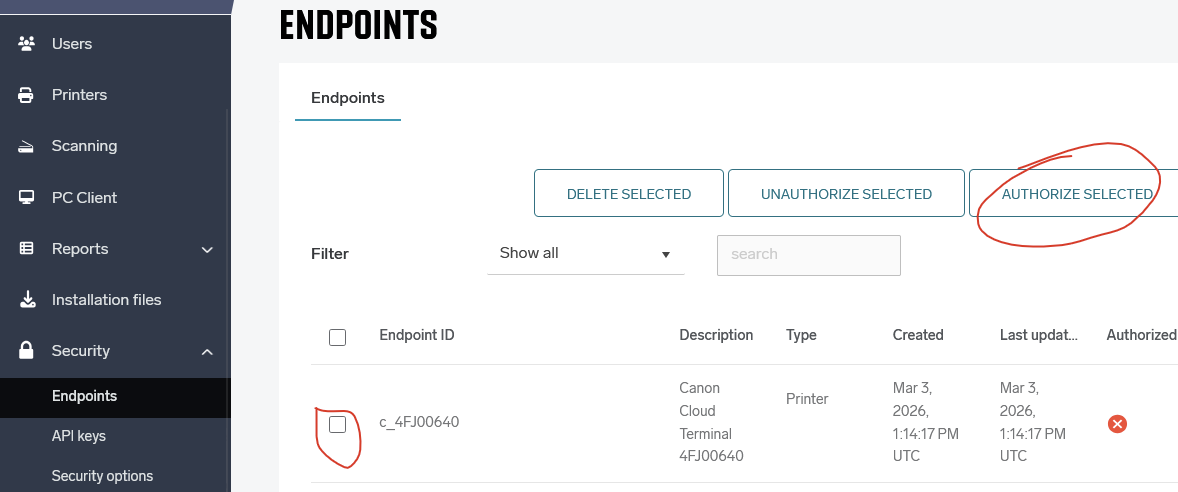
Go to Security → Endpoints
-
Authorise it
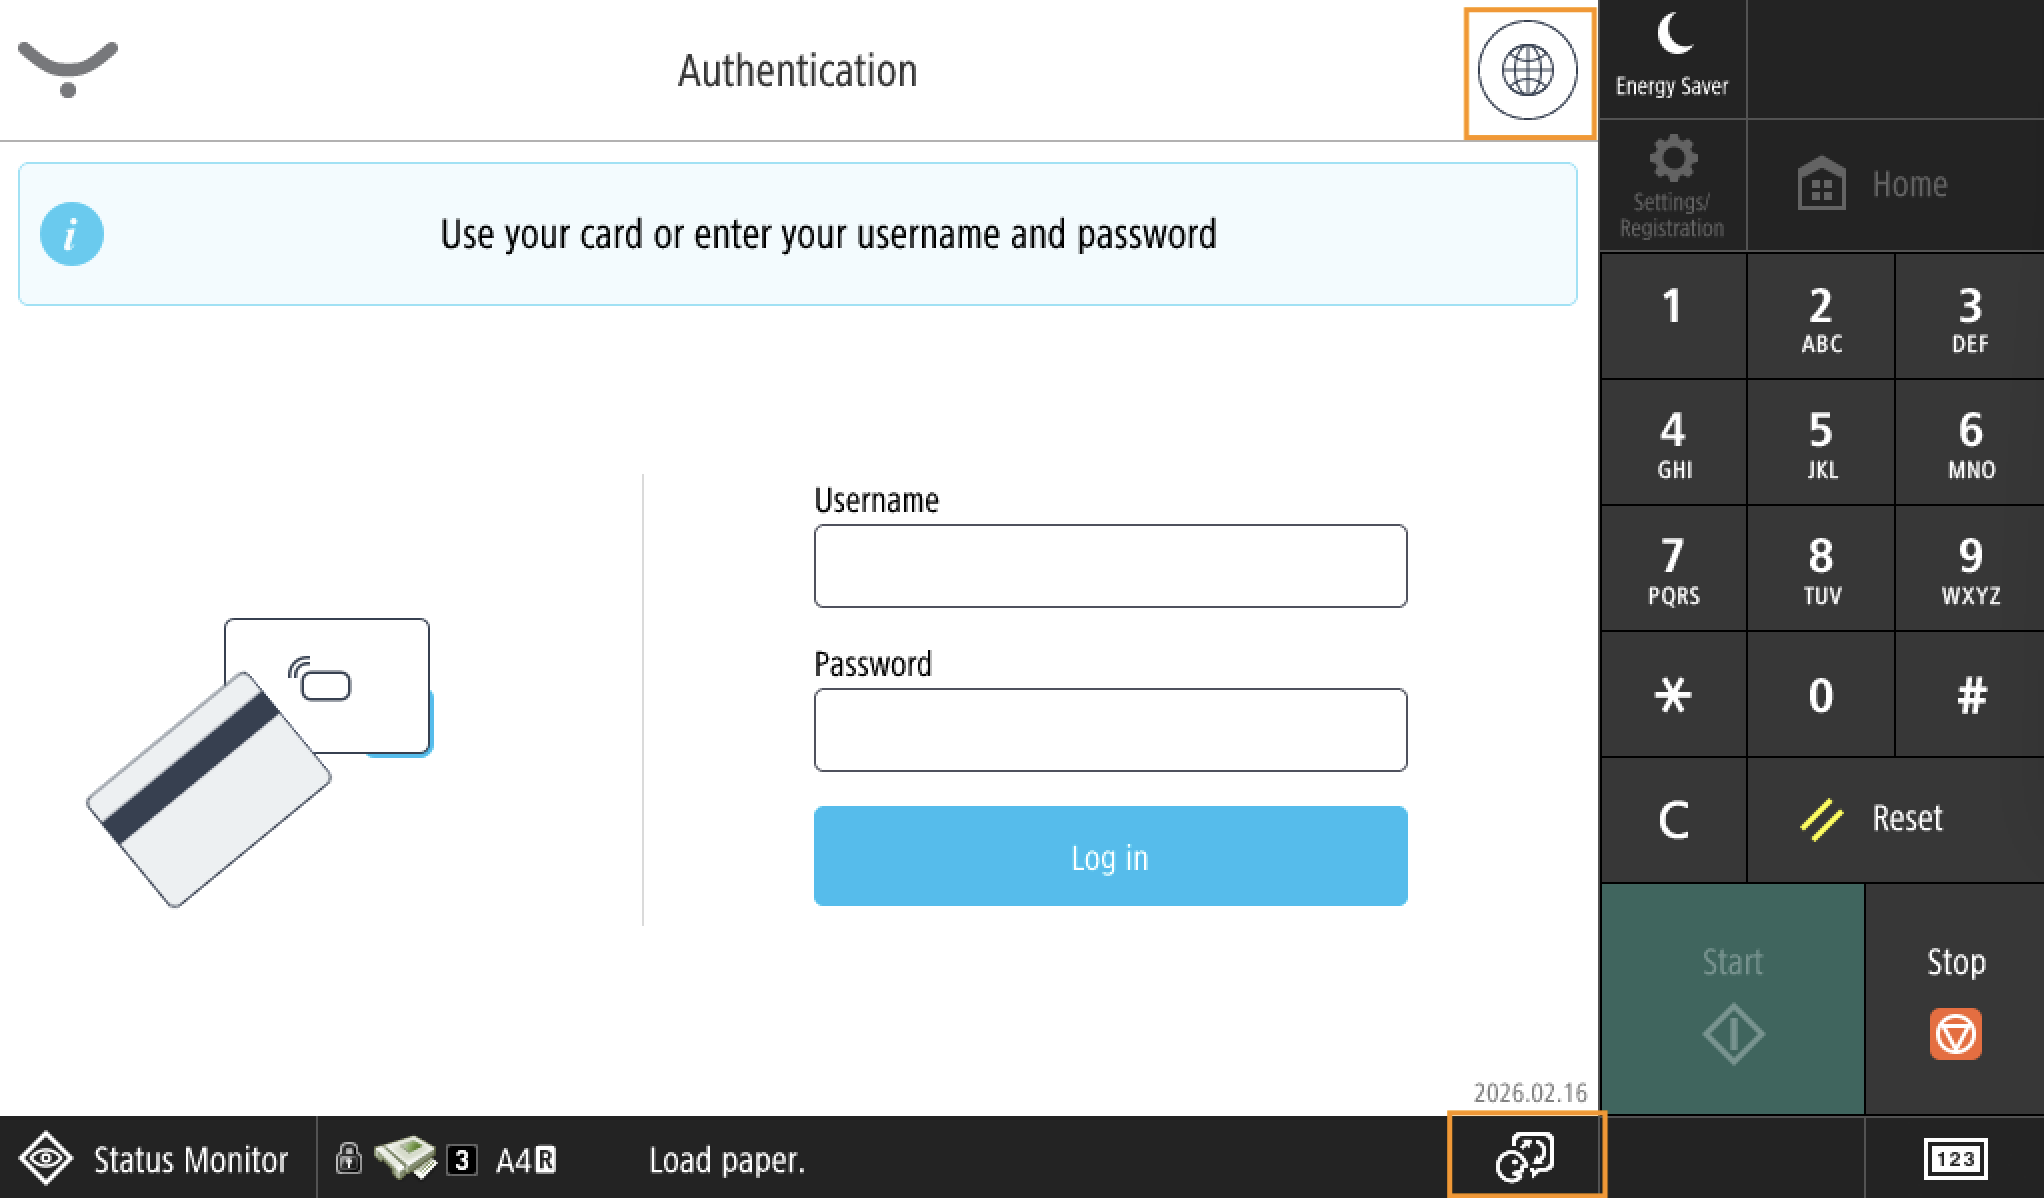
After a few seconds, Login application will change screens and you should see login screen.
Additional configuration
Card reader configuration
This step is automated and required only when installing manually.
To use a card reader on the device, you need to enable the card reader within the menu of the Canon device. Go to: “Settings” – “Preferences” – “External Interface” – “USB Settings”, and then change “Use MEAP Driver for USB Device” to “On”. Note that the card reader needs to be configured as Keyboard emulated.
Card authentication was verified with YSoft MFX Ultimate reader with Protocol 1803 - YSoft Connect ID (central) + Mifare UIN + Legic Prime/Advant UIN + HID iClass PACS + LF UIN
Configuring Print And Scan Application to display right after login
Currently there is no way how to set this up remotely or automated. This configuration must be done on the device panel with administrator user.
-
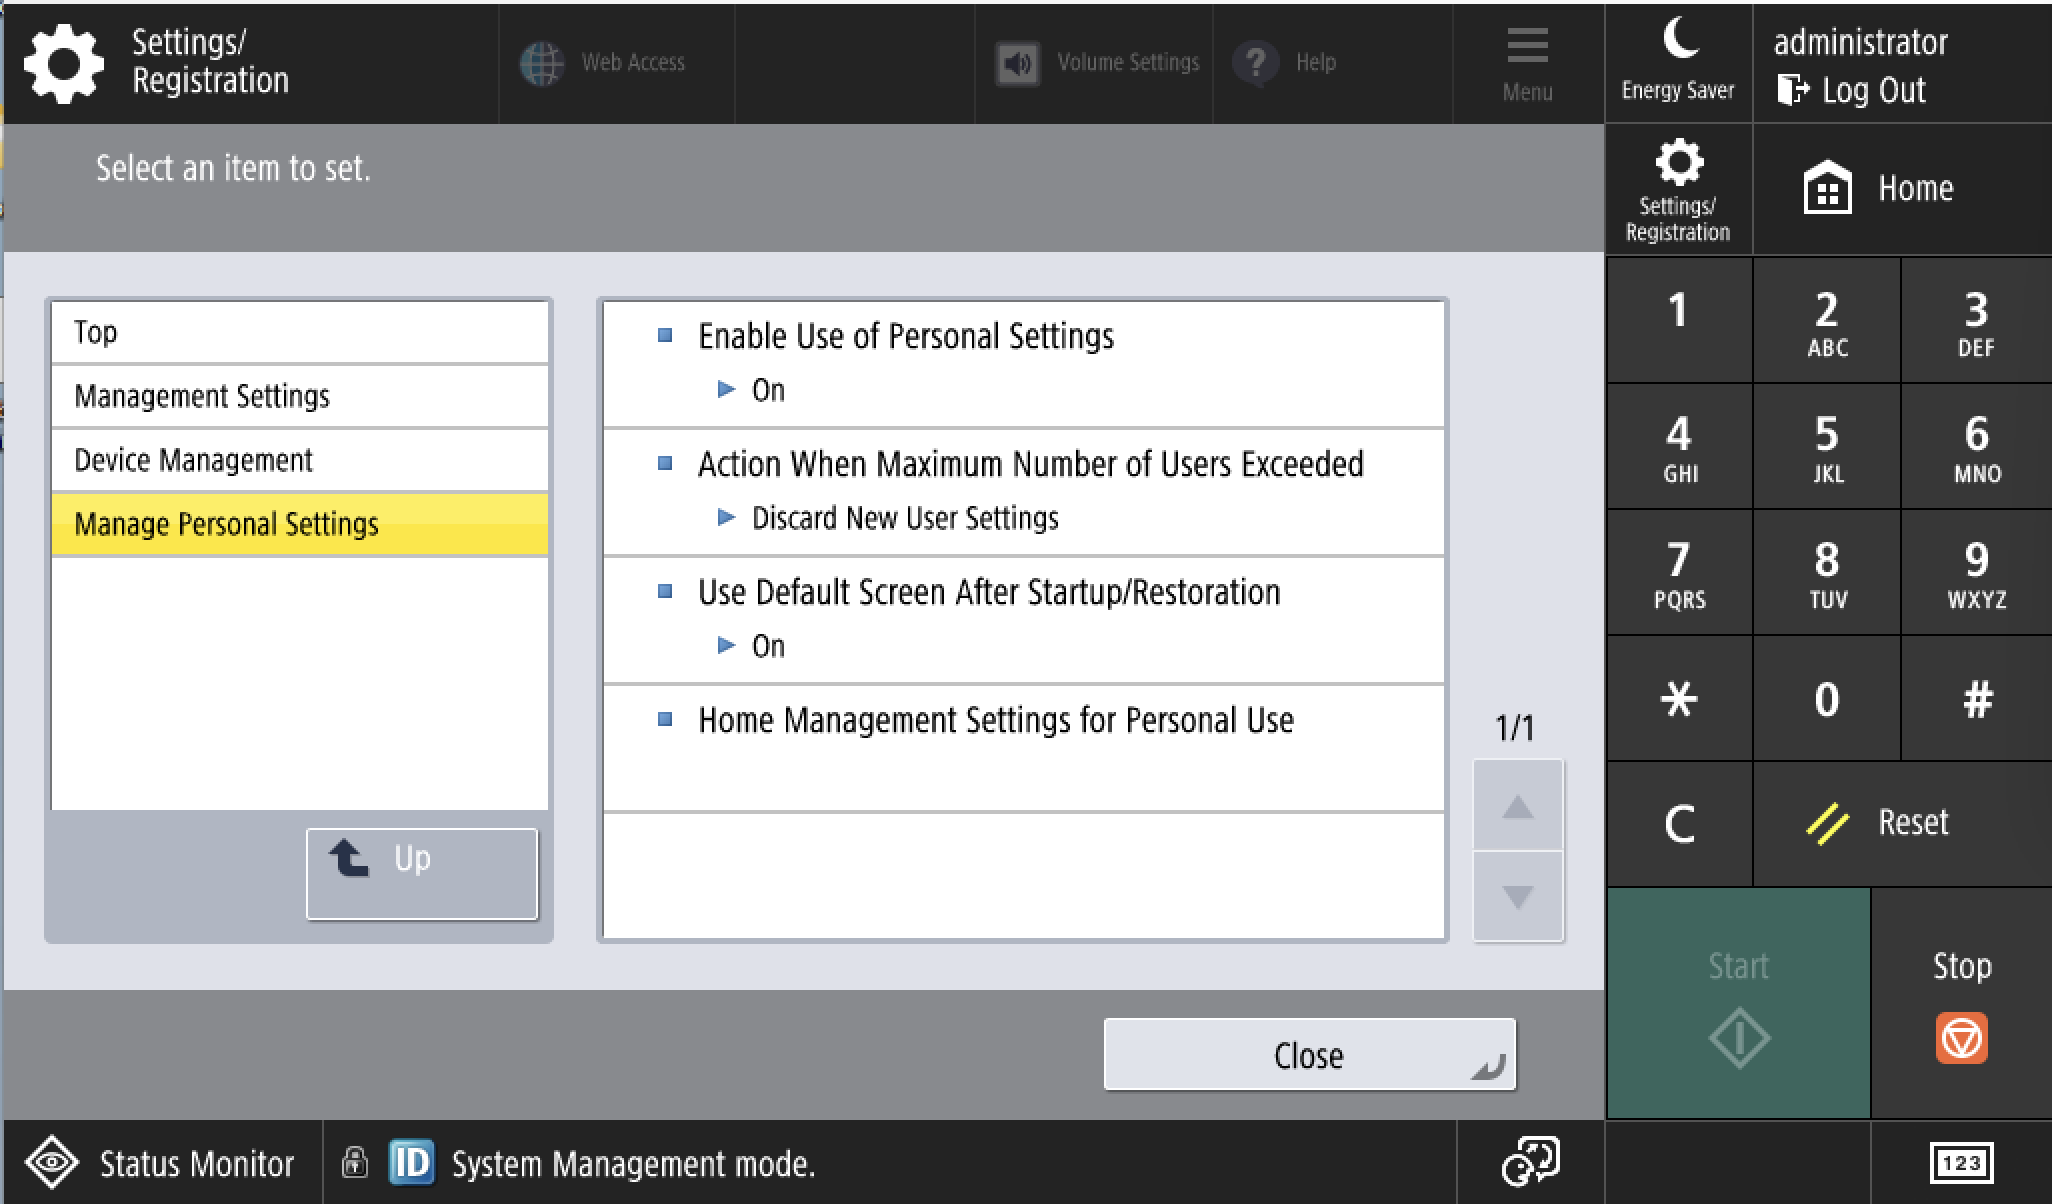
Turn off Enable Use of Personal Settings
-
Login as administrator at the device panel
-
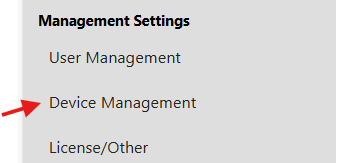
Go to Settings/Register > Device Settings
-
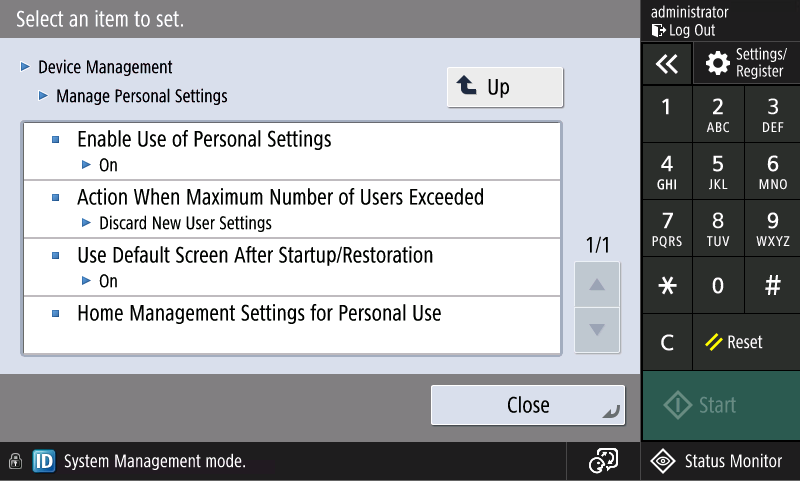
Go to Management Settings > Device Management > Manage Personal Settings
-
Turn off Enable Use of Personal Settings
-
-
Set Secure Print & Scan application as Default Screen After Startup/Restoration
-
Login as administrator at the device panel
-
Go to Settings/Register > Device Settings
-
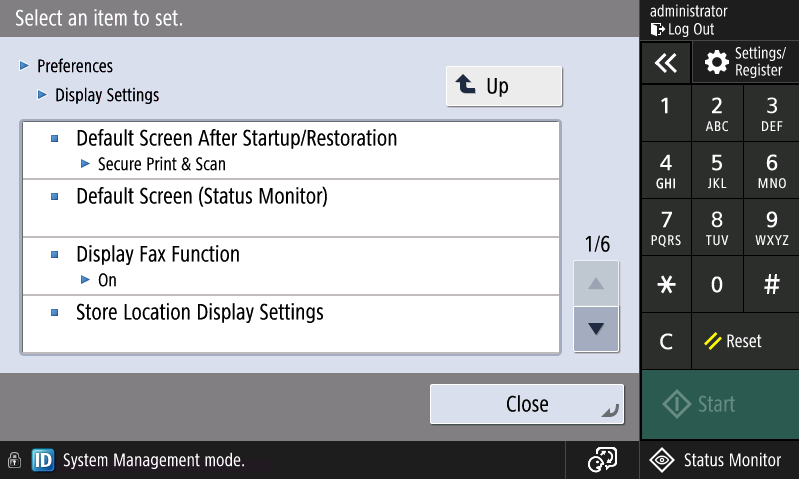
Go to Preferences > Display Settings
-
For Default Screen After Startup/Restoration select Secure Print & Scan
-
Configuring home screen tiles position
In order to disable personalised settings specific for every user, see Turn off Enable Use of Personal Settings mentioned in the previous section.
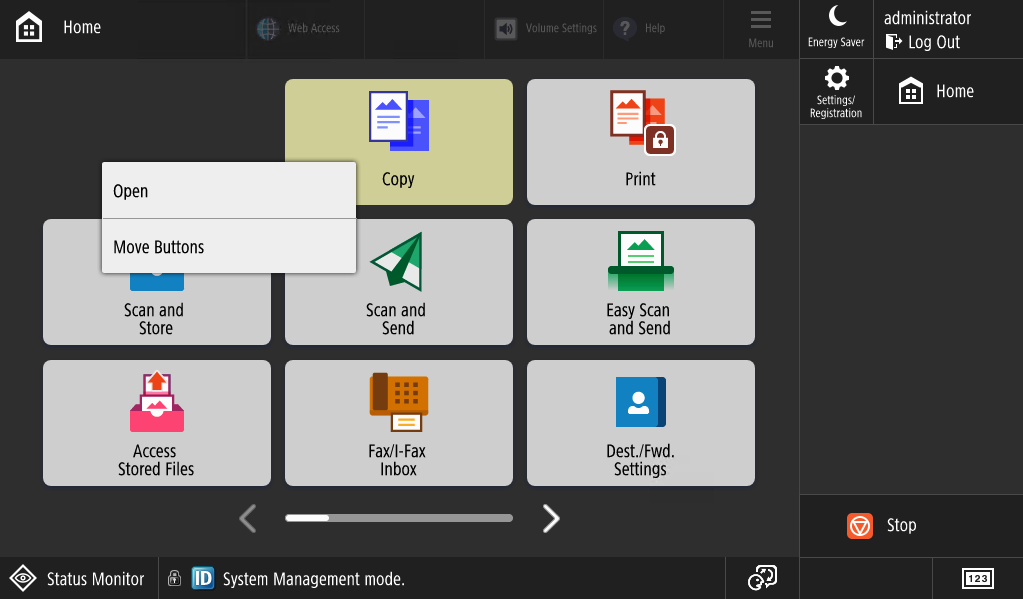
To configure position of Secure Print & Scan on the home screen perform following actions:
-
Login as machine administrator on the printer panel.
-
Long press any button.
-
Click on Move Buttons
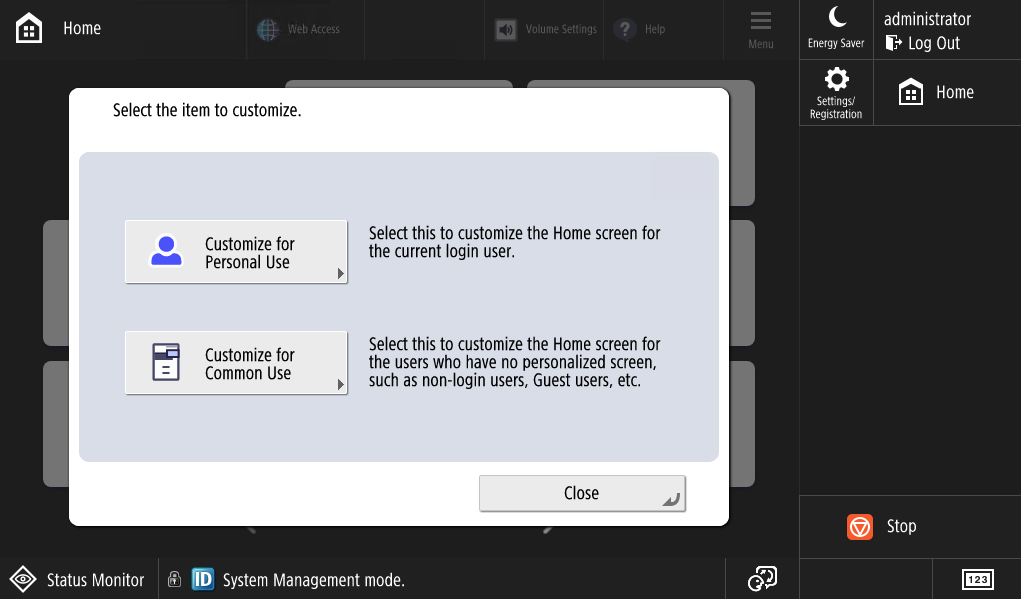
-
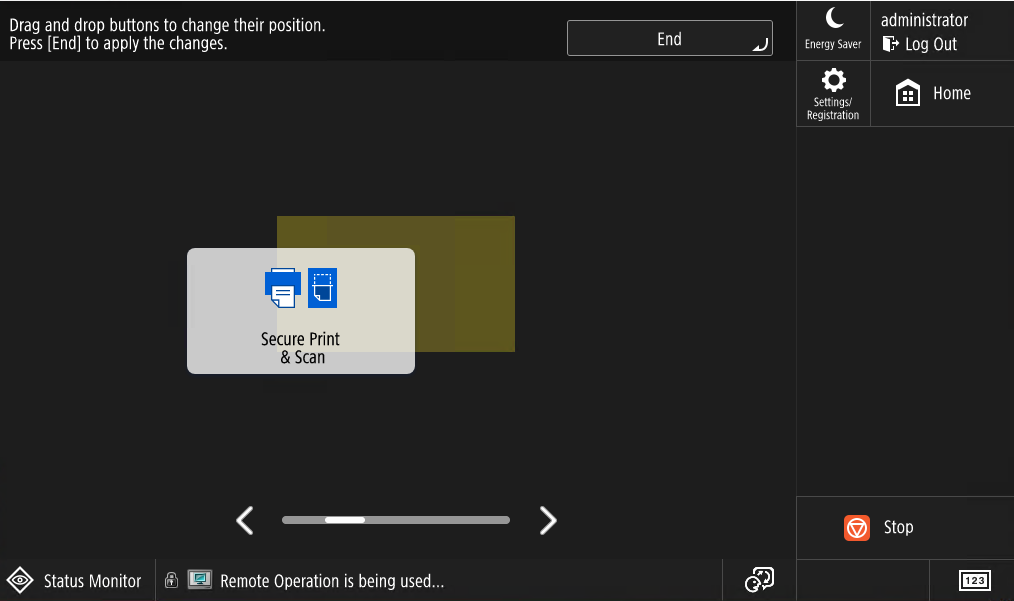
Click on Customize for Common Use, move the application tile to desired position and click on End
Proxy configuration
By default, both applications connect directly to the server domain configured in the application settings. If the user wants to set up a proxy between the printer and the server domain, the application also supports a proxy with basic authentication. To configure a proxy with basic authentication:
-
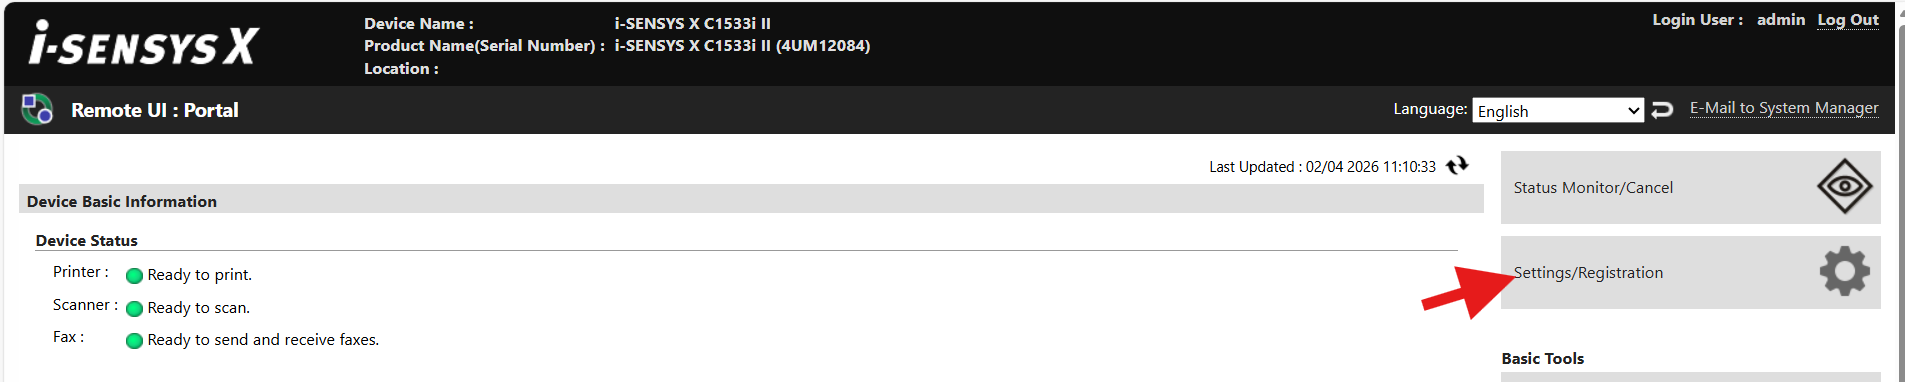
Login to MFD web UI with admin credentials.
-
Open “Settings/Registration”.
-
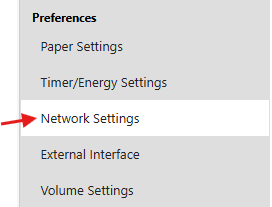
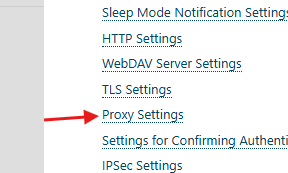
In left side menu, open “Network Settings”.
-
Choose “Proxy Settings”.
-
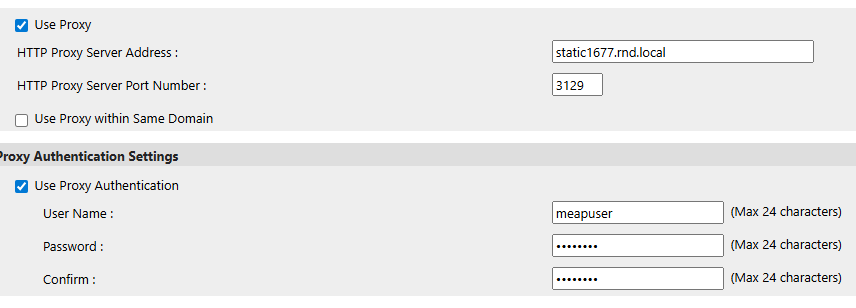
Fill in your proxy information.
-
Note that filling up “Proxy Authentication Settings” is required. Without it, proxy won’t be used.
-
Note that checkbox “Use Proxy within Same Domain“ is currently unused and won’t do anything.
-
In case you later want to stop using proxy, uncheck “Use Proxy“ checkbox.
-
Example how to fill information (values will be different for proxy on your network):
-
-
In left side menu, click on “Apply Setting Changes“ and confirm in dialog window.
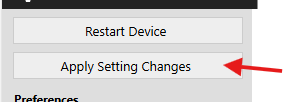
-
In left side menu, select “Restart Device” then click on “Perform Restart“. Finally confirm in dialog window.

-
After restart, application should connect to server through proxy.
Custom certificate configuration
-
Login to MFD web UI with admin credentials.
-
Open “Settings/Registration”.
-
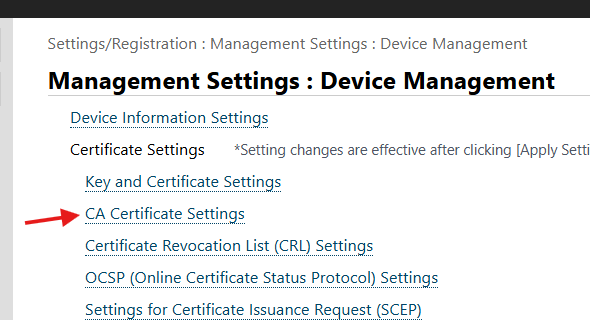
In left side menu, open “Device Management”.
-
Choose “CA Certificate Settings”.
-
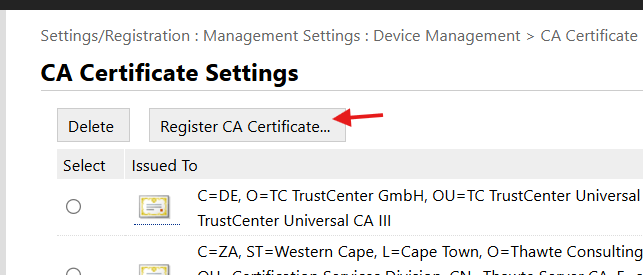
Click on “Register CA Certificate…“.
-
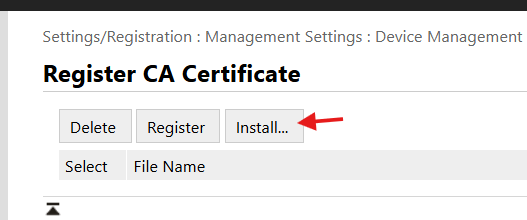
Click on “Install…“.
-
Choose certificate file. It needs to be in .cer format. Then click on “Start Installation“.

-
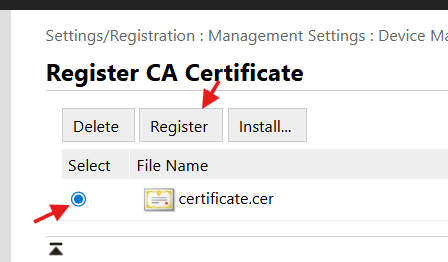
Select installed certificate and click on “Register“.
-
In left side menu, click on “Apply Setting Changes“ and confirm in dialog window.
-
In left side menu, select “Restart Device” then click on “Perform Restart“. Finally confirm in dialog window.
-
Printer application should automatically reconnect on its own.
Troubleshooting
I cannot see Scan application
-
Ensure you have version 2026.05.20 or newer installed
-
Ensure you have the scan application enabled in the Embedded configuration:
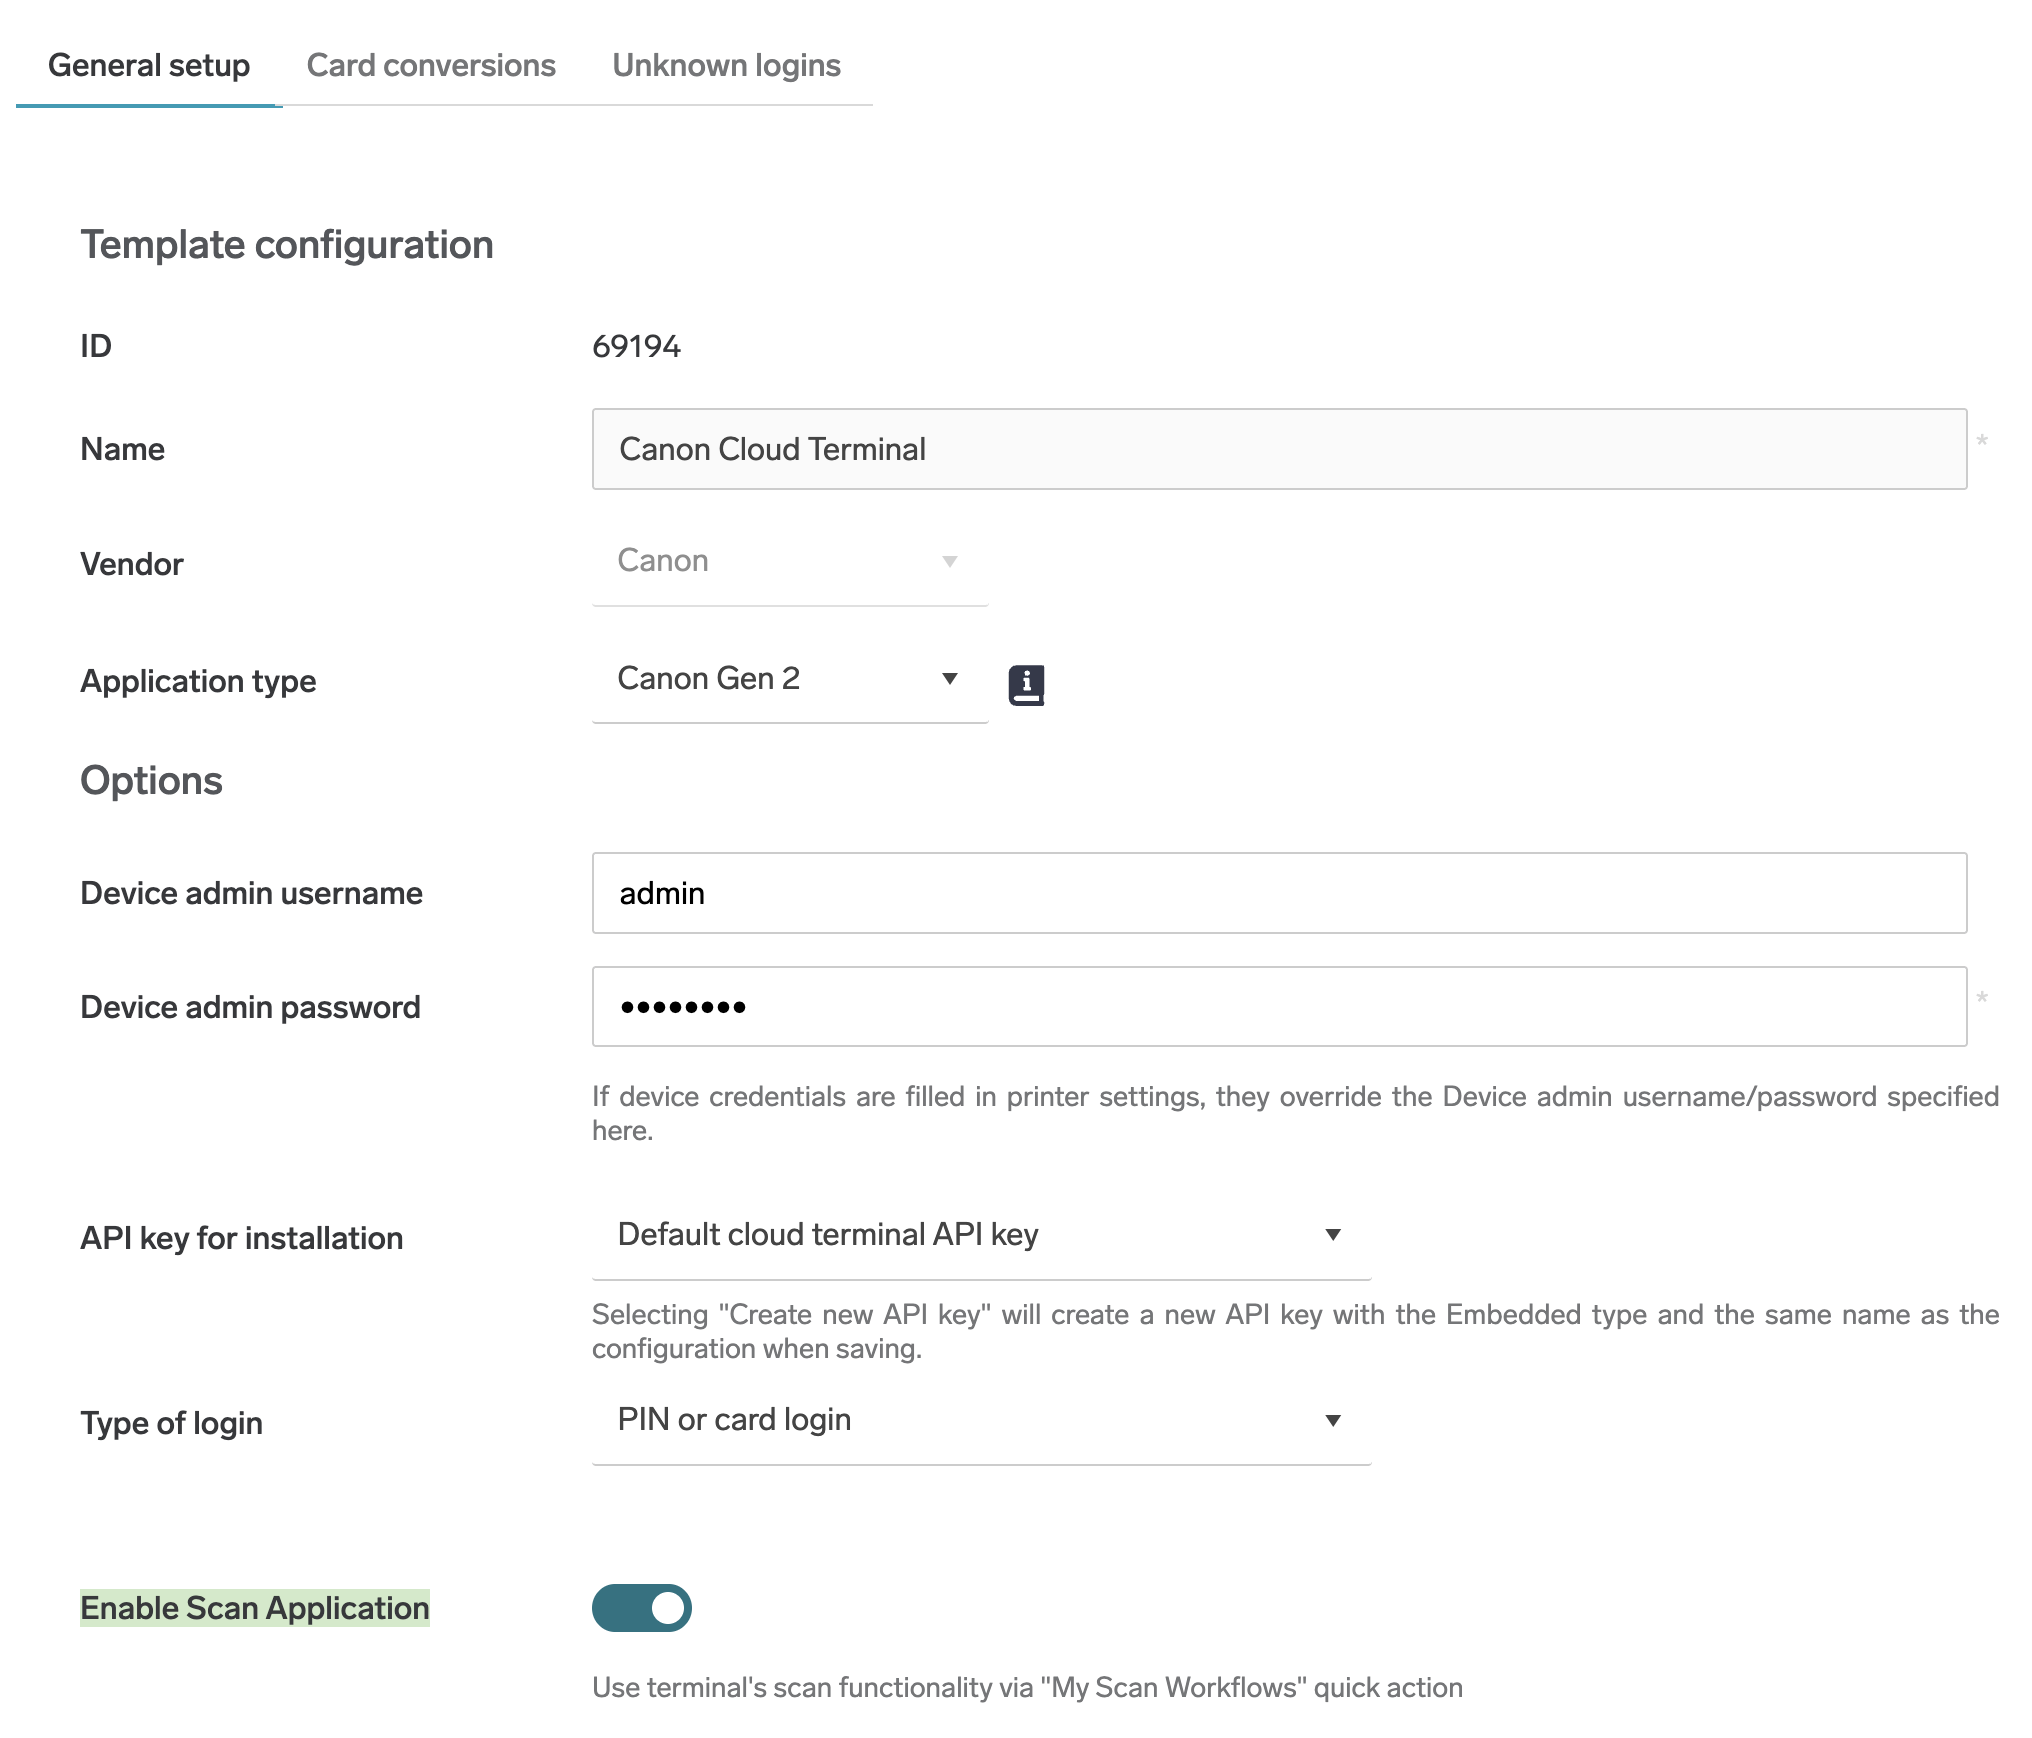
-
Ensure the user has rights to scan
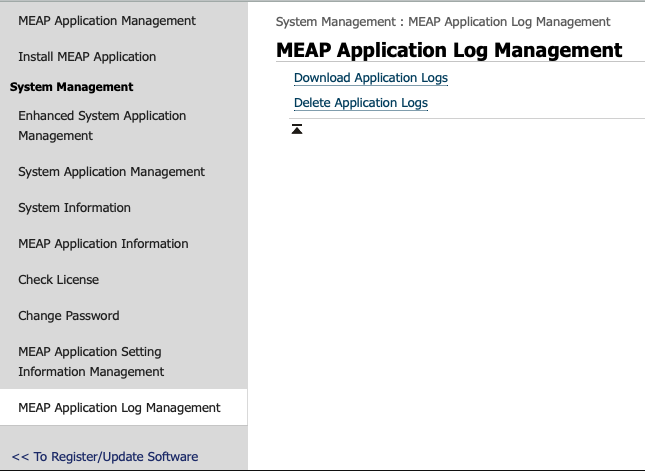
How to access application logs
-
Log in printer web interface
-
Go to Service Management Service
-
Go to MEAP Application Log Management and click on Download Application Logs
Login as machine administrator
-
Hold the logo in left upper corner for 5 seconds, this will take you into a secret configuration screen
-
Enter administrator credentials
-
Click on Save and show home
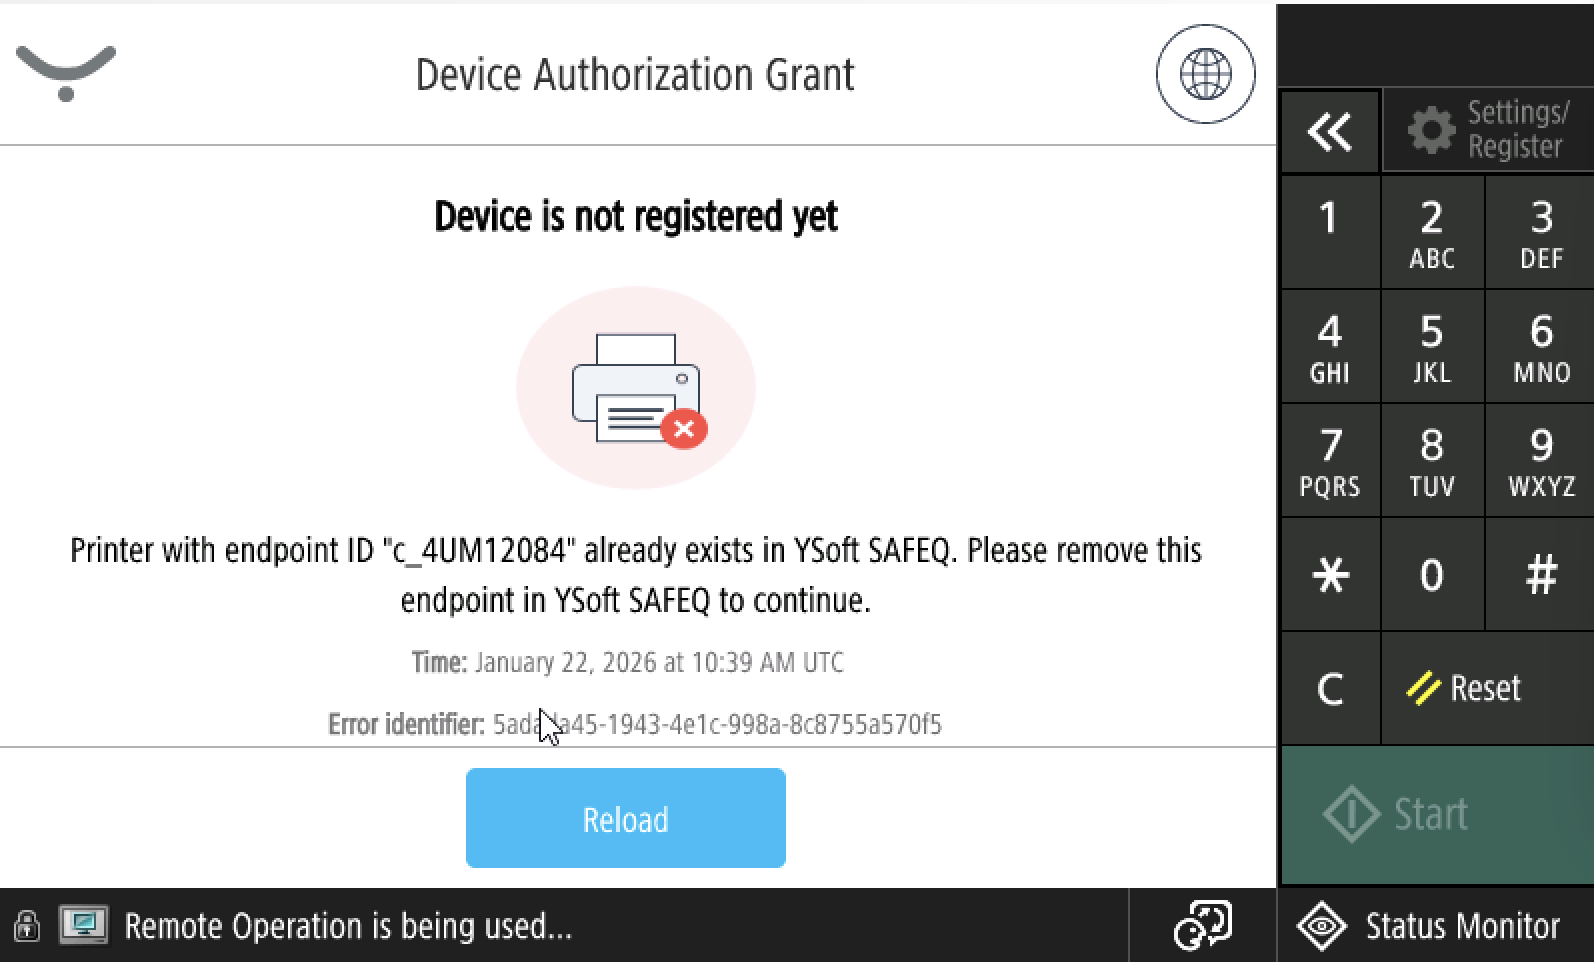
Endpoint deletion after terminal reinstallation or reconfiguration
-
After the Cloud Terminal is reinstalled or reconfigured, it's necessary to navigate to Dispatcher Paragon Cloud Web UI
-
Enter credentials
-
Navigate to Security>Endpoints section and delete respective endpoint
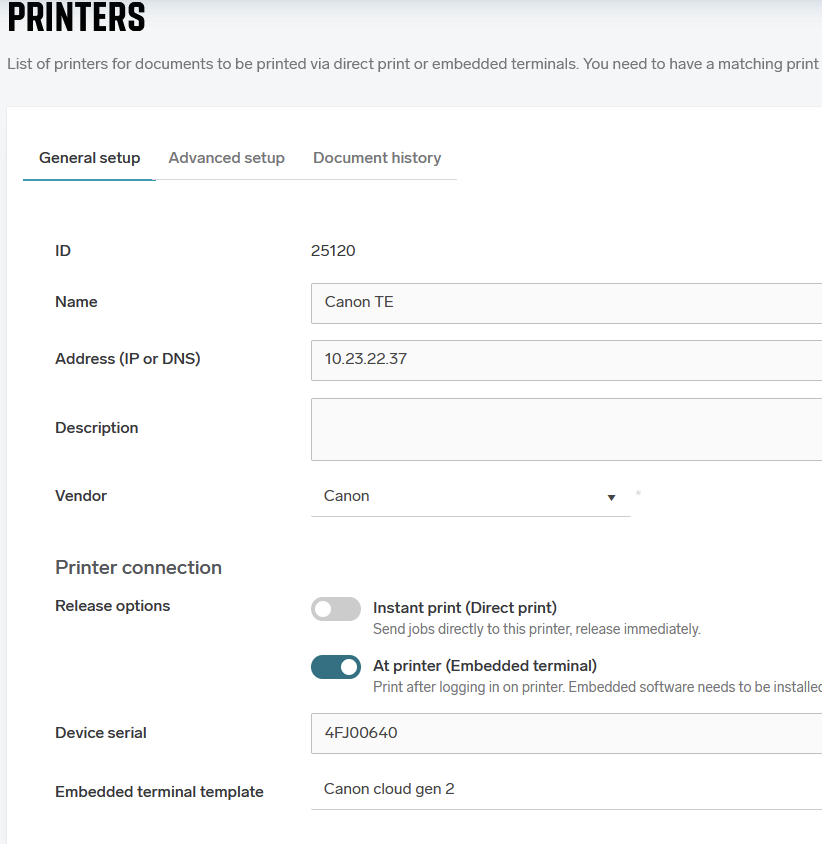
Printer and Embedded configuration were not created automatically
This may happen for example if there is no license left.
Breeze has simply Canon, no options
-
Go to Dispatcher Paragon Cloud Web UI
-
Go to “Printers“
-
Add new and fill in
-
IP address
-
Vendor Canon
-
Device Serial
-
Pick Canon Embedded Template (create new)
-
-
and Save
Localization
User may use either the application language menu (on the top) or the machine language menu (on the bottom) for changing a language. The application menu offers wider variety of languages, but does not change the machine language. Login application displays machine language after reload or logout. If the machine language changes, application selected language is overwritten.
For the Secure Print & Scan application, the behaviour depends on Personal Settings. When the setting is on, it reflects the user personal language no matter what is selected in the login application language menu.
Uninstallation - automatic (with configuration removal)
Use Printer discovery for the uninstallation if possible.
Alternatively, you can use Terminal Deployment Tool.
./terminaldeploymenttool uninstal canon -i <IP_ADDRESS> -u <MACHINE_ADMIN_USERNAME> -p <MACHINE_ADMIN_PASSWORD>
Uninstallation - manual (with configuration removal)
-
Uninstall Secure Print And Scan application.
-
Go to printer web interface and login.
-
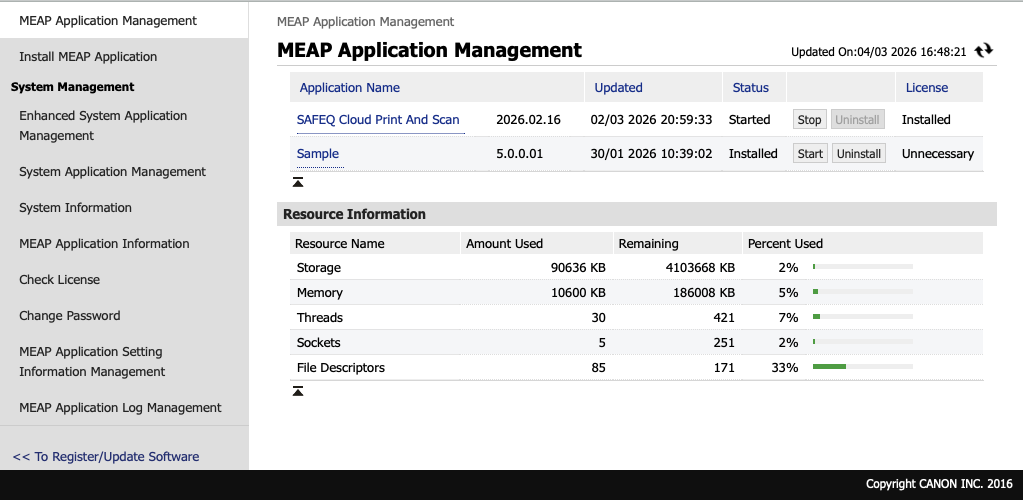
Navigate to Service Management Service > MEAP Application Management
-
Stop Print And Scan application.
-
Click on Print And Scan application link
-
Navigate to License Management

-
Click on Disable, then click on Delete
-
Navigate back to MEAP Application Management
-
For Print and Scan application, click on Uninstall and confirm the uninstallation
-
-
Uninstall the Login application
-
Navigate to Enhanced System Application Management
-
Switch to User Authentication
-
Restart the device (To Portal > Settings/Registration > Restart Device > Perform Restart)
-
Navigate again to Service Management Service > Enhanced System Application Management
-
Click on Login application link
-
Navigate to License Management
-
Click on Disable, then click on Delete
-
Navigate back to Enhanced System Application Management
-
For Login application, click on Uninstall and confirm the uninstallation
-
-
Remove shared configuration
-
Go to Service Management Service > MEAP Application Settings Information Management
-
Select Shared Settings Information of Applications
-
Delete it
-