Registering your card
See Card registration at the MFD.
Logging in and out
Logging in
-
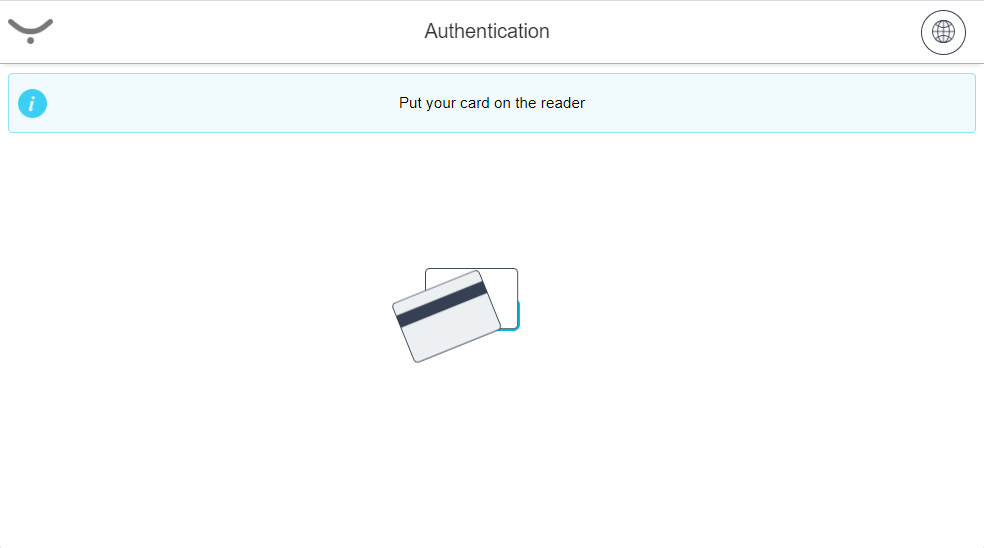
The authentication method depends on how your administrator configured the terminal. You can log in via card, PIN (Short ID), username/password, or their combinations. Follow the instructions on the screen.
Example for login via card:
-
You will see the Cloud Terminal home screen – My quick actions application.
-
If the authentication fails, you will see an error message saying "You have placed unknown or damaged card."
-
If your card is not registered, you will see a message "Your card has not been activated yet." You must register your card. See Card registration at the MFD.
-
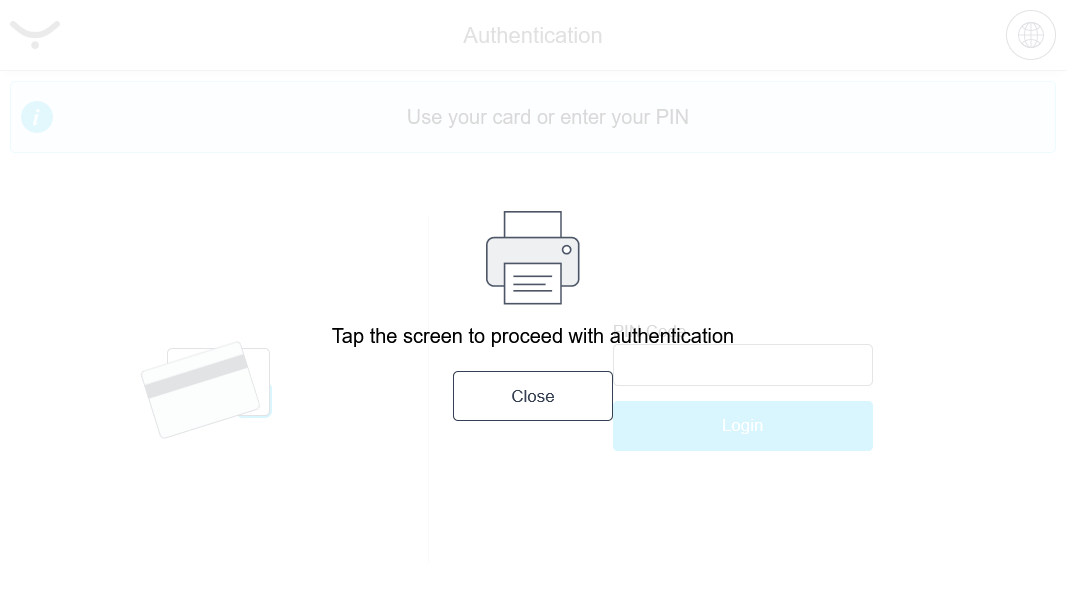
If the authentication screen is kept awake for too long and the device has a long enough timeout, the following screen appears and card authentication becomes temporarily disabled. Tap anywhere on the screen to resume the authentication process.
-
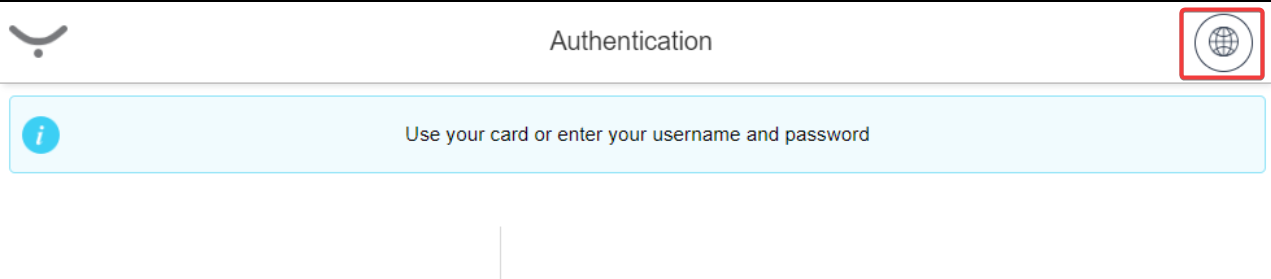
To change the language during authentication, tap the language icon in the top-right corner.
My quick actions applications
My quick actions application allows you to access frequently used functions, such as print all jobs or use a scan workflow immediately after login. The quick action buttons are displayed according to your rights and scan workflows assigned to you.
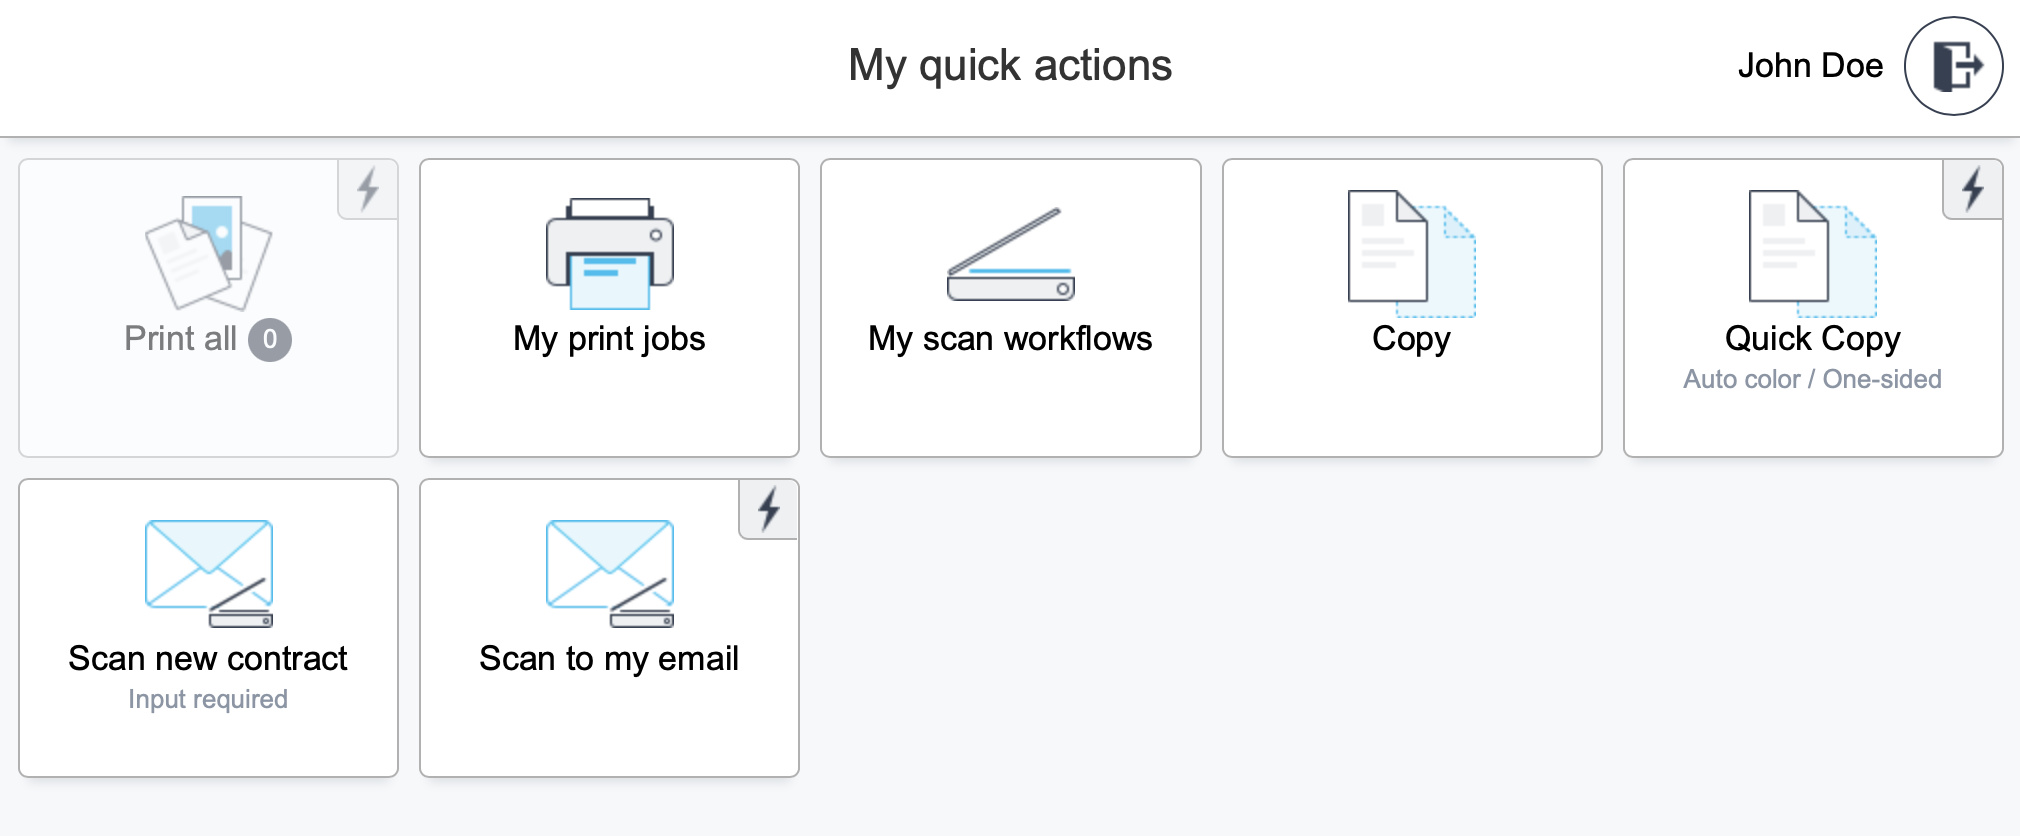
Printing and managing jobs
-
Log in to the Cloud Terminal. You will see My quick actions screen.
-
If you wish to release all of your print jobs, tap Print all.
-
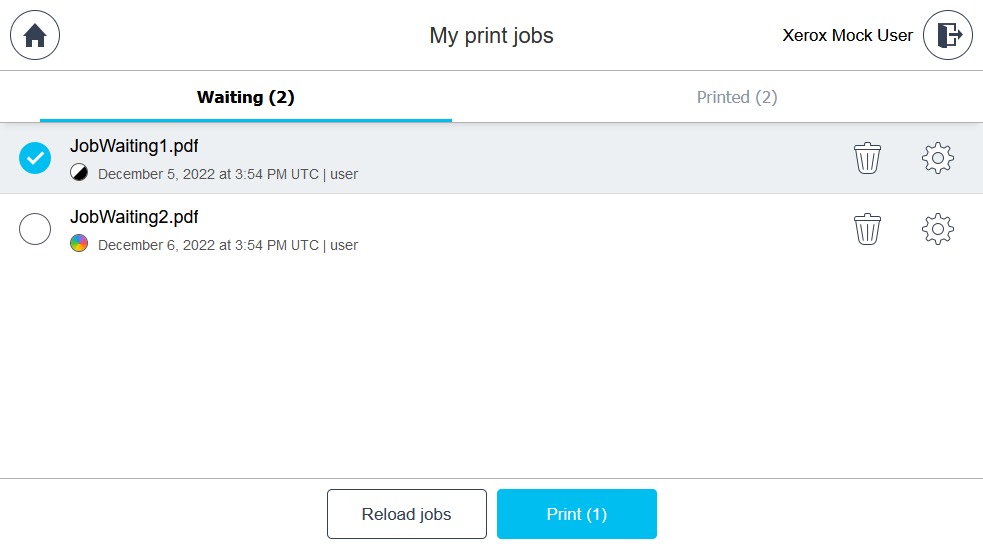
If you wish to release only a specific print job or jobs, tap My print jobs.
-
My print jobs screen will be displayed. Select the print job(s) you wish to print from the list on the Waiting tab and tap Print. You may also delete selected print jobs by tapping Delete.
-
If you've sent an additional print job while logged in at the MFD, tap Reload jobs on the MFD.
-
To modify the finishing options (Color, Sides, and the number of copies) before printing, tap the cogwheel icon next to the job.
-
Change the settings according to your needs and tap Print.
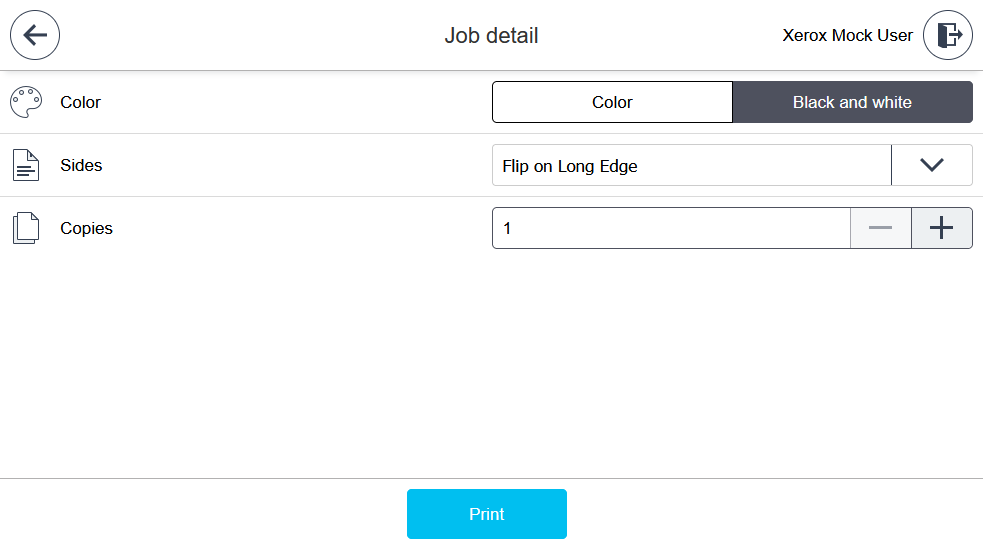
The Color option is greyed out on MFDs that don't support color printing.
-
After tapping Print, you will see a status screen with progress.
-
After the last job has been delivered to the MFD and printed, a success message will appear.
-
If any job fails to be printed, the following error message with the number of failed jobs will appear: "X/Y jobs failed to print. Please try again or contact your administrator."
Copying
-
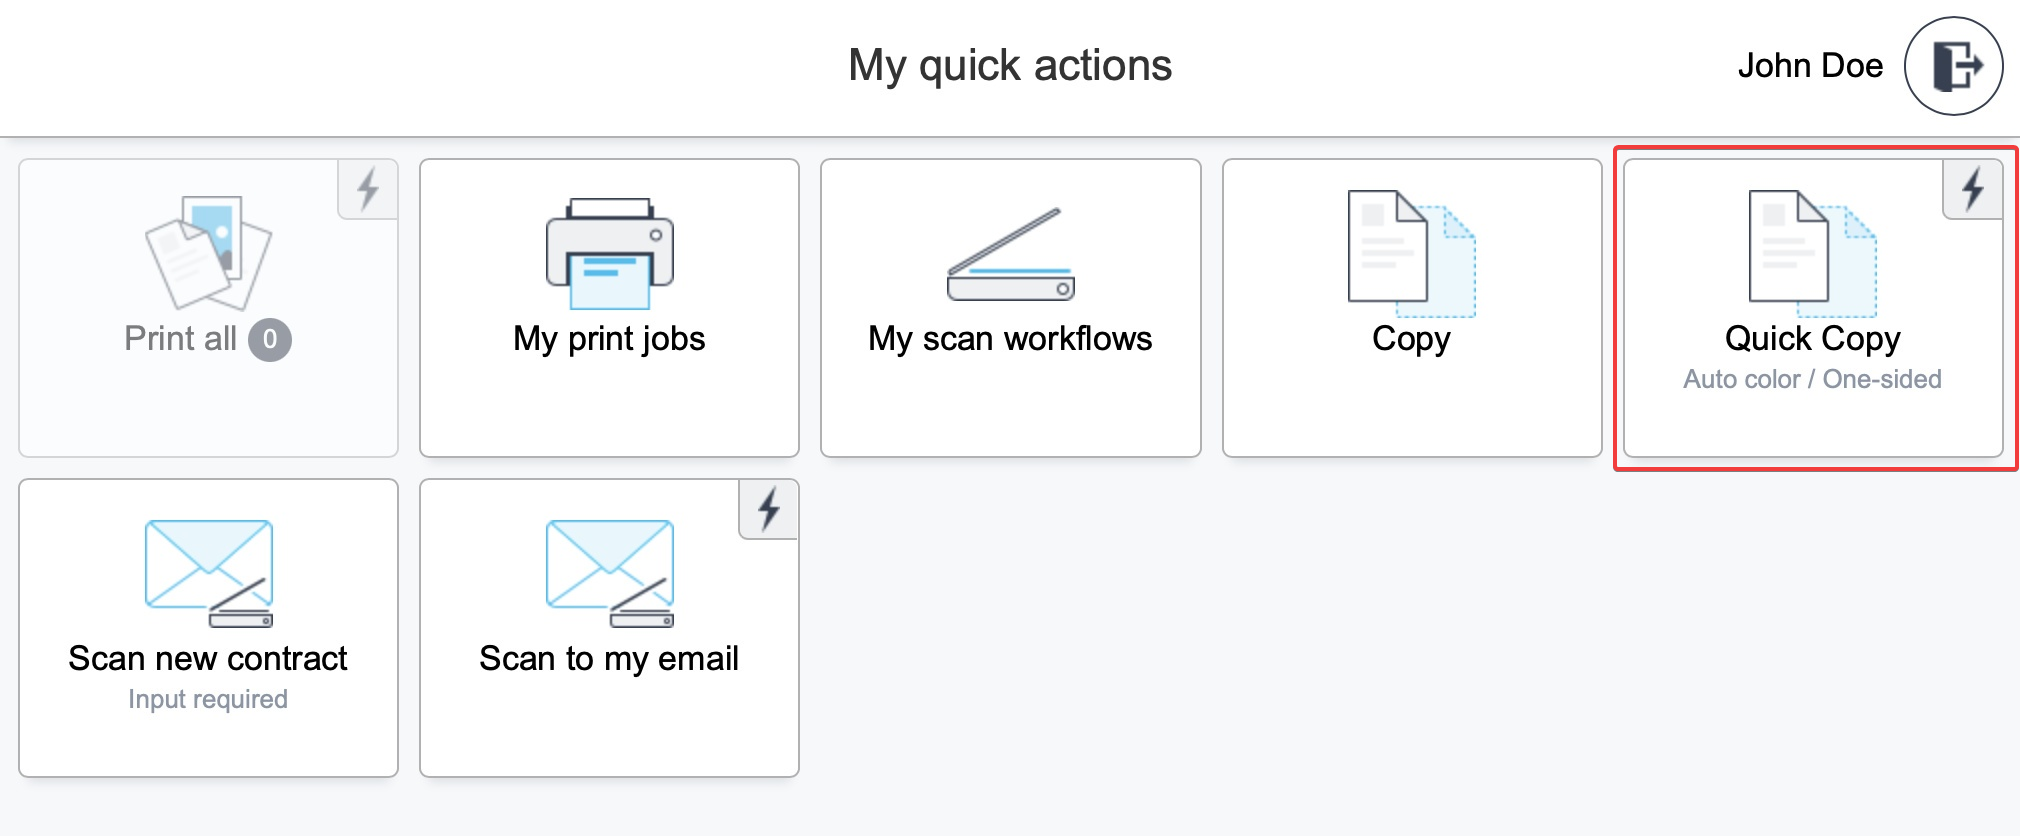
To make a quick one-sided copy with automatic color selection, tap Quick Copy in My quick actions. The copying process will start without any further dialogue windows.
-
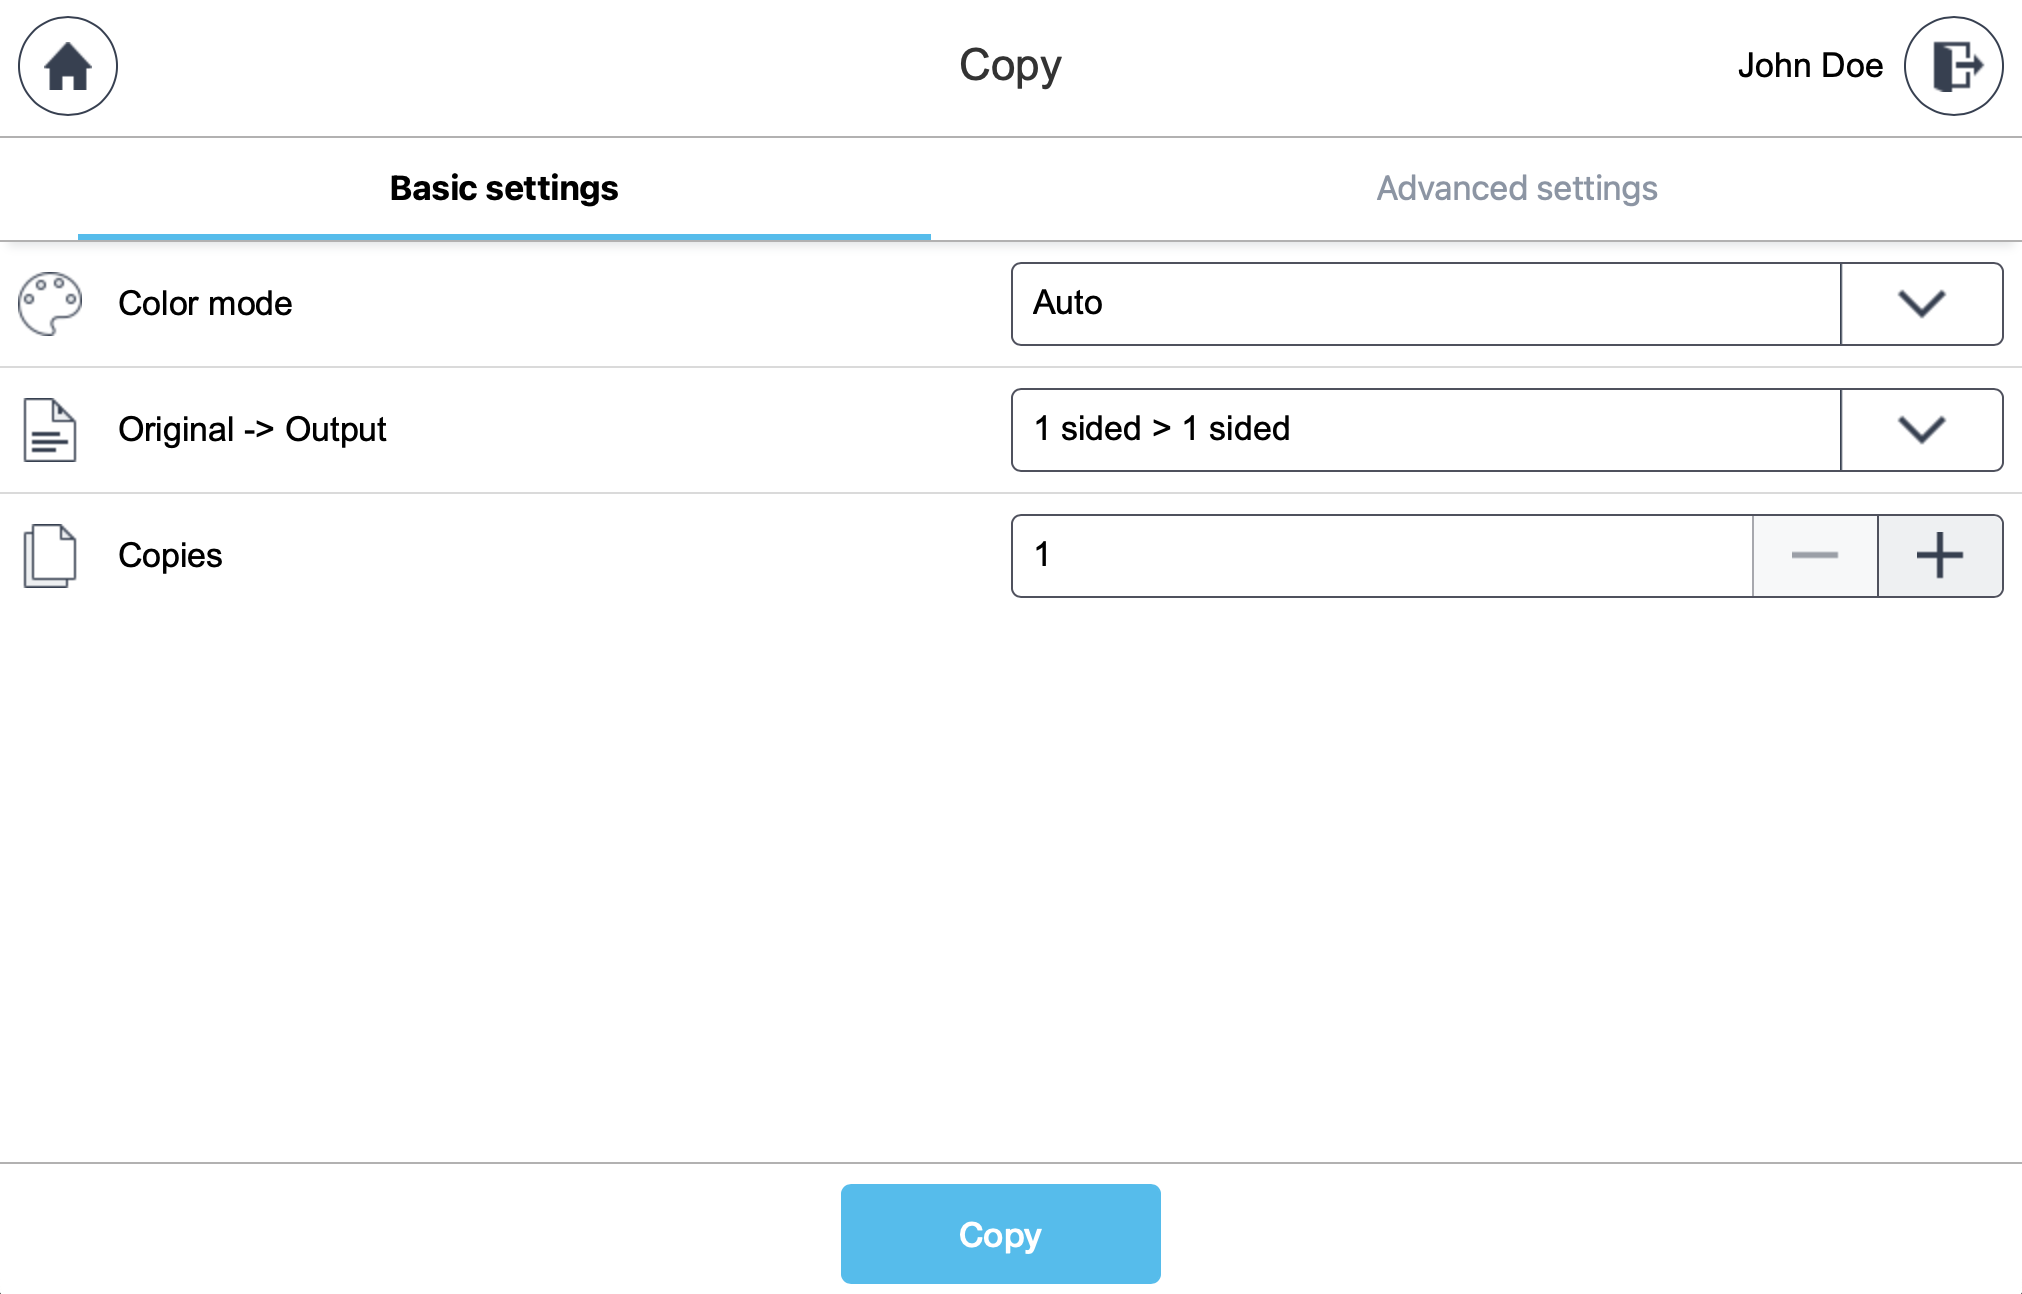
To modify settings before copying, tap Copy in My quick actions.
-
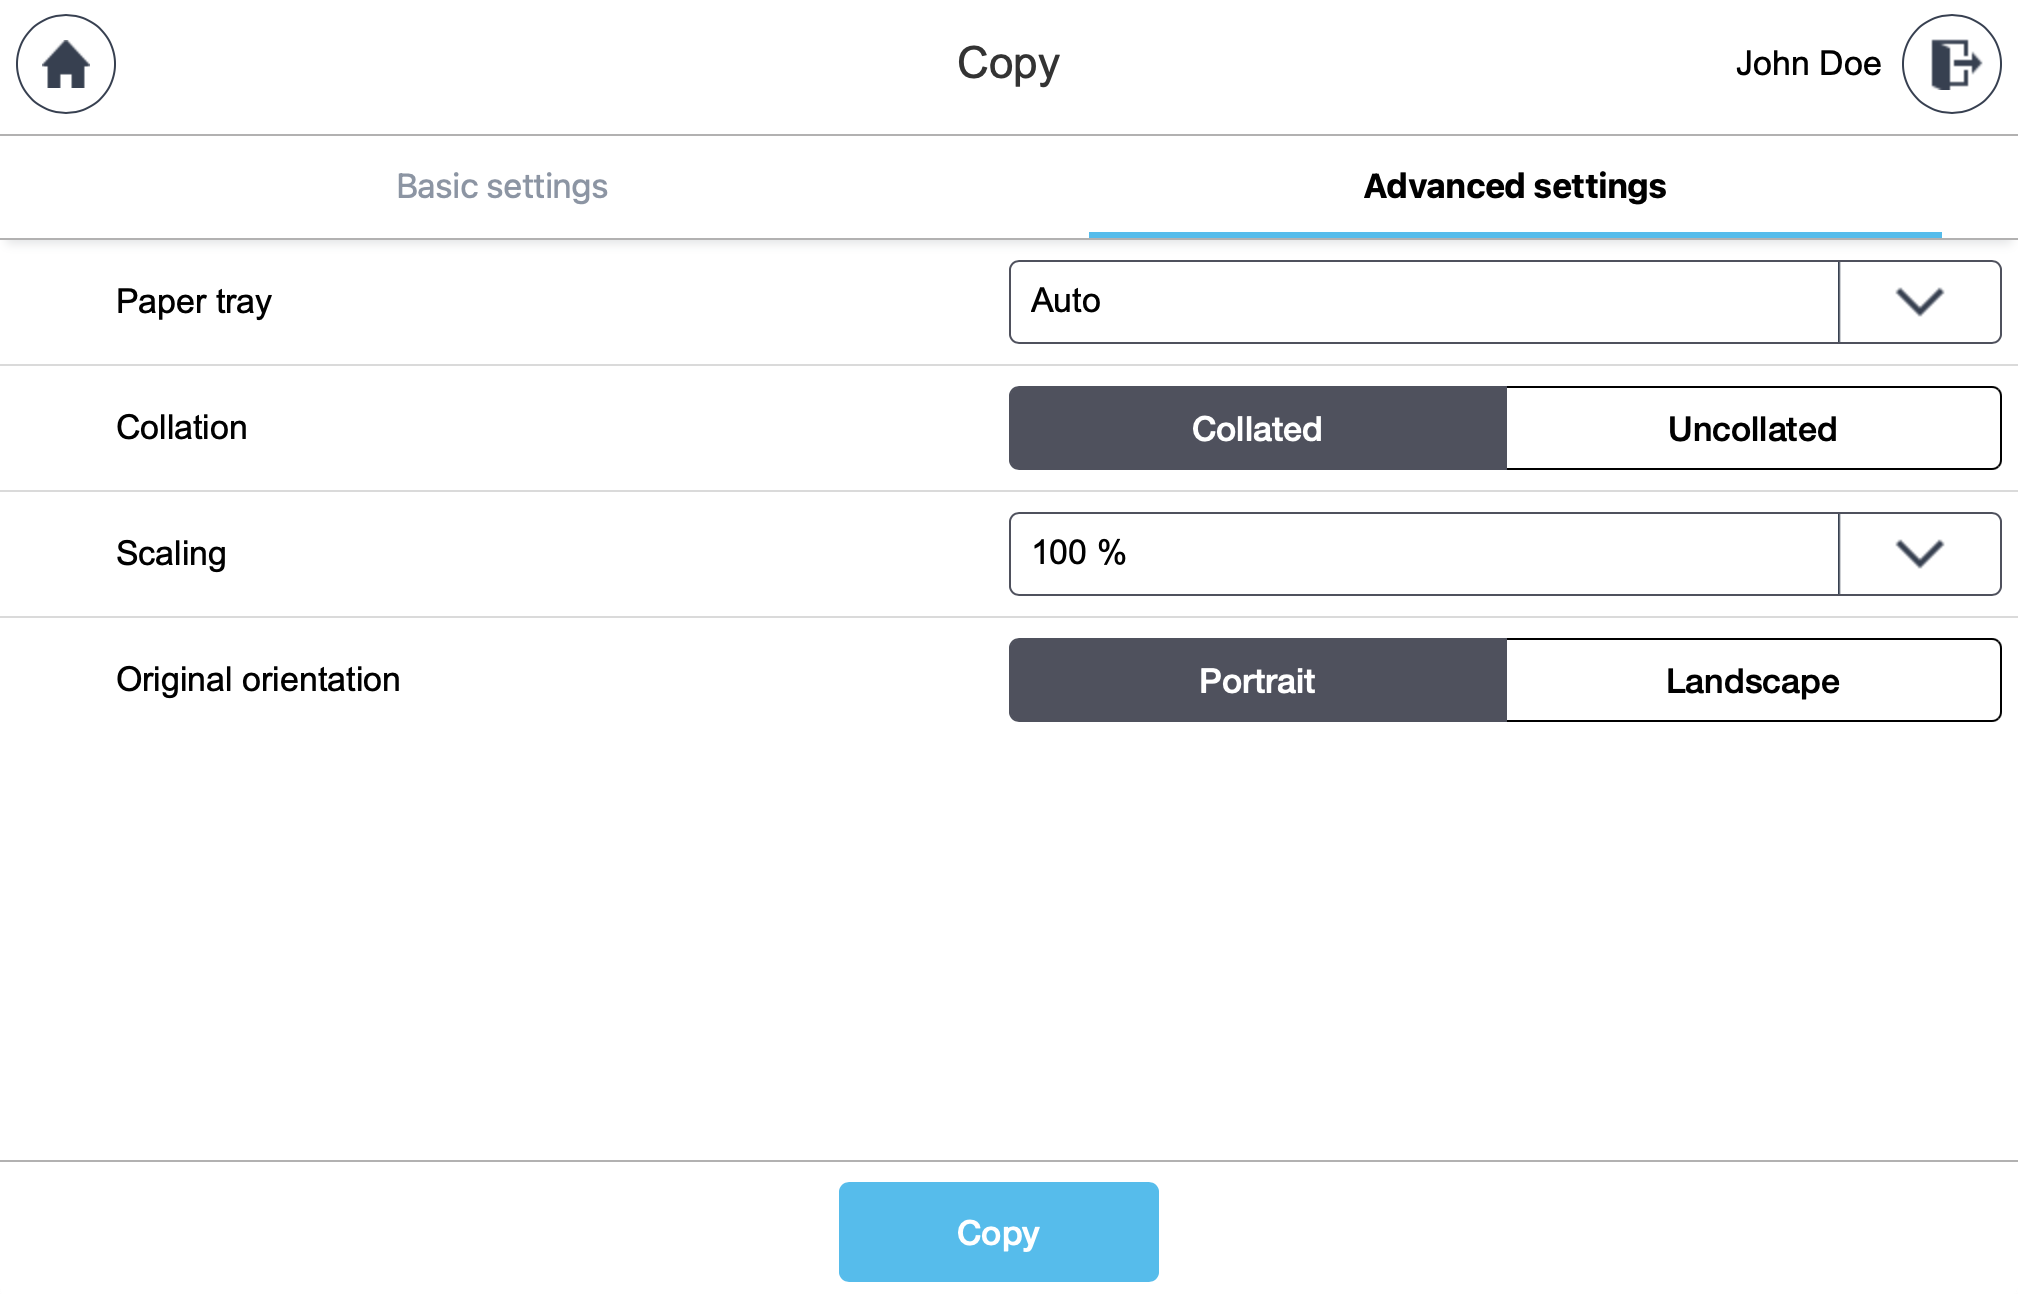
Change the Basic settings and the Advanced settings according to your needs and tap Copy.
-
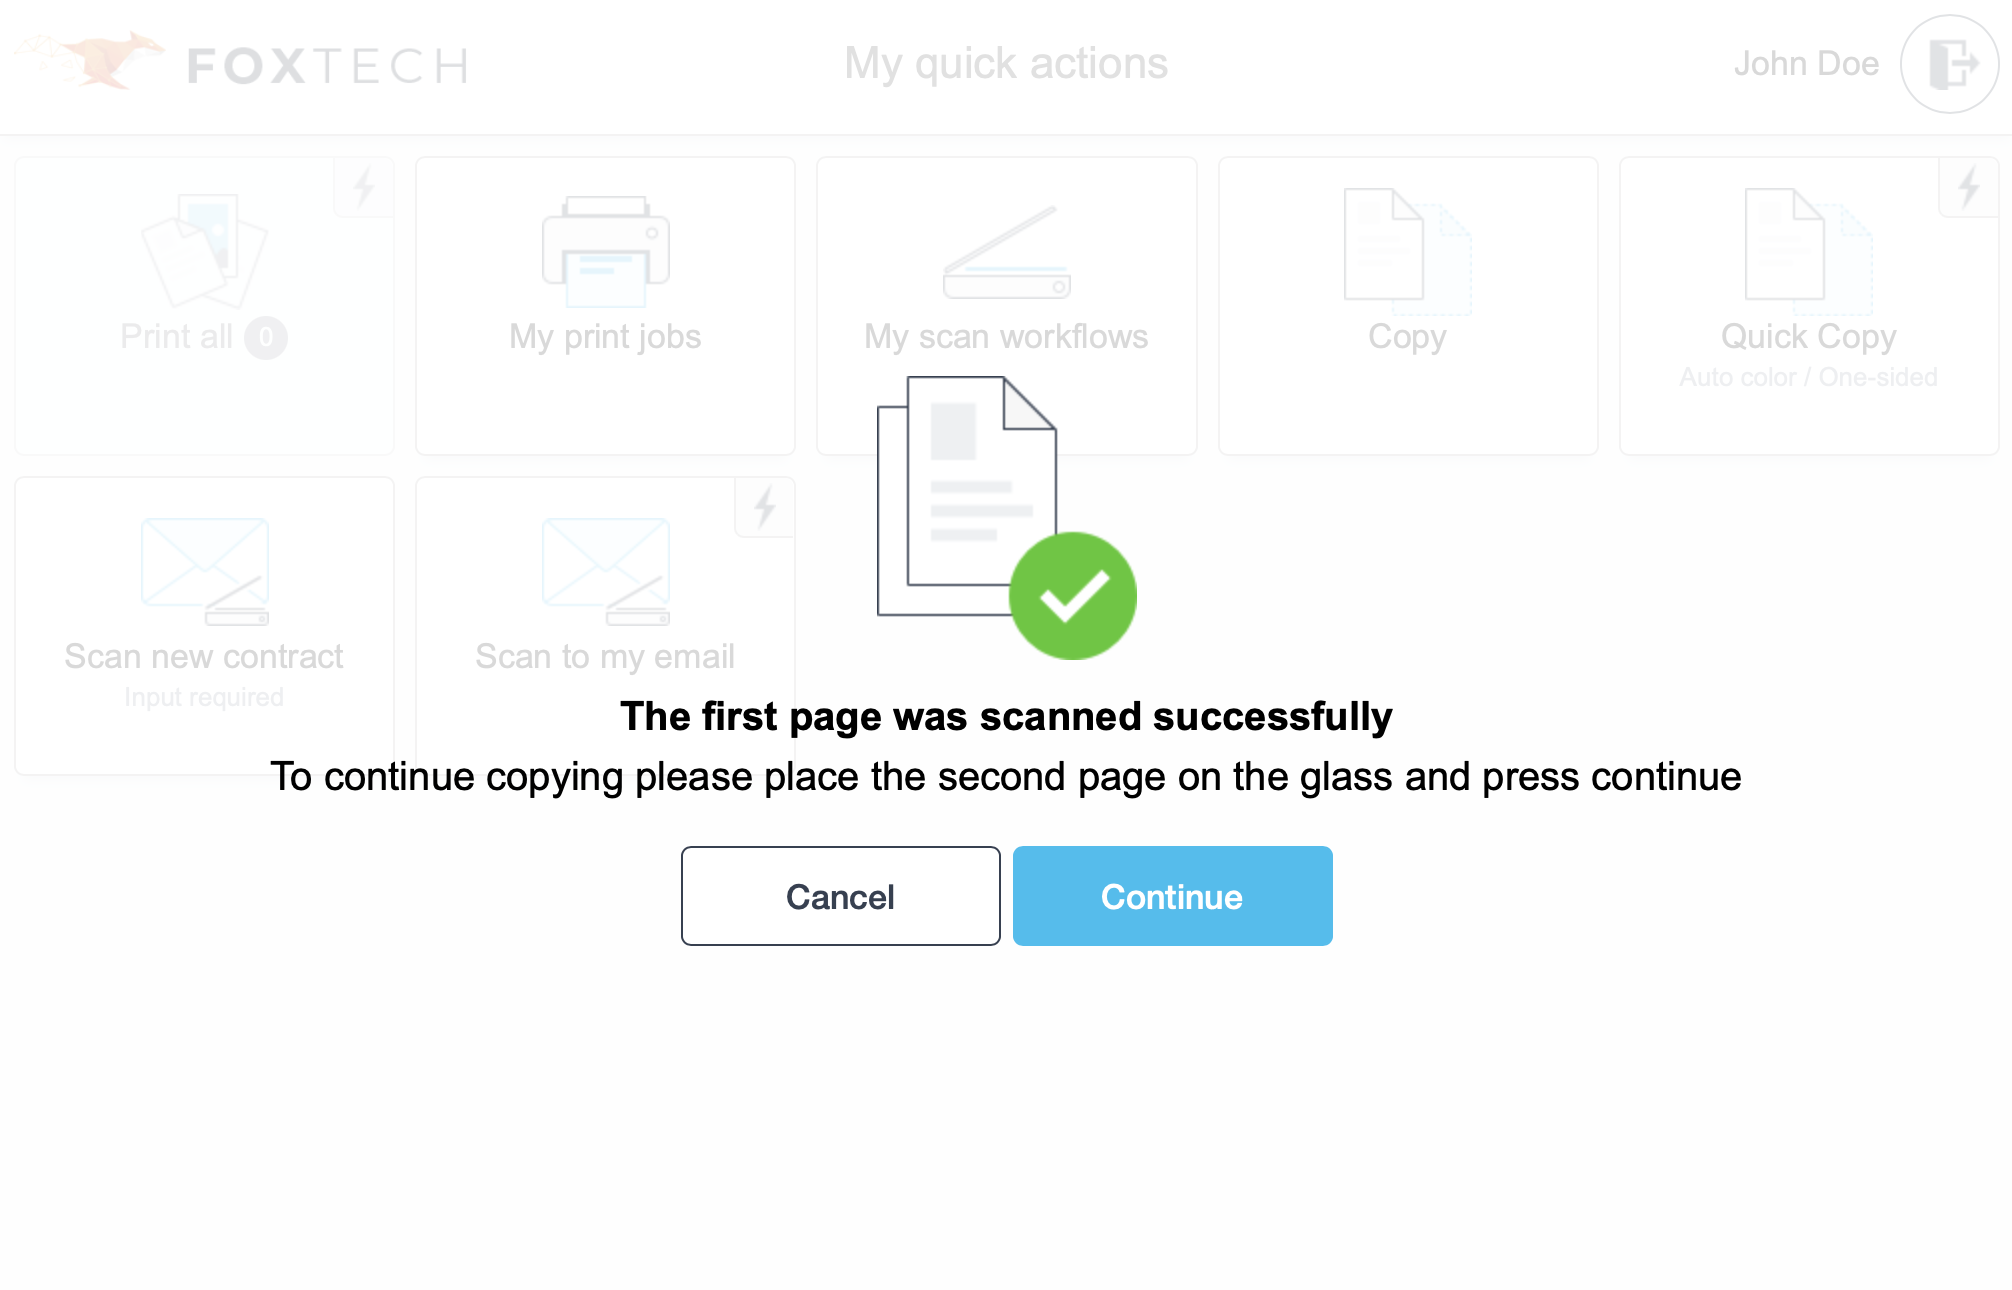
If you are copying multiple batches of documents, or if the document should be rotated during the scanning phase, you will see the following screen. Tap Continue to copy another page, or tap Cancel to cancel the entire copying session.